The same measuring instructions apply for a two-piece sling.
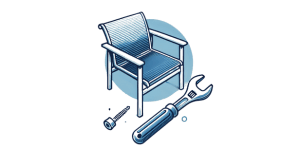
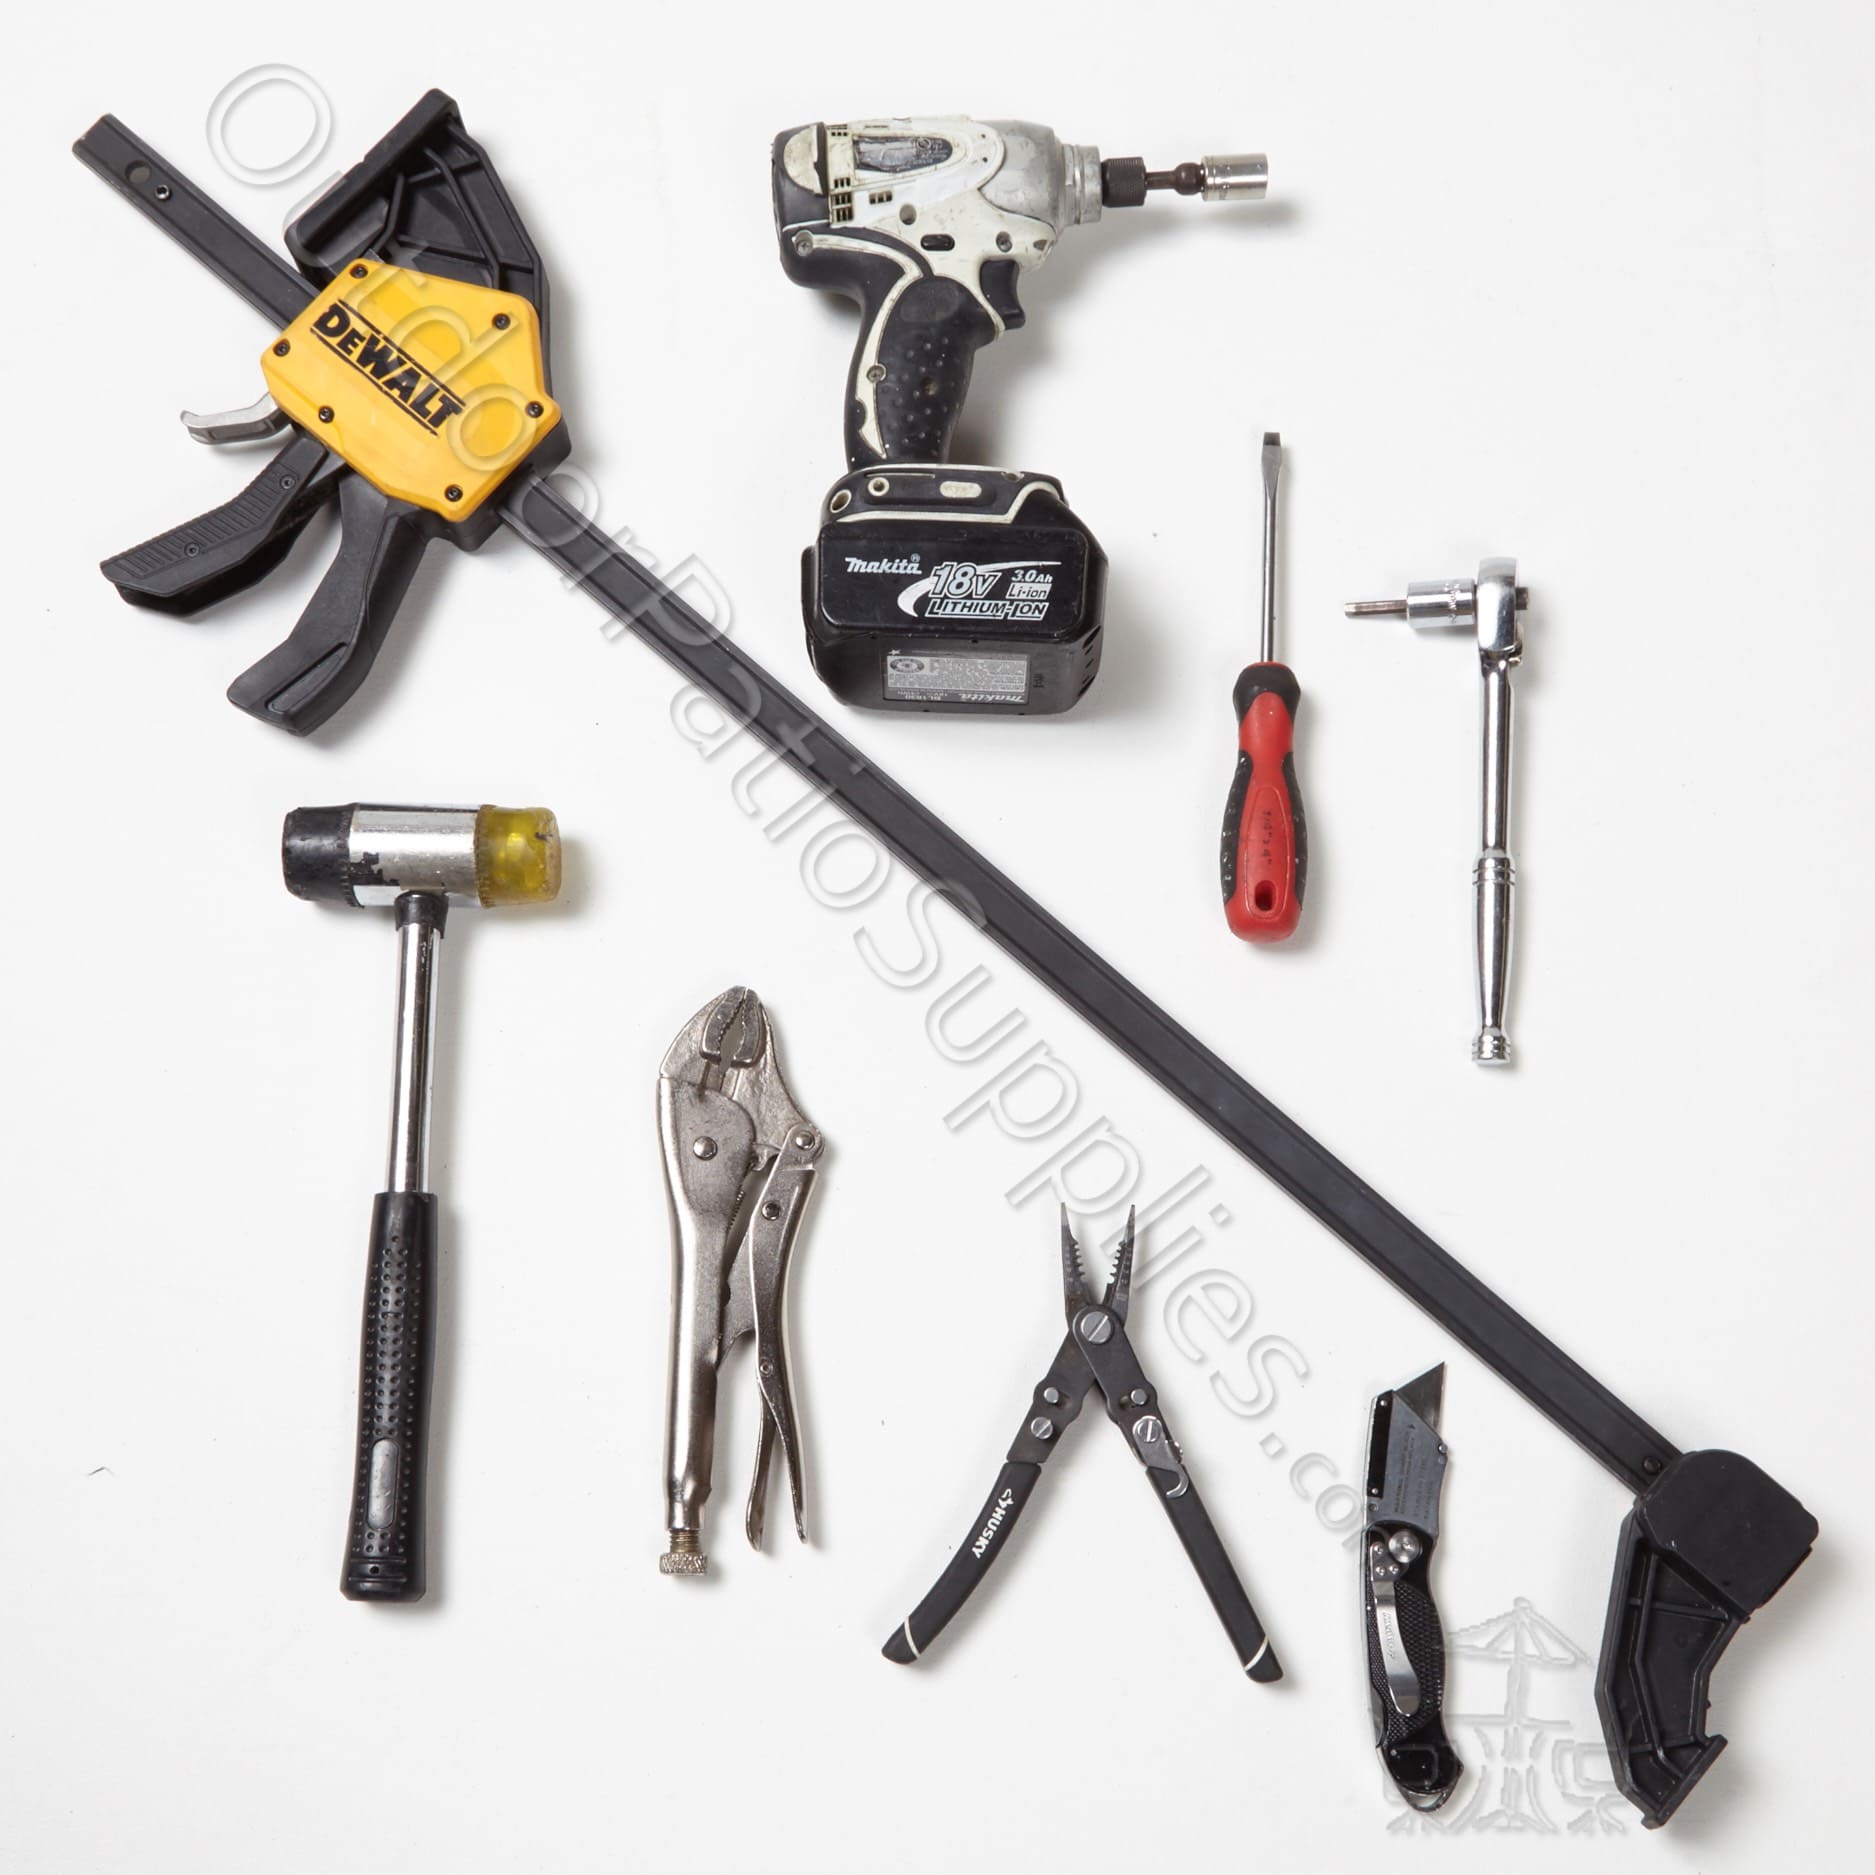
Tools eequired to complete the task: (See pic. 1)
Checklist
Flathead screwdriver
Utility knife or scissors
Pliers
Rubber mallet (optional)
Impact drill
Clamp/spreader tool (600 lbs. of clamping force)
Wrench (if no drill is available)
Step one: Remove end caps
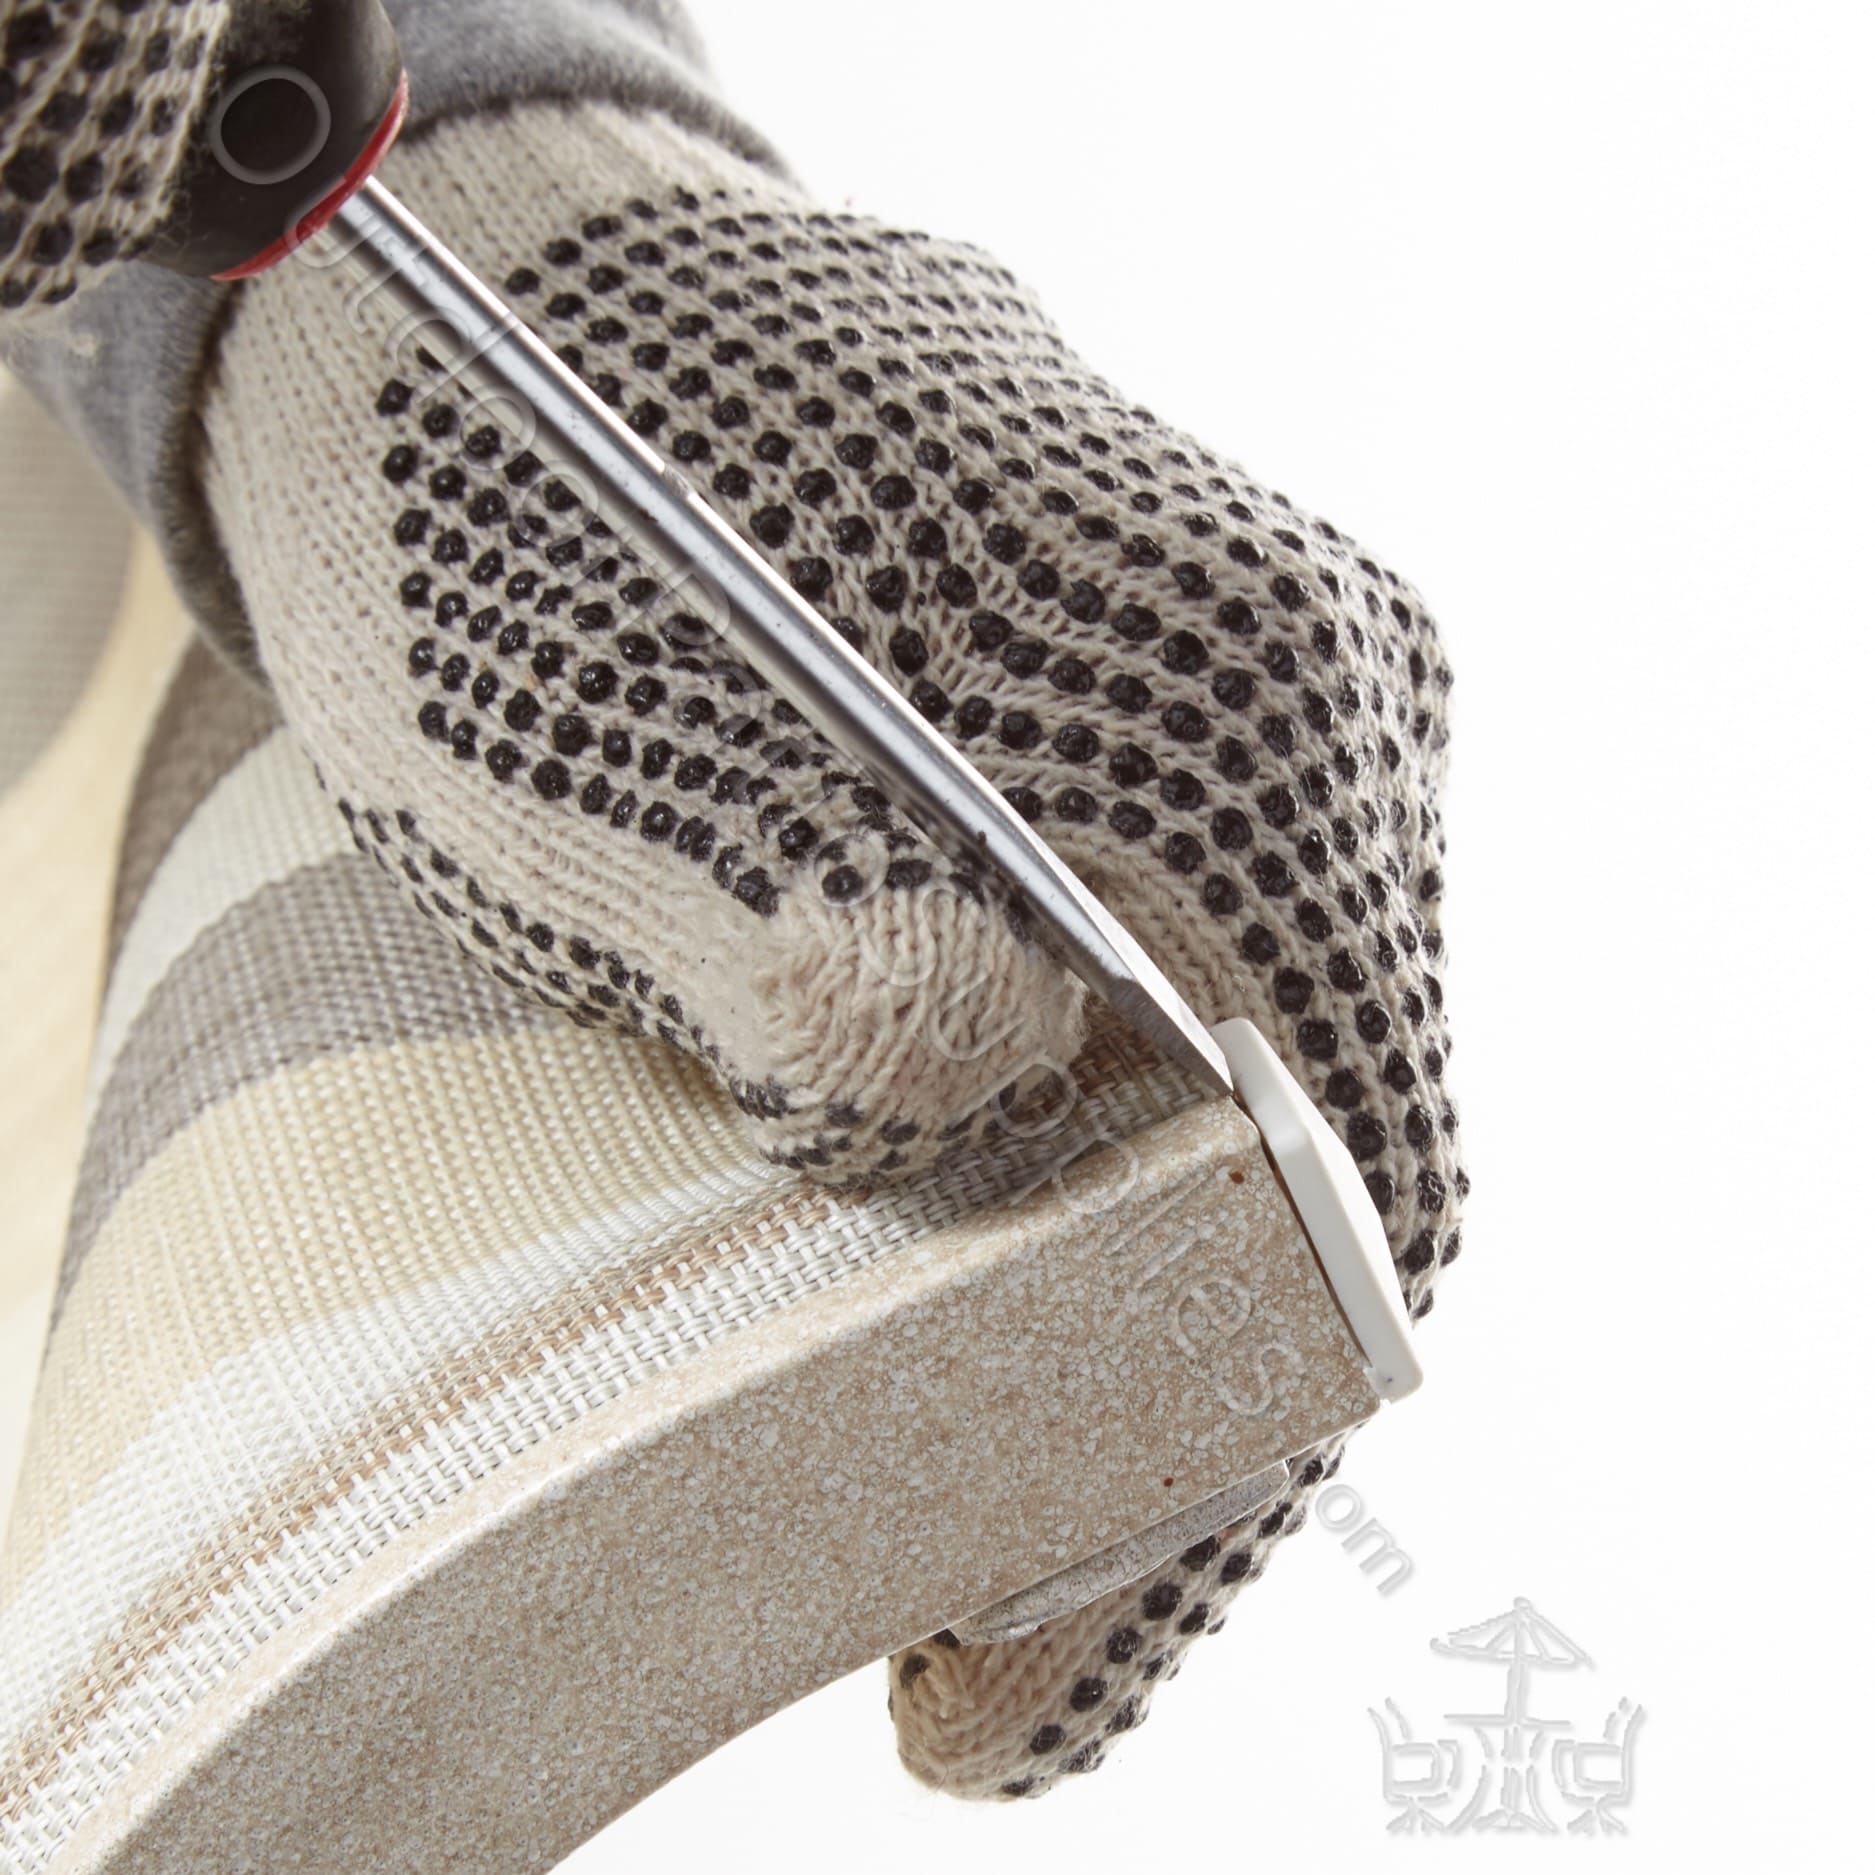
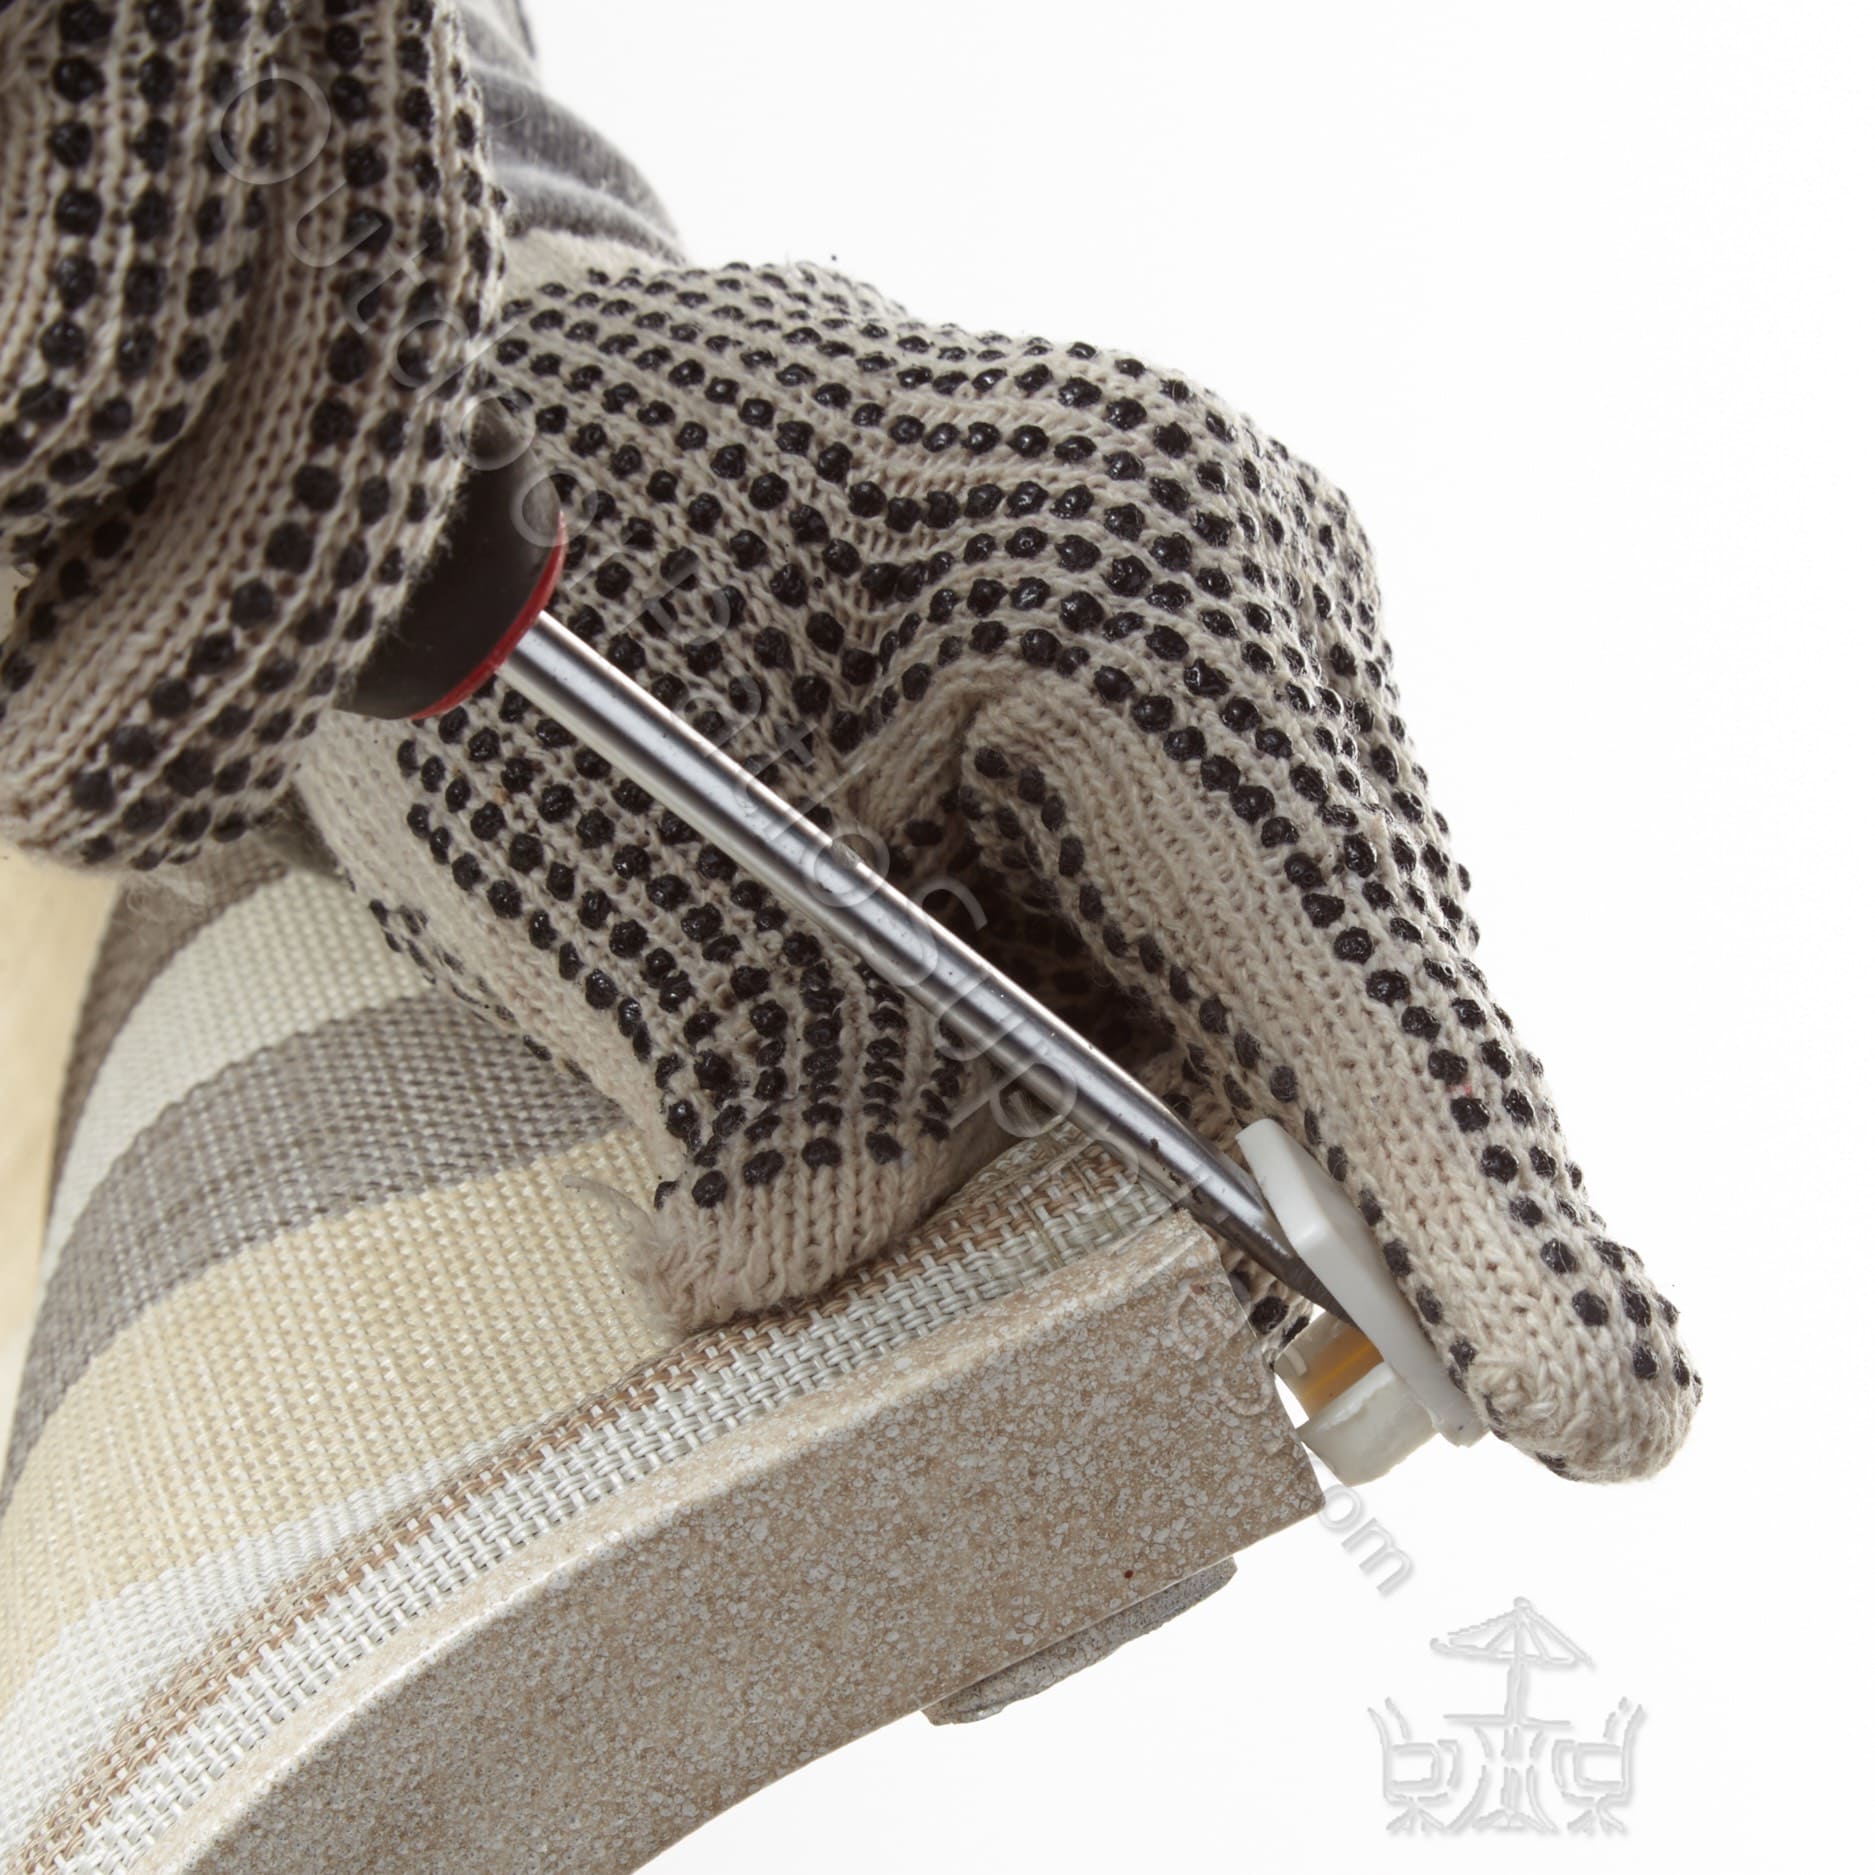
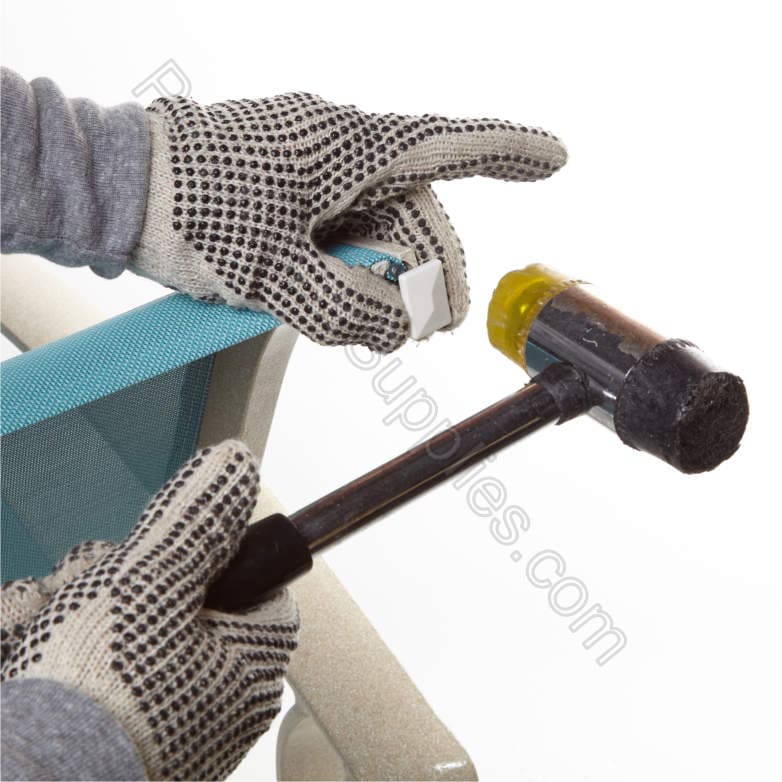
If you plan to reuse the same end caps, handle them with care, as they may be dry, brittle, and prone to breaking. Use a flathead screwdriver to carefully remove the caps, as demonstrated in Pics. 2 and 3
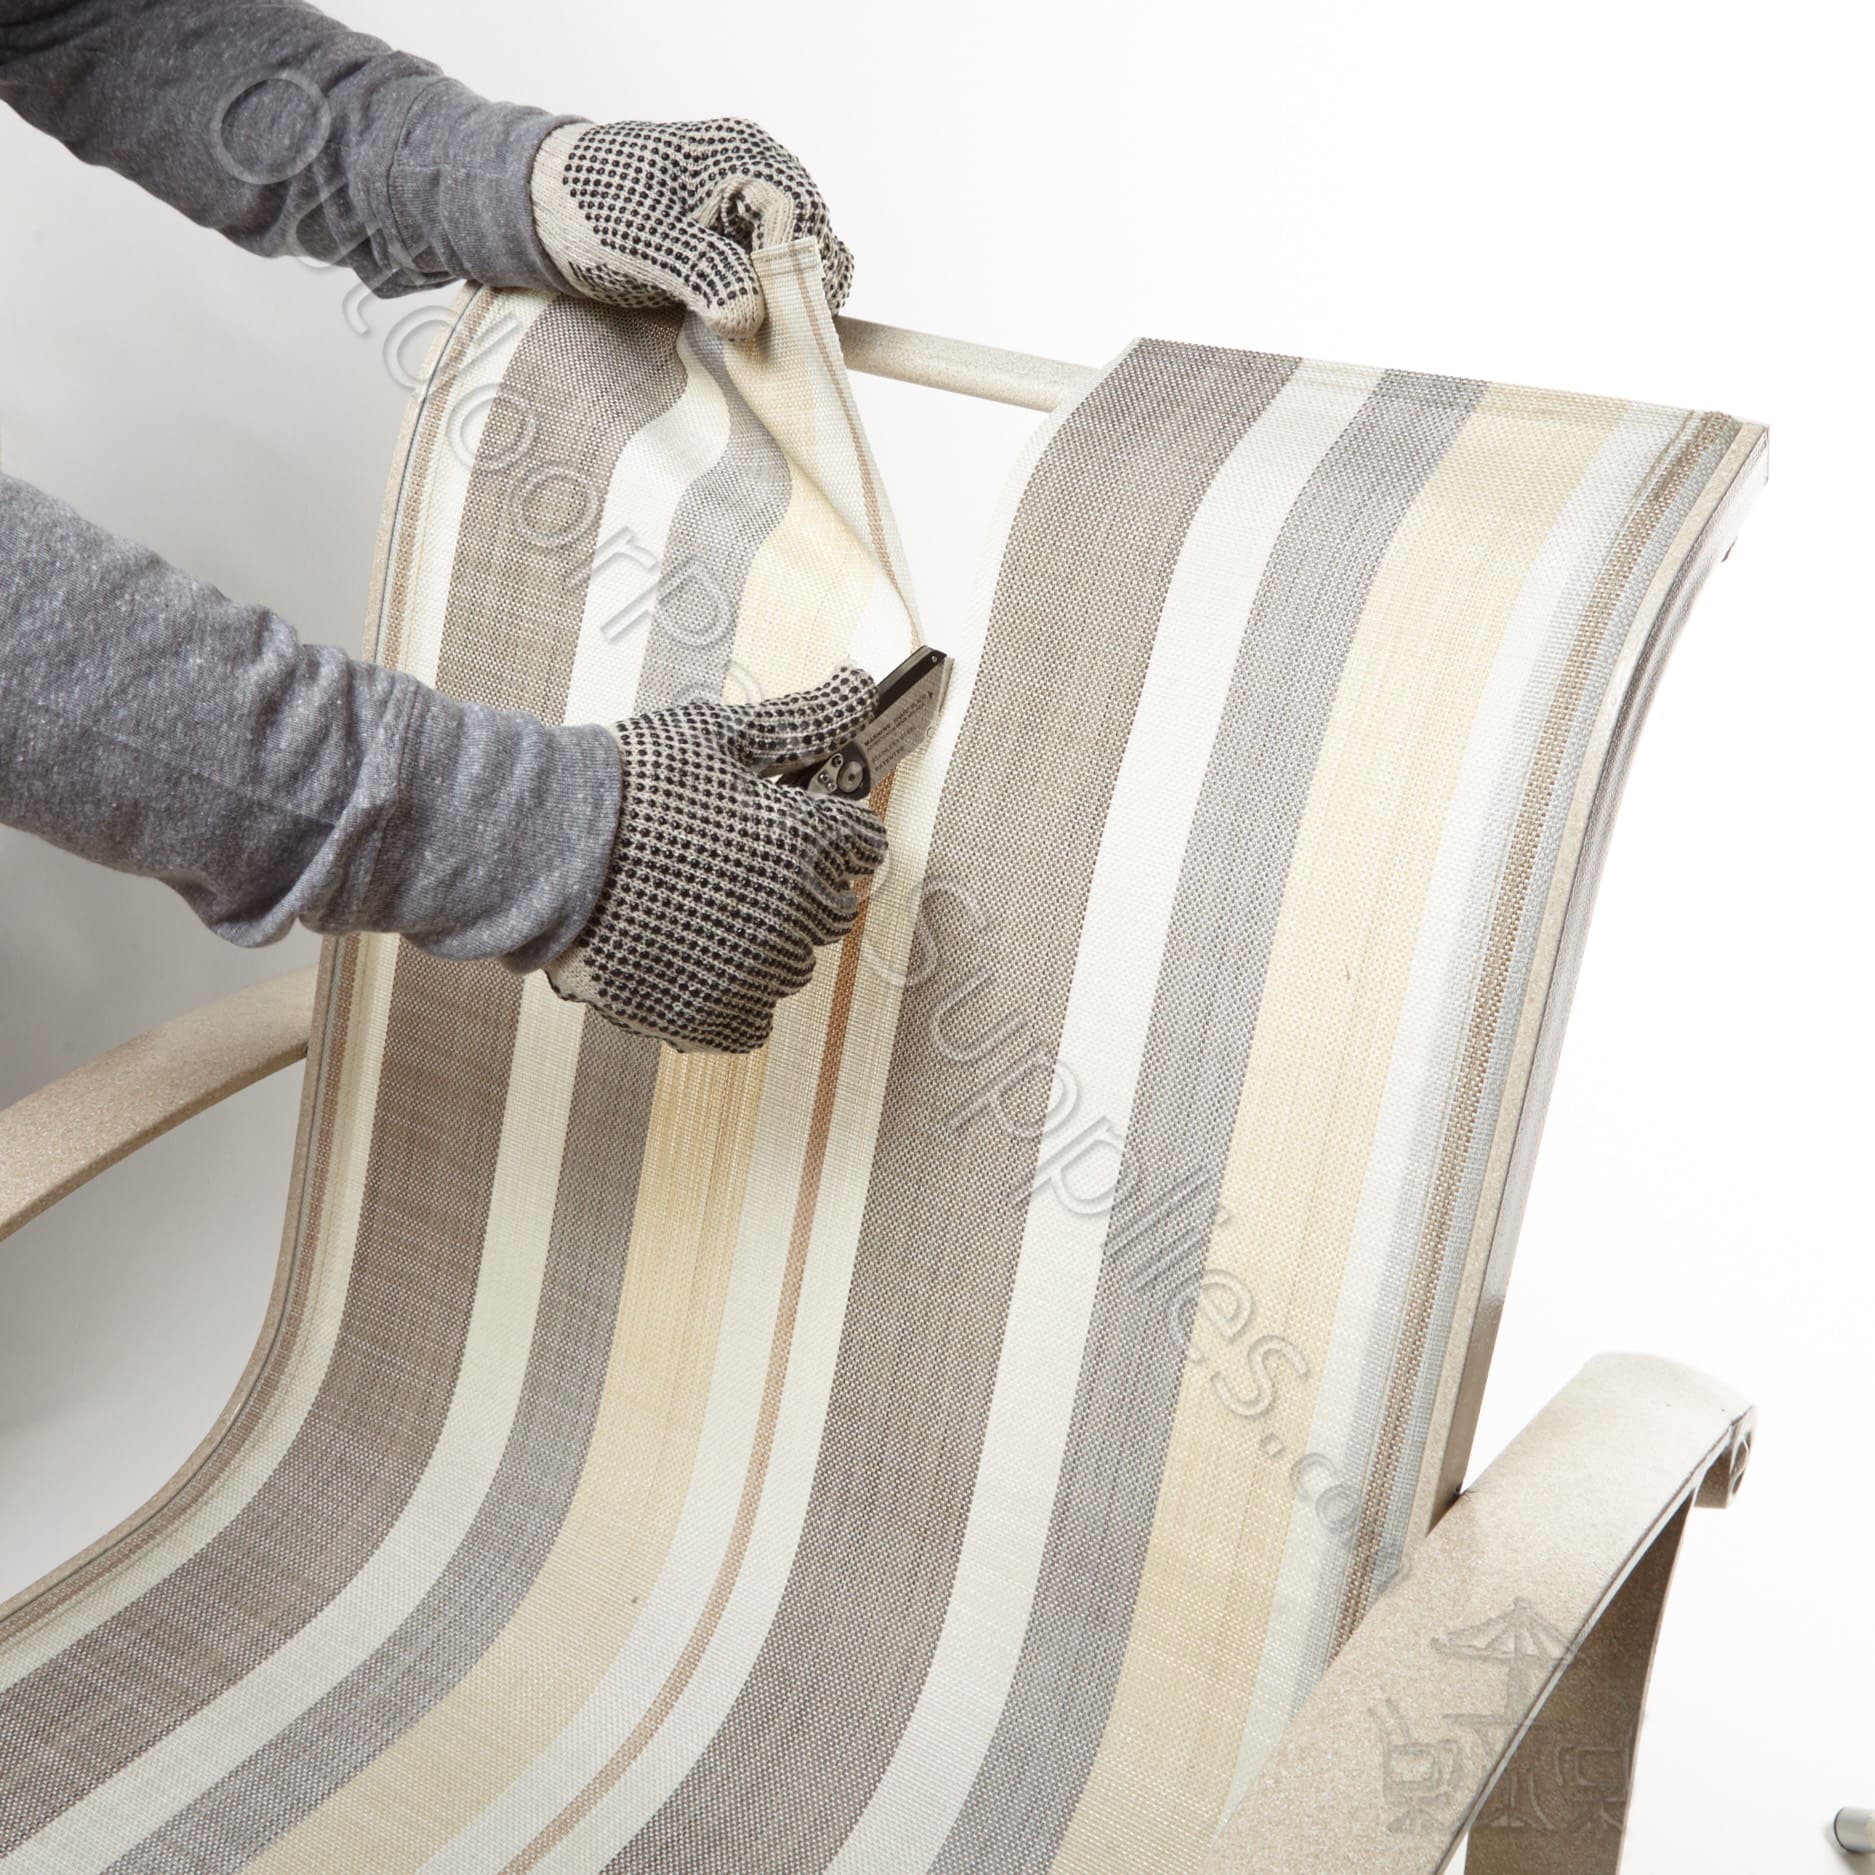
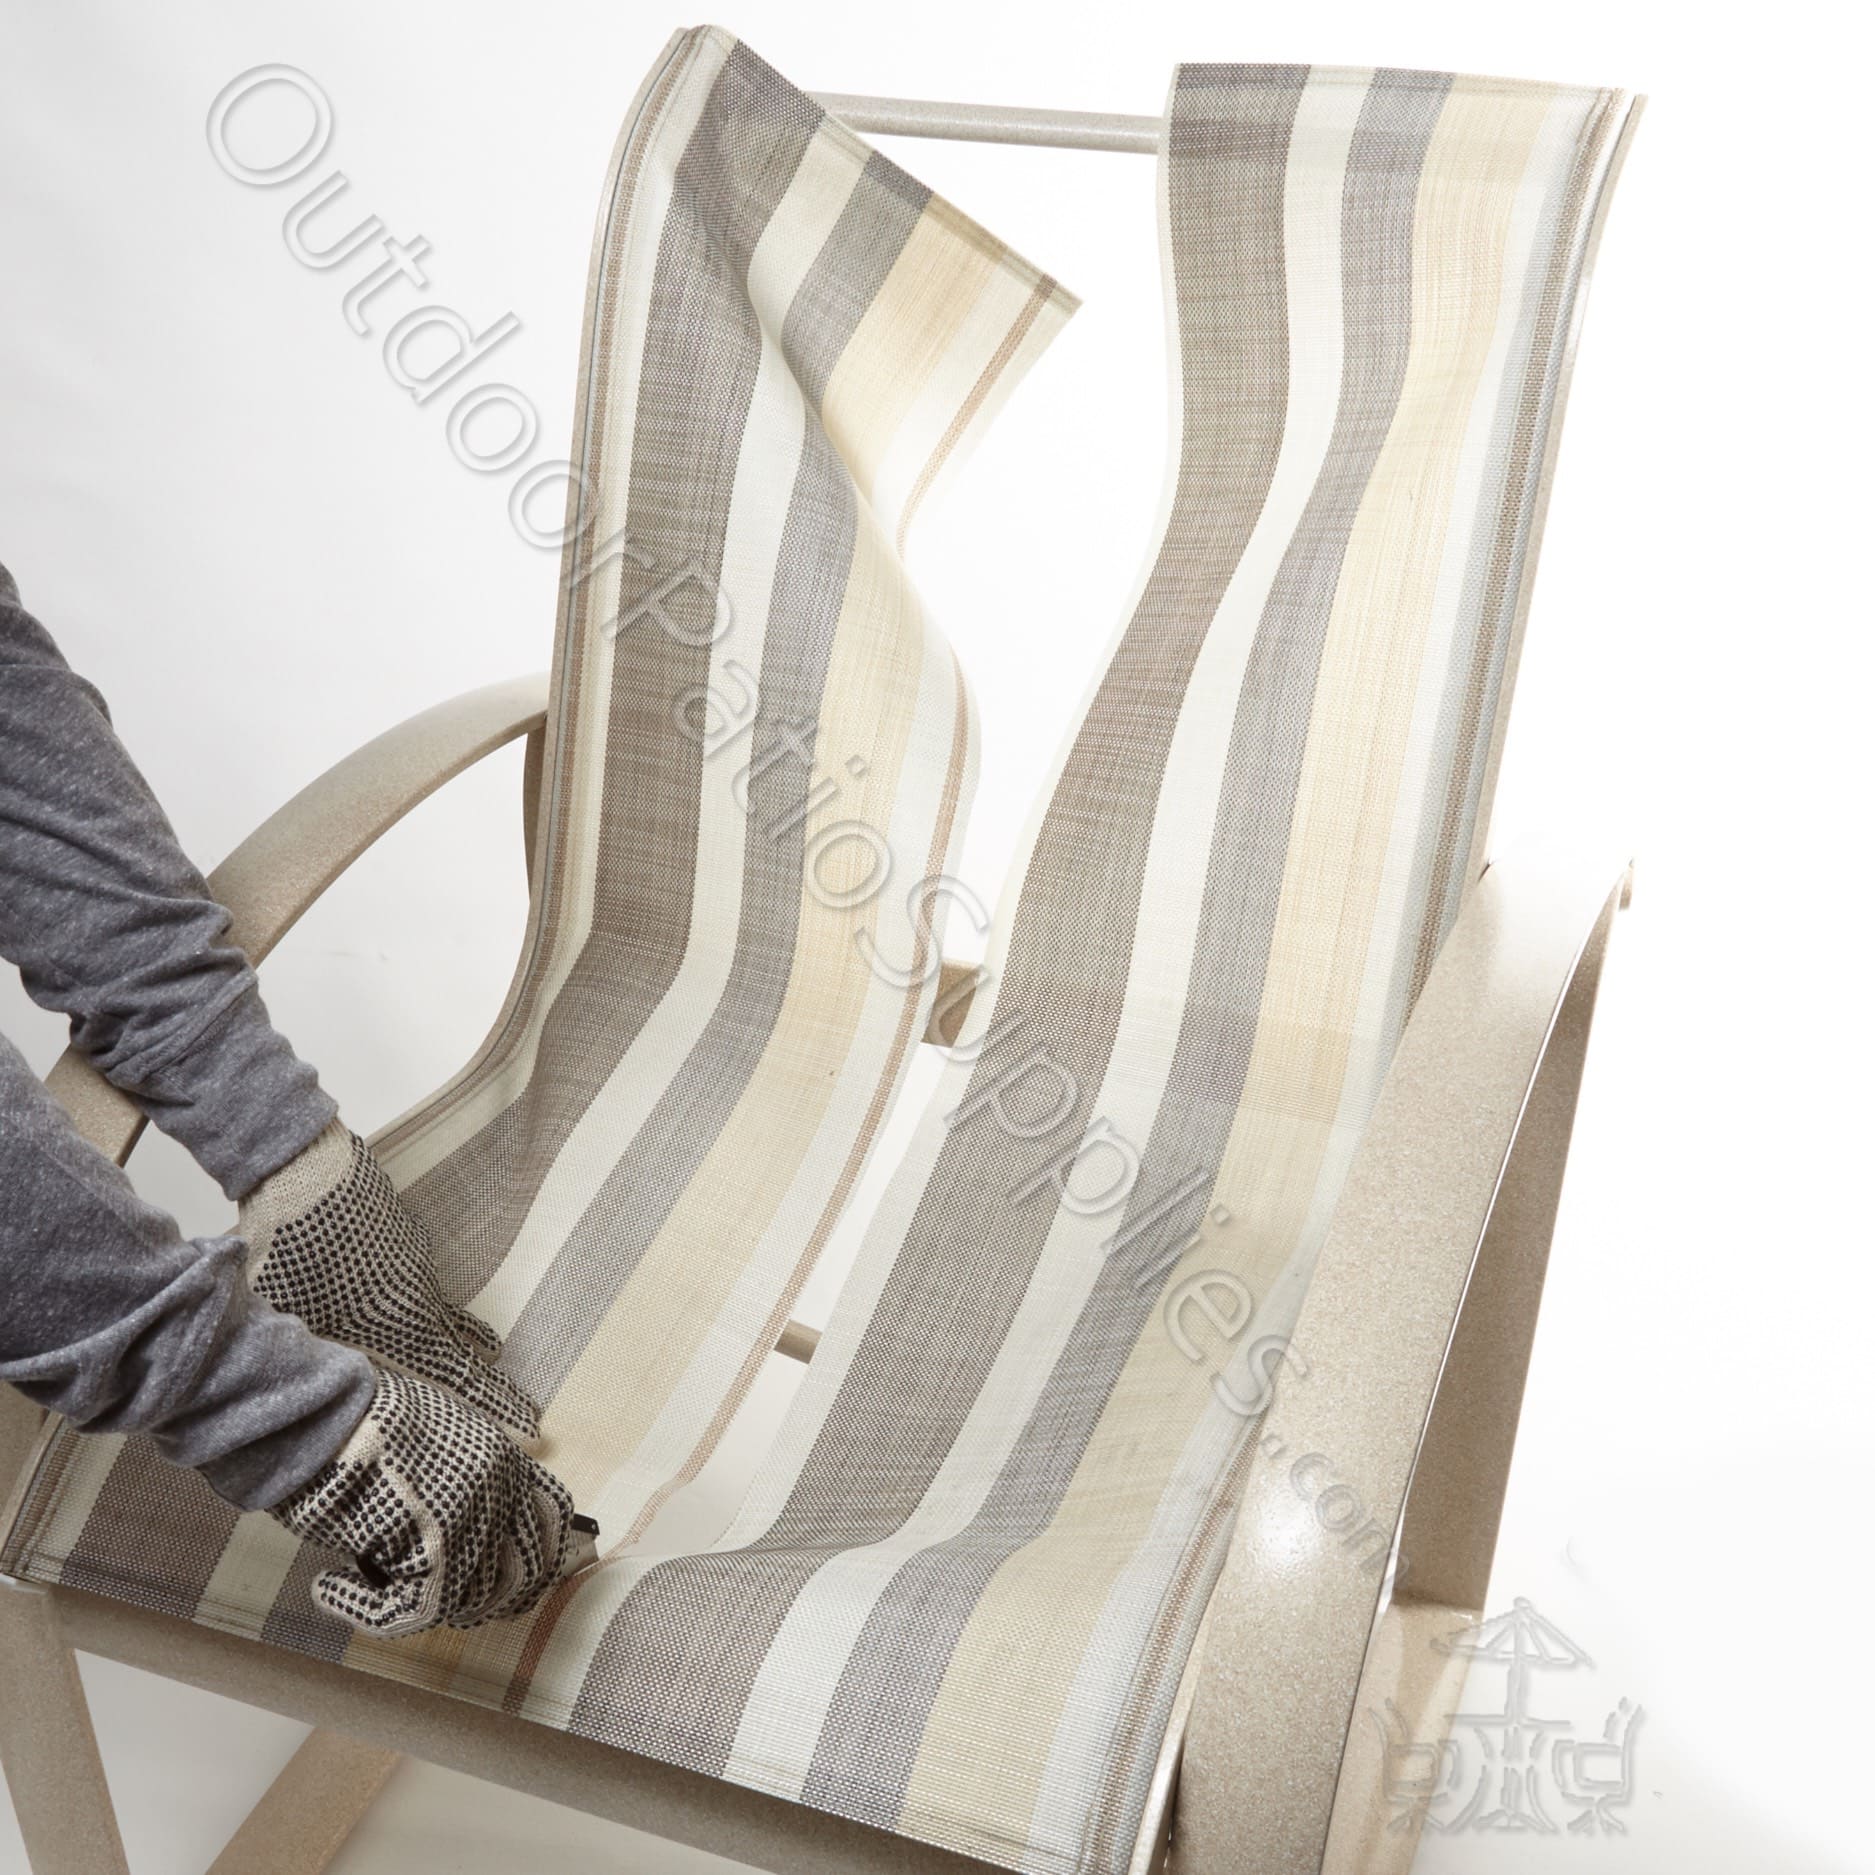
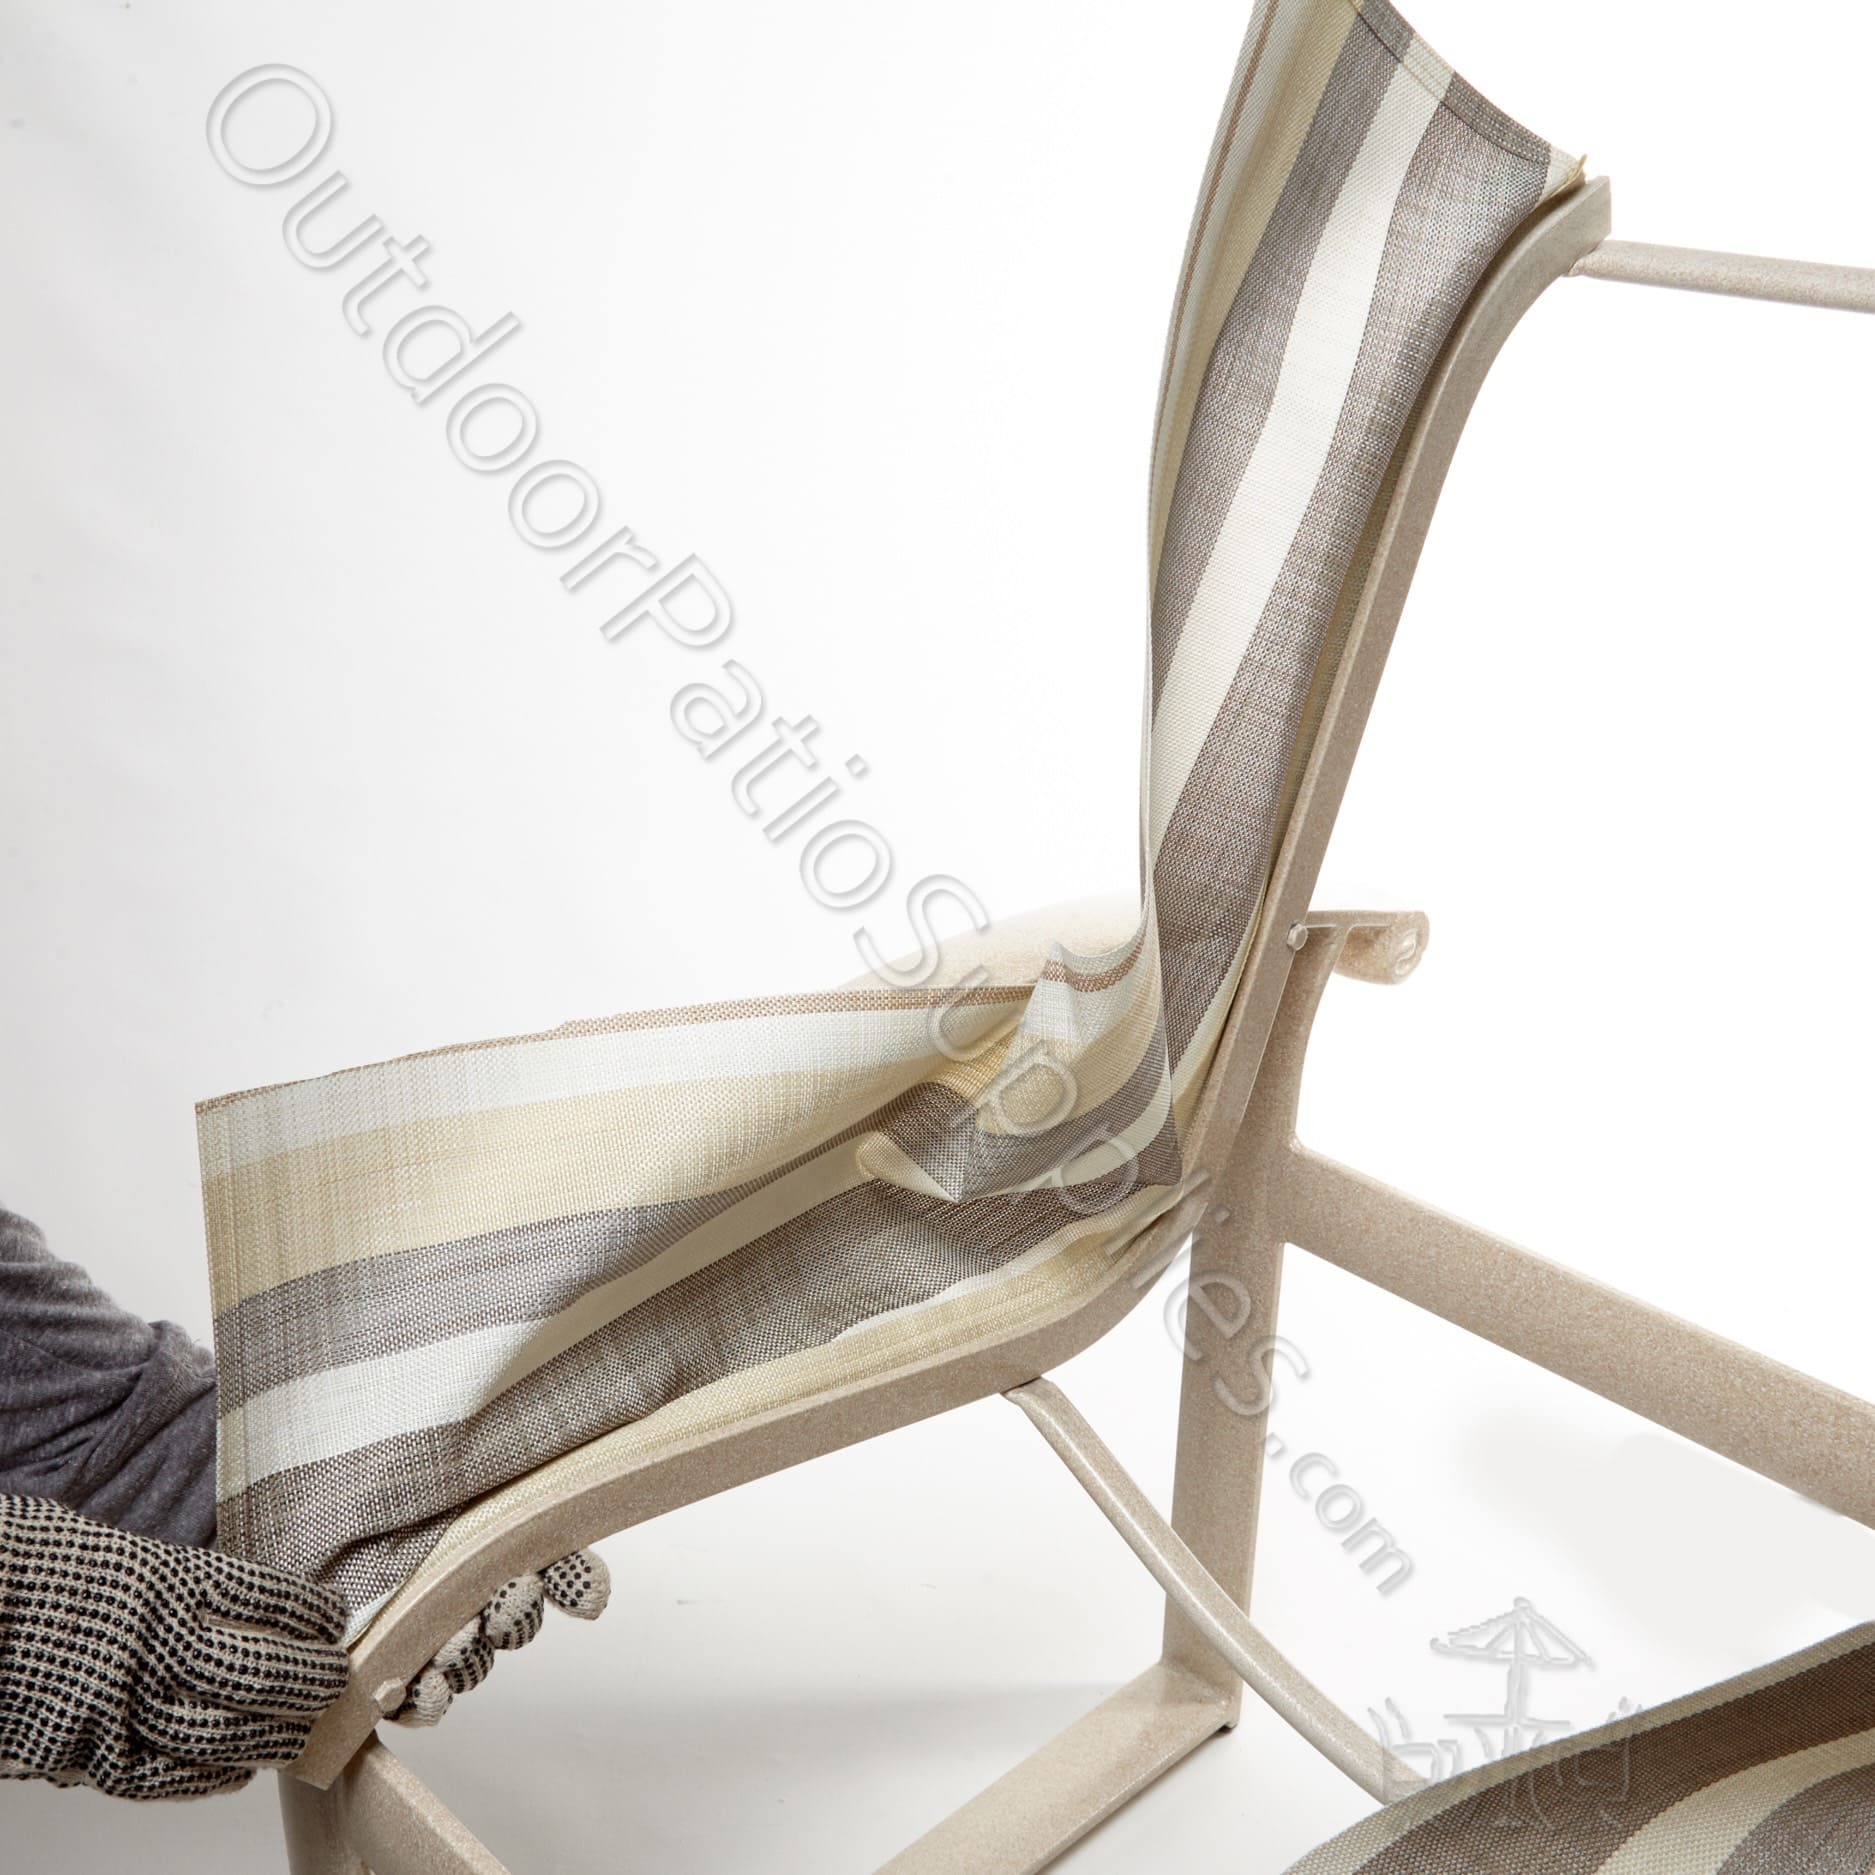
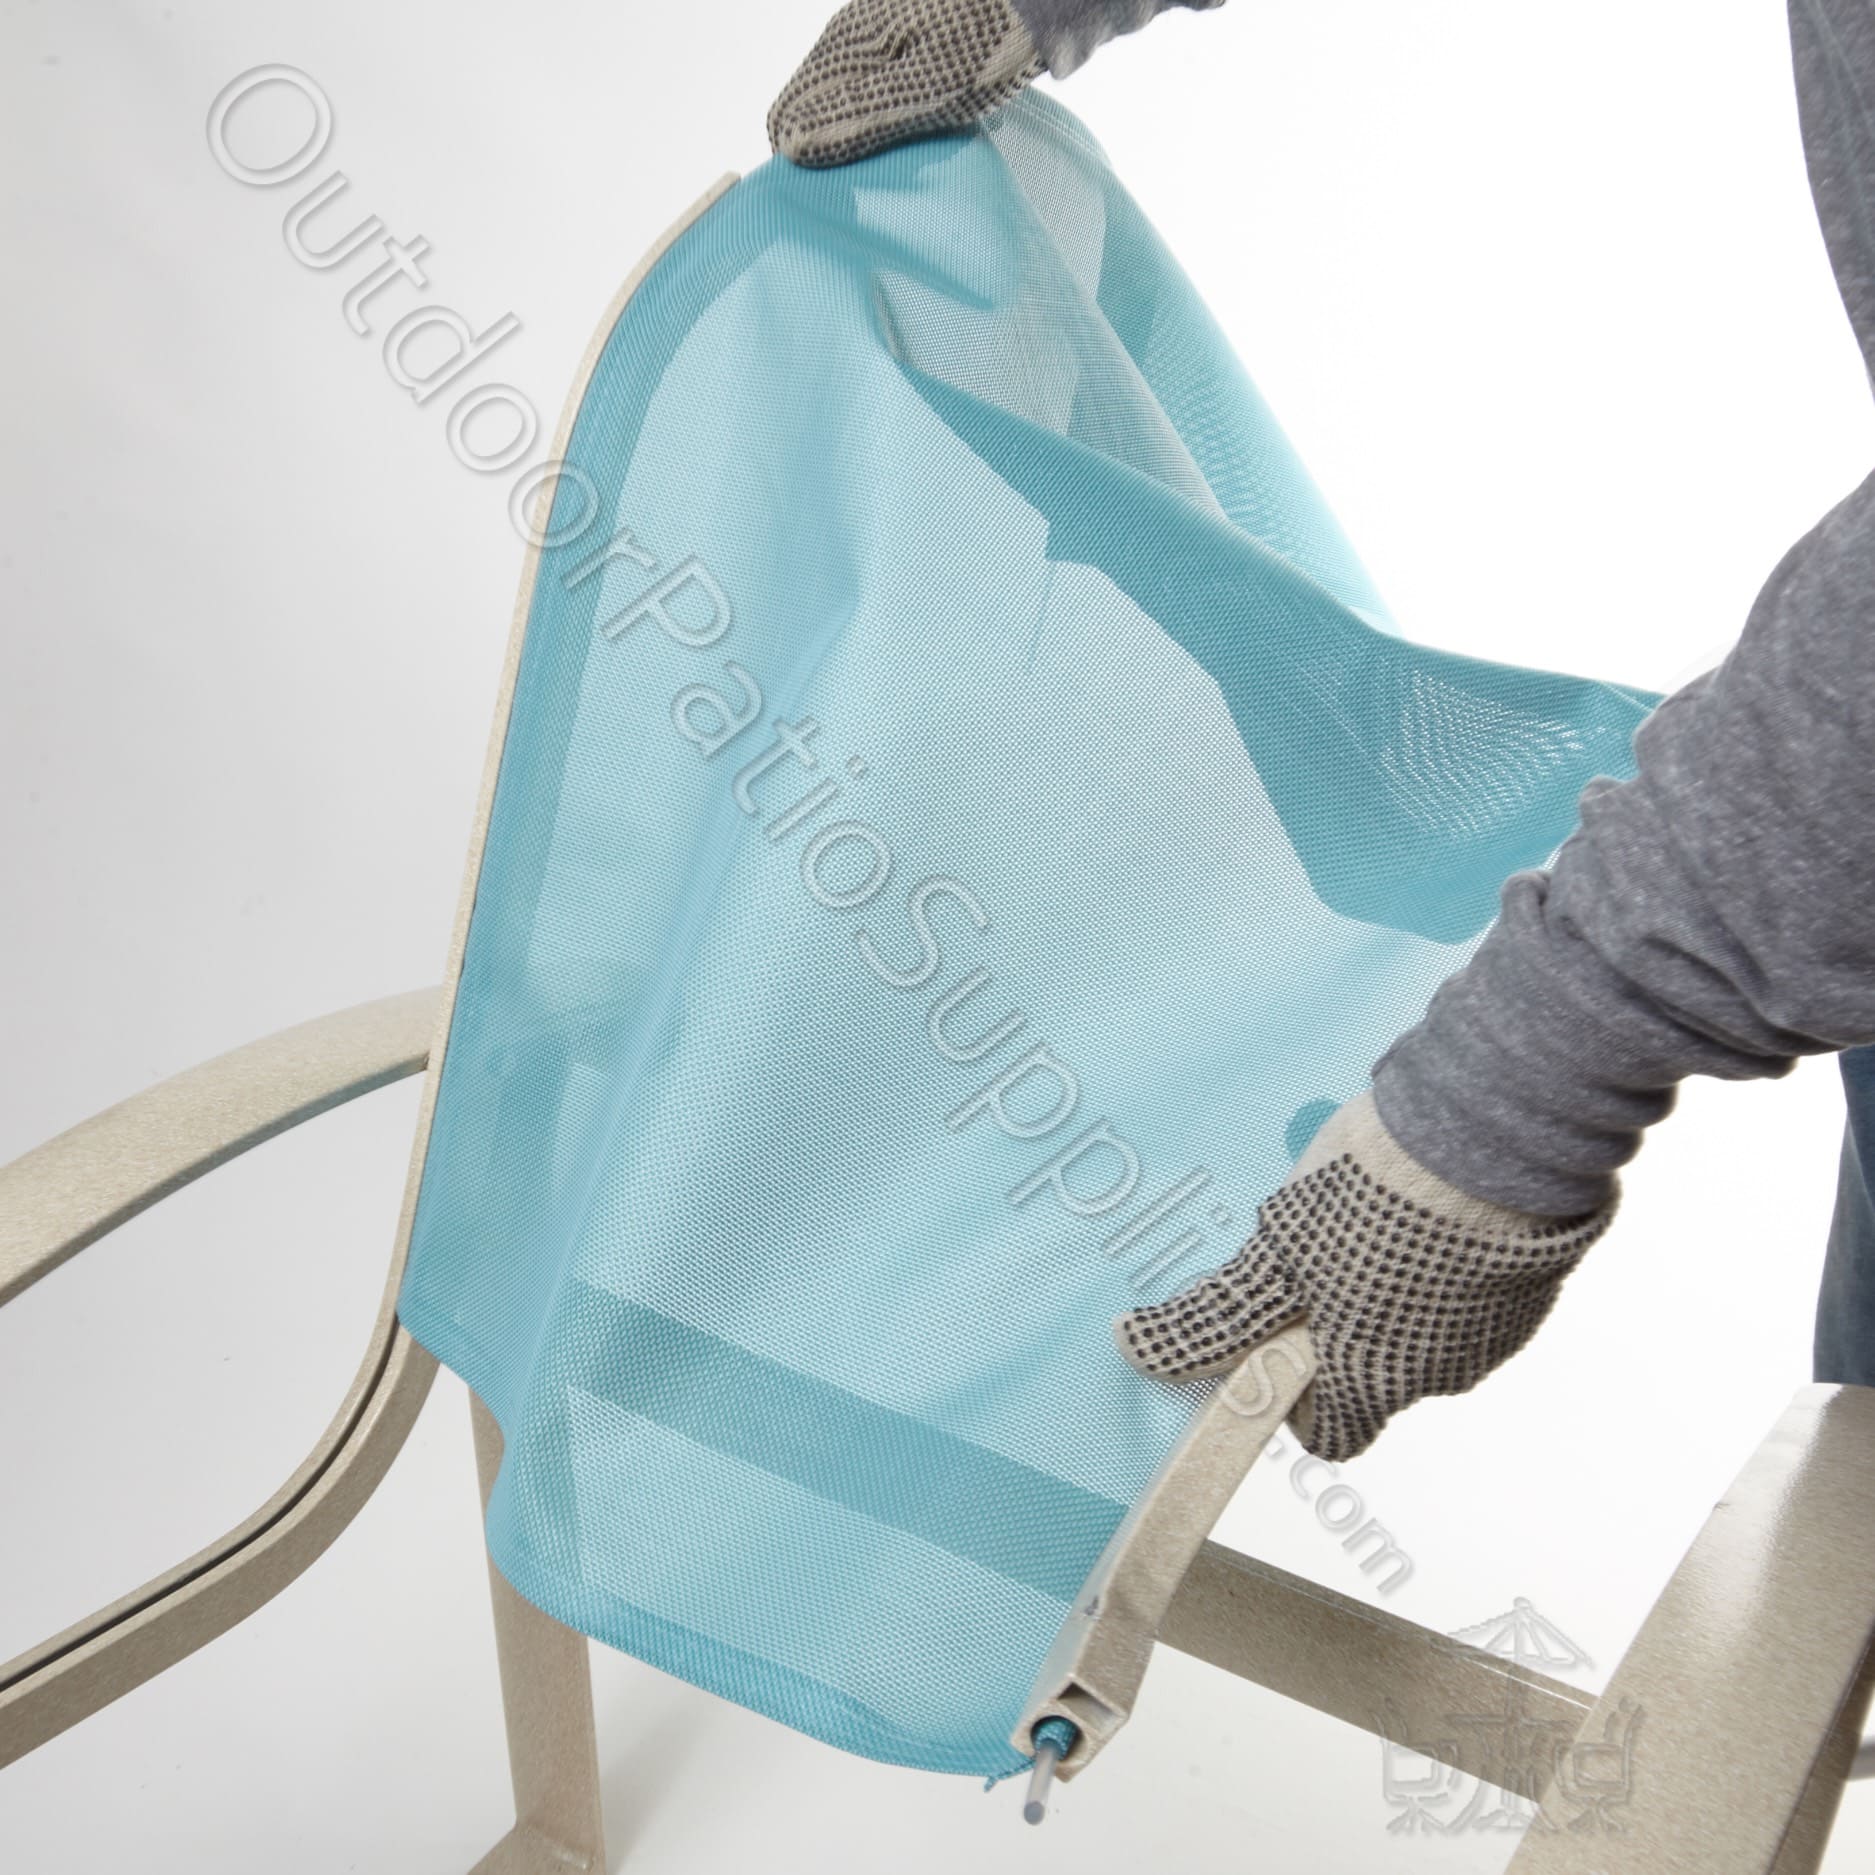
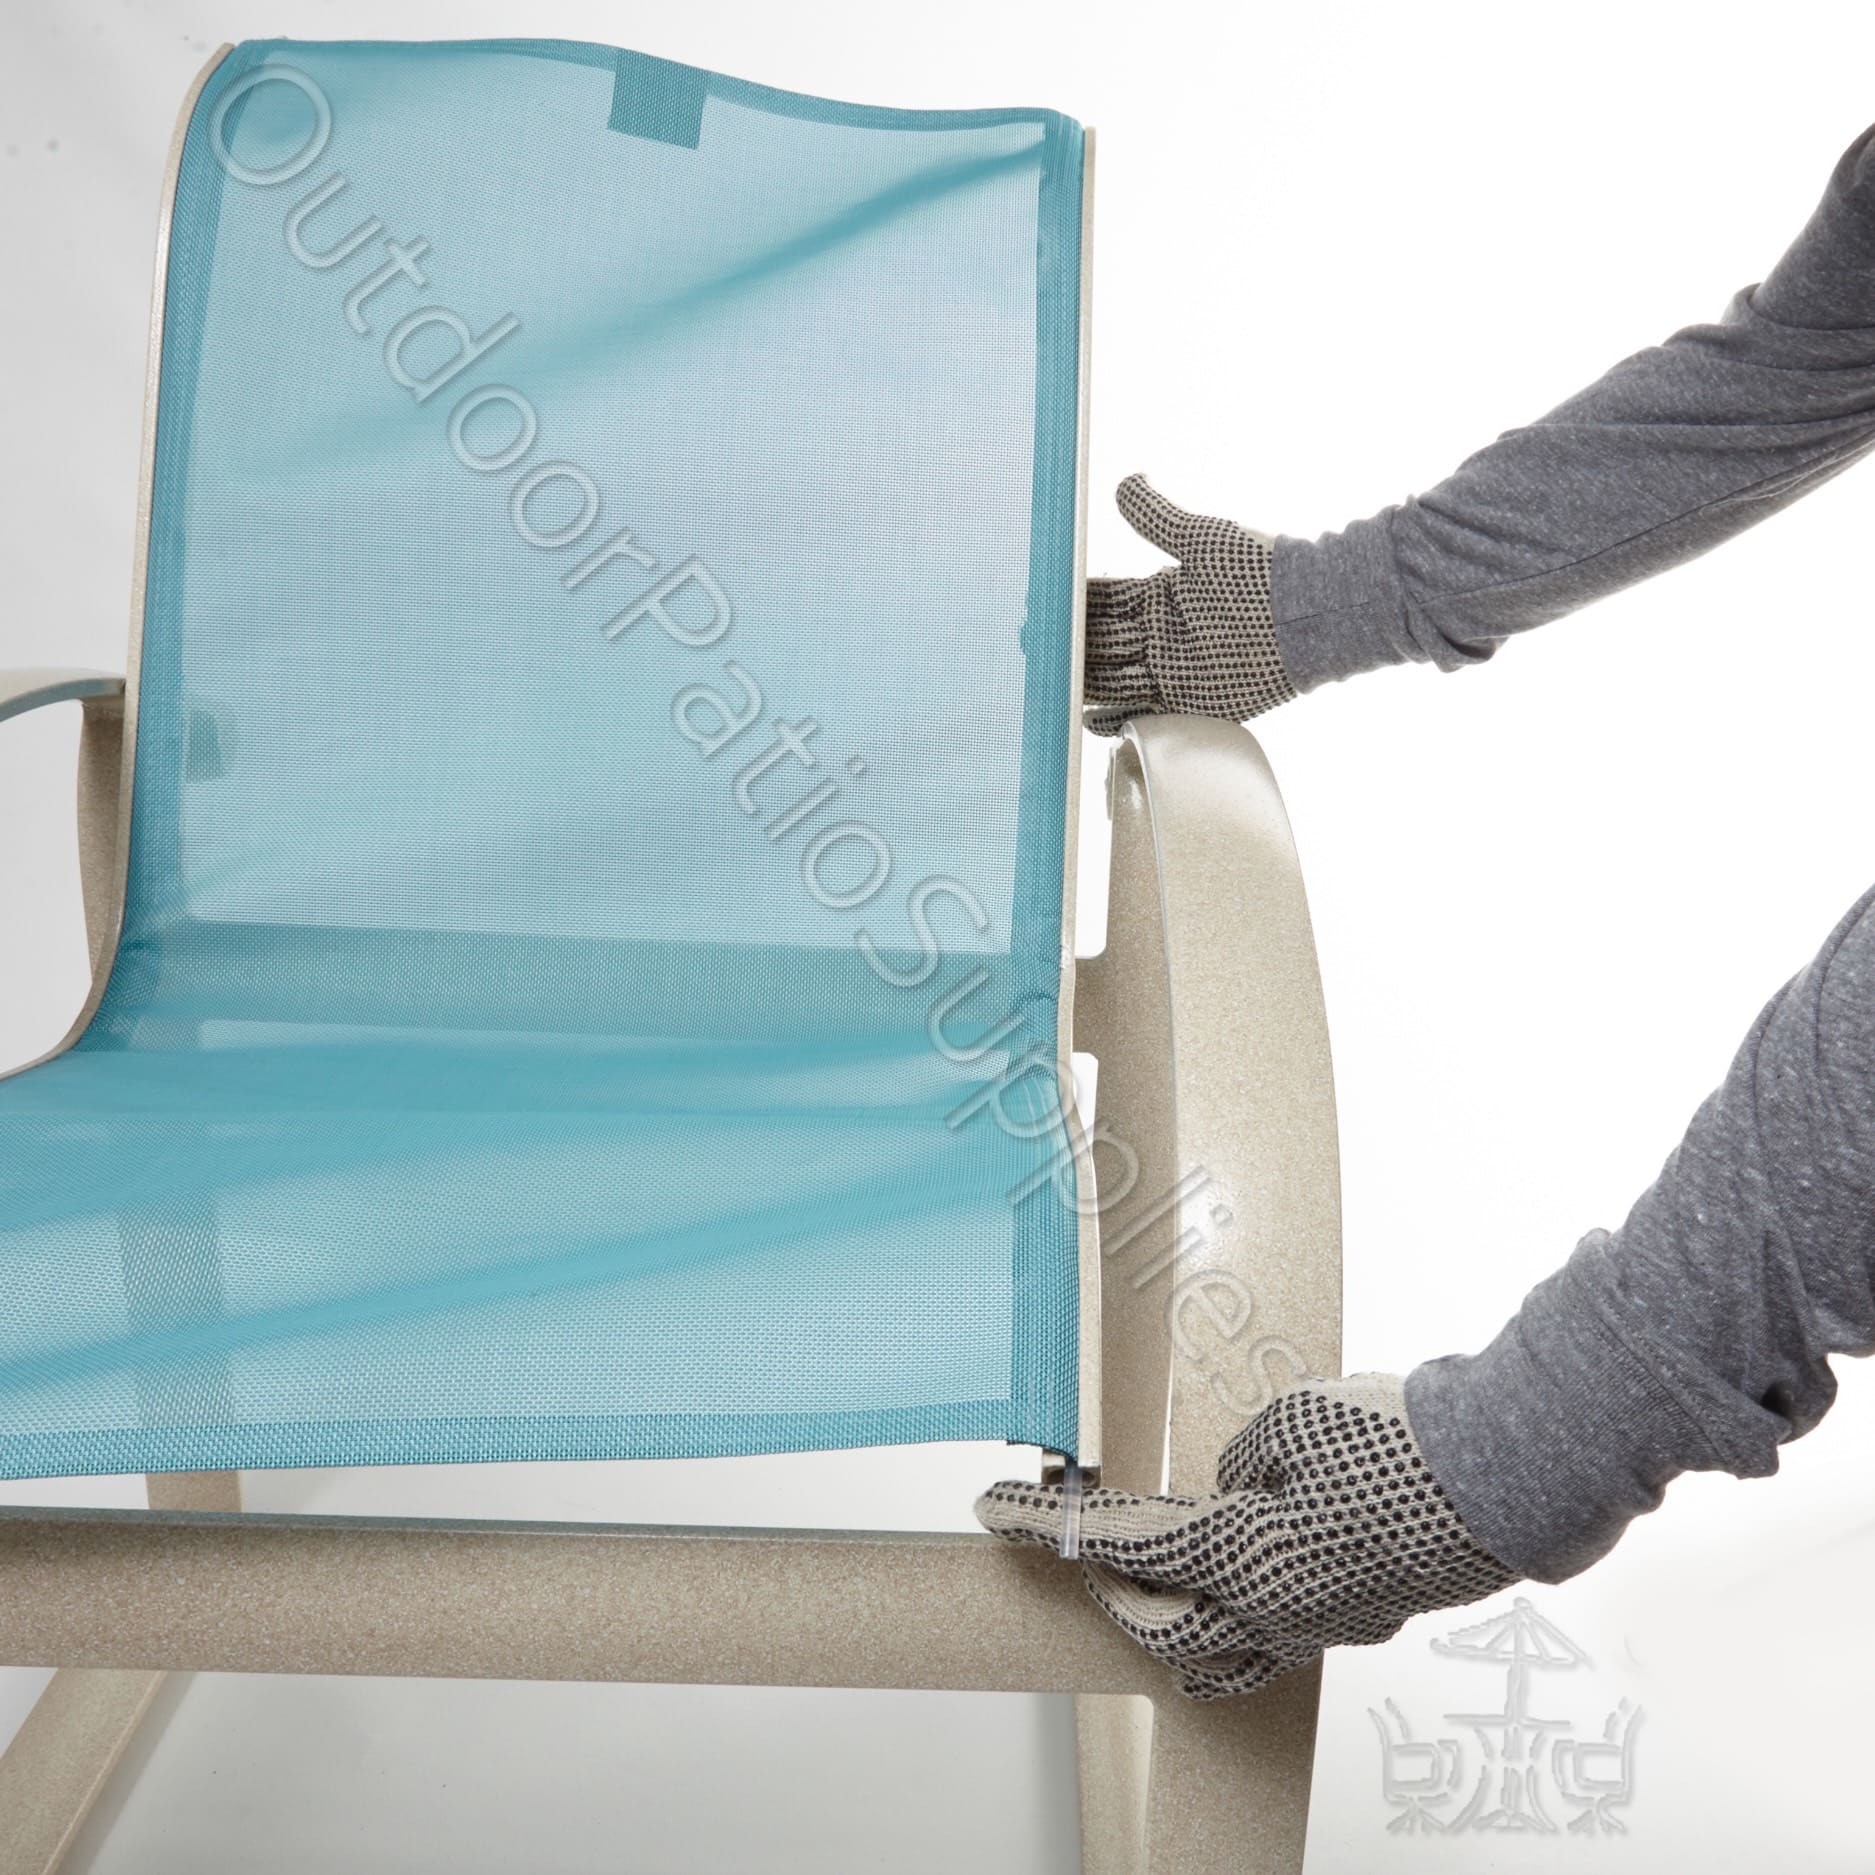
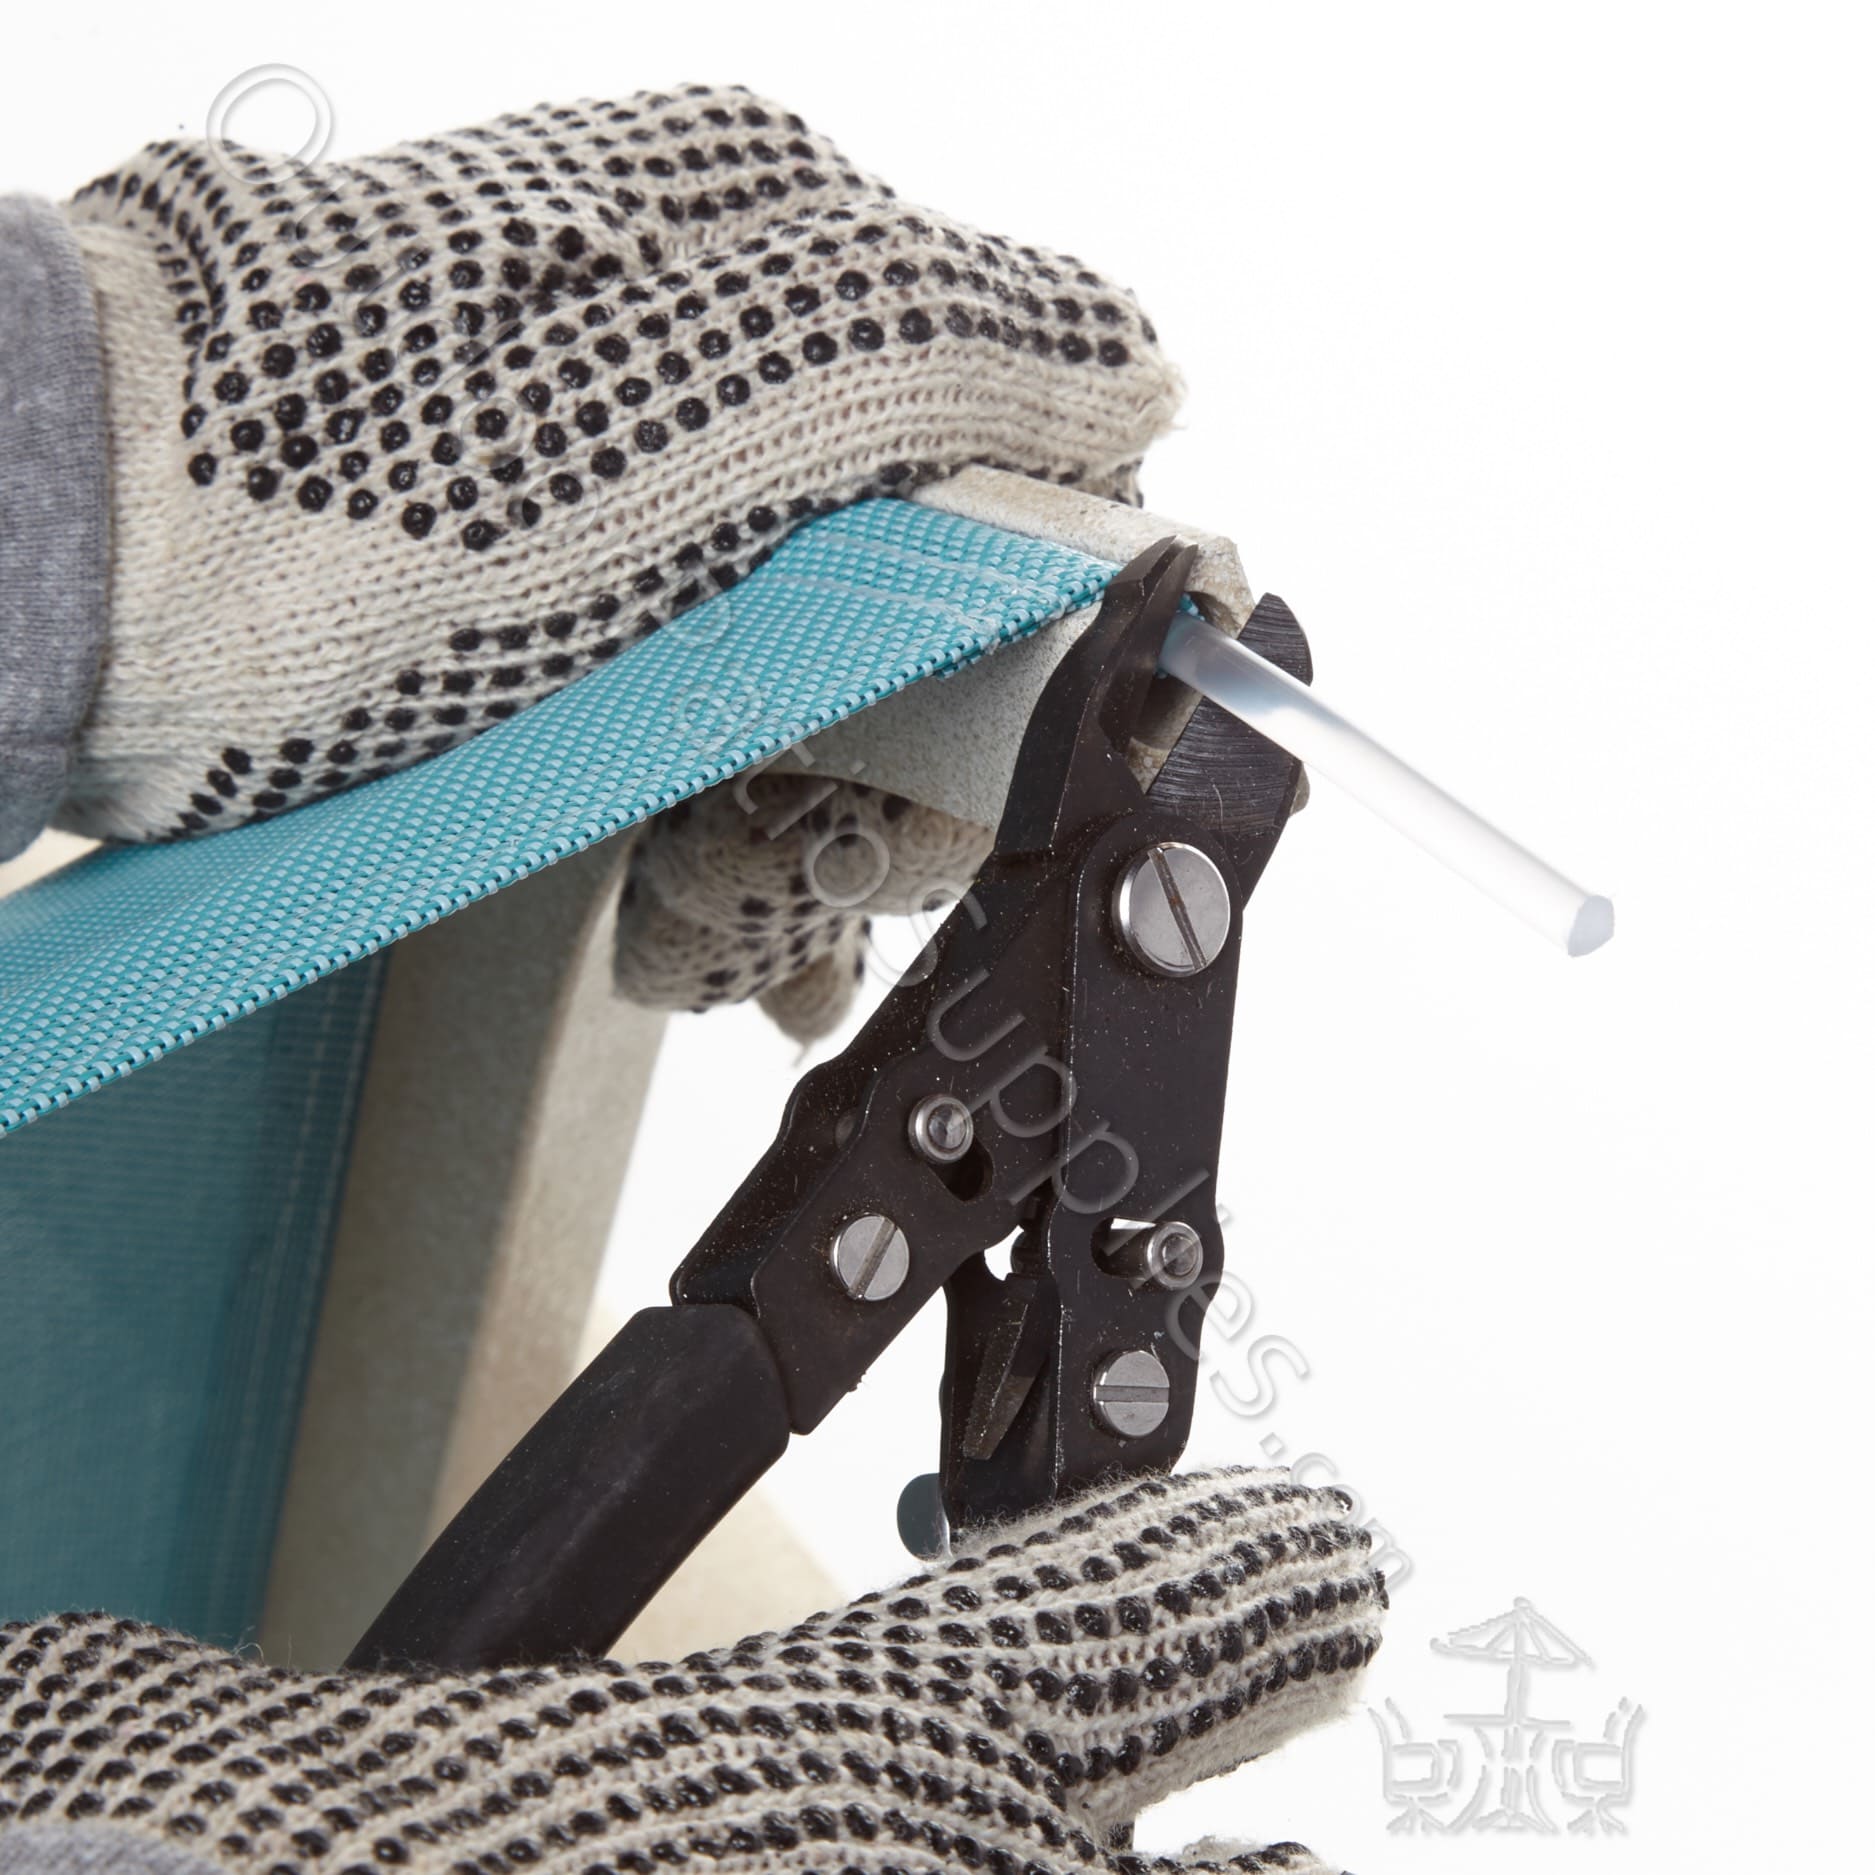
Use a utility knife or scissors to cut the old sling down the middle. If your chair has a support bar at the back, it will detach at this stage. Carefully slide each half of the old sling out of the rails one at a time. If needed, use pliers to help remove them. Refer to
Pics. 4, 5, 6 and 7 for guidance.
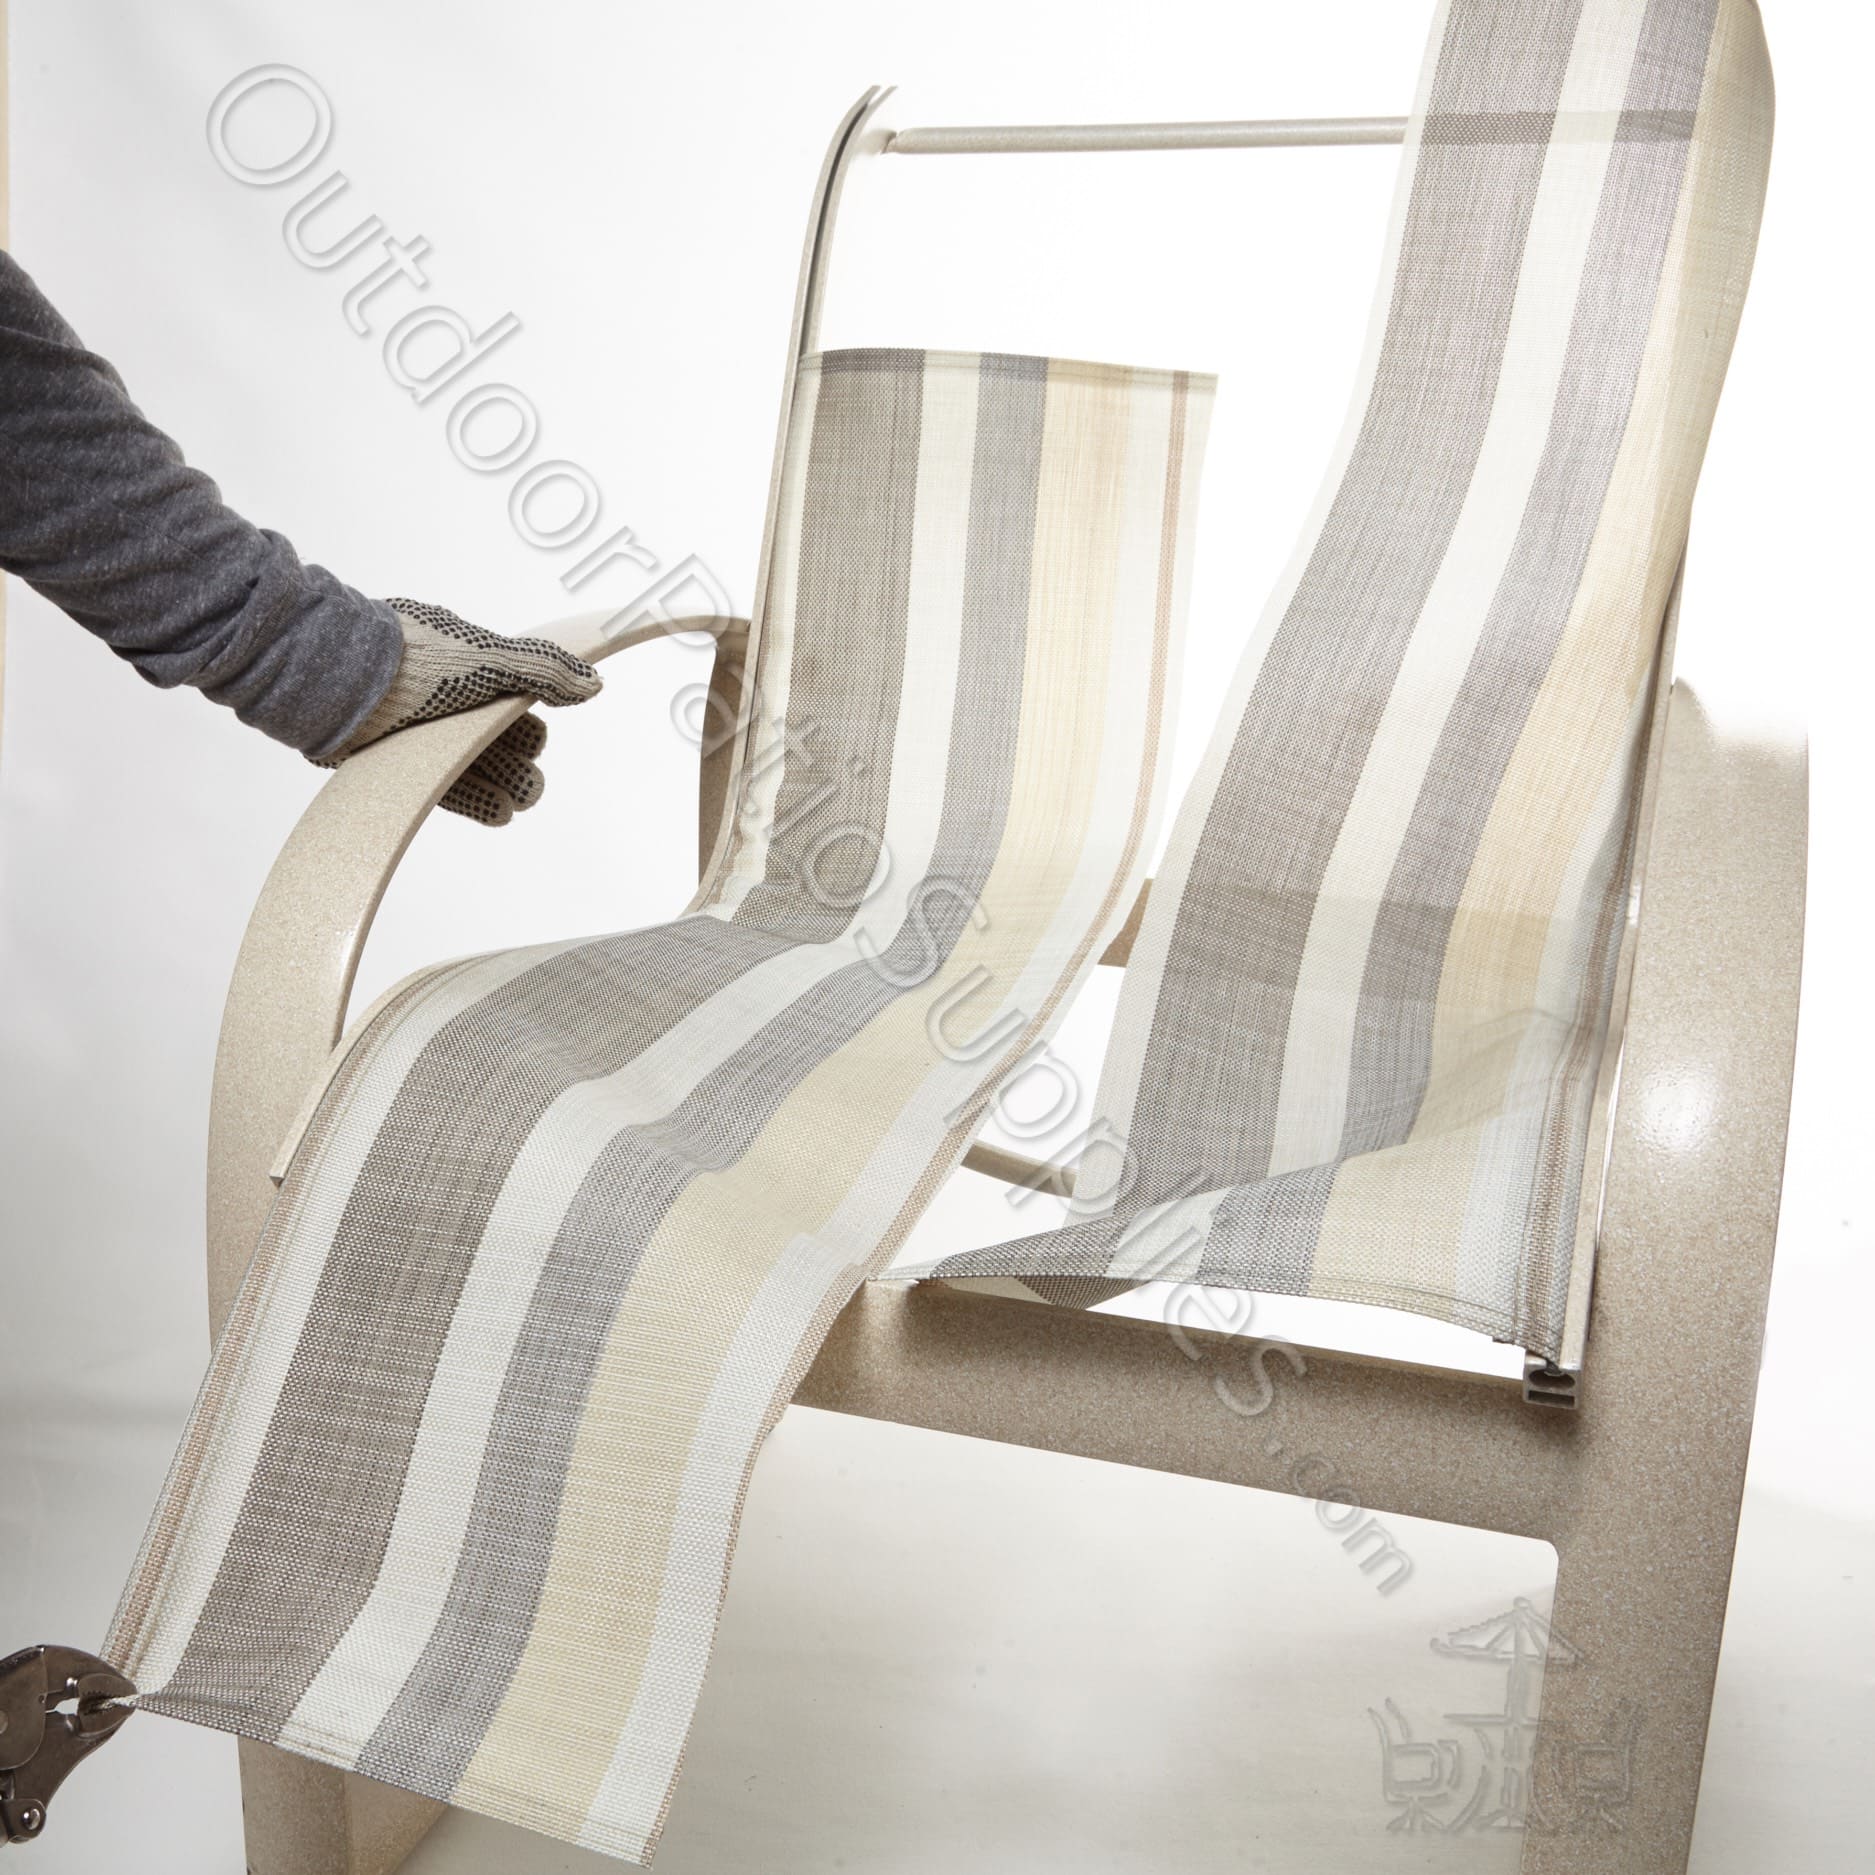
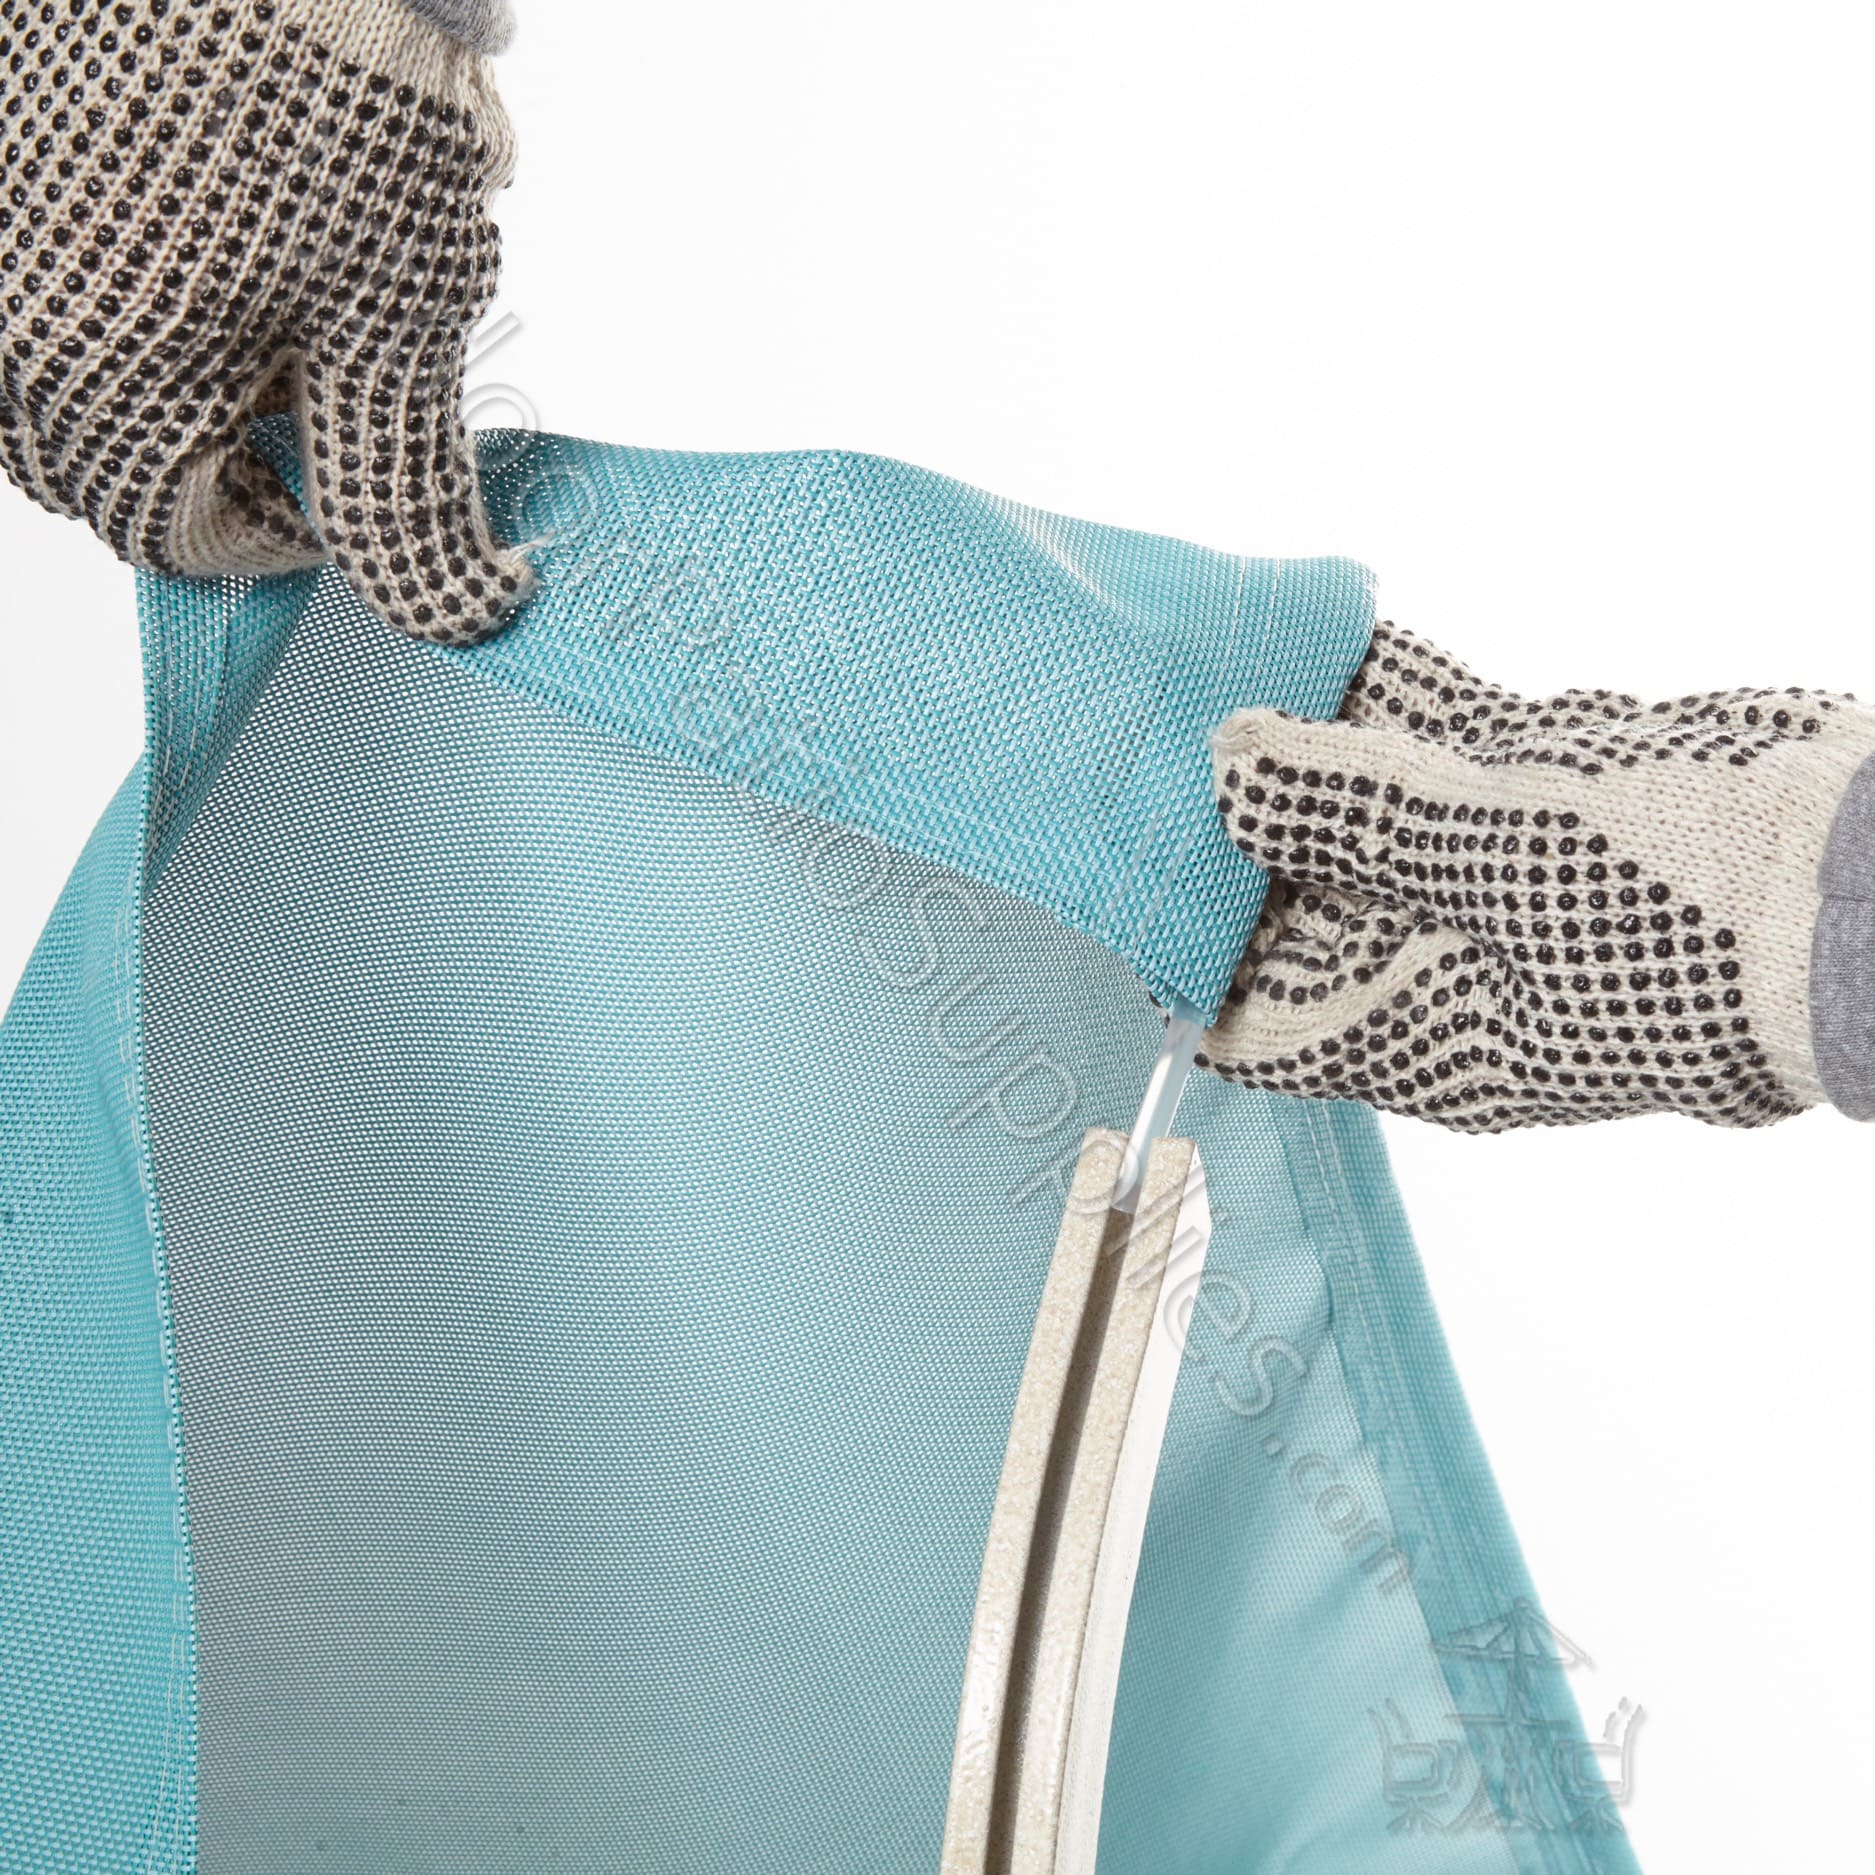
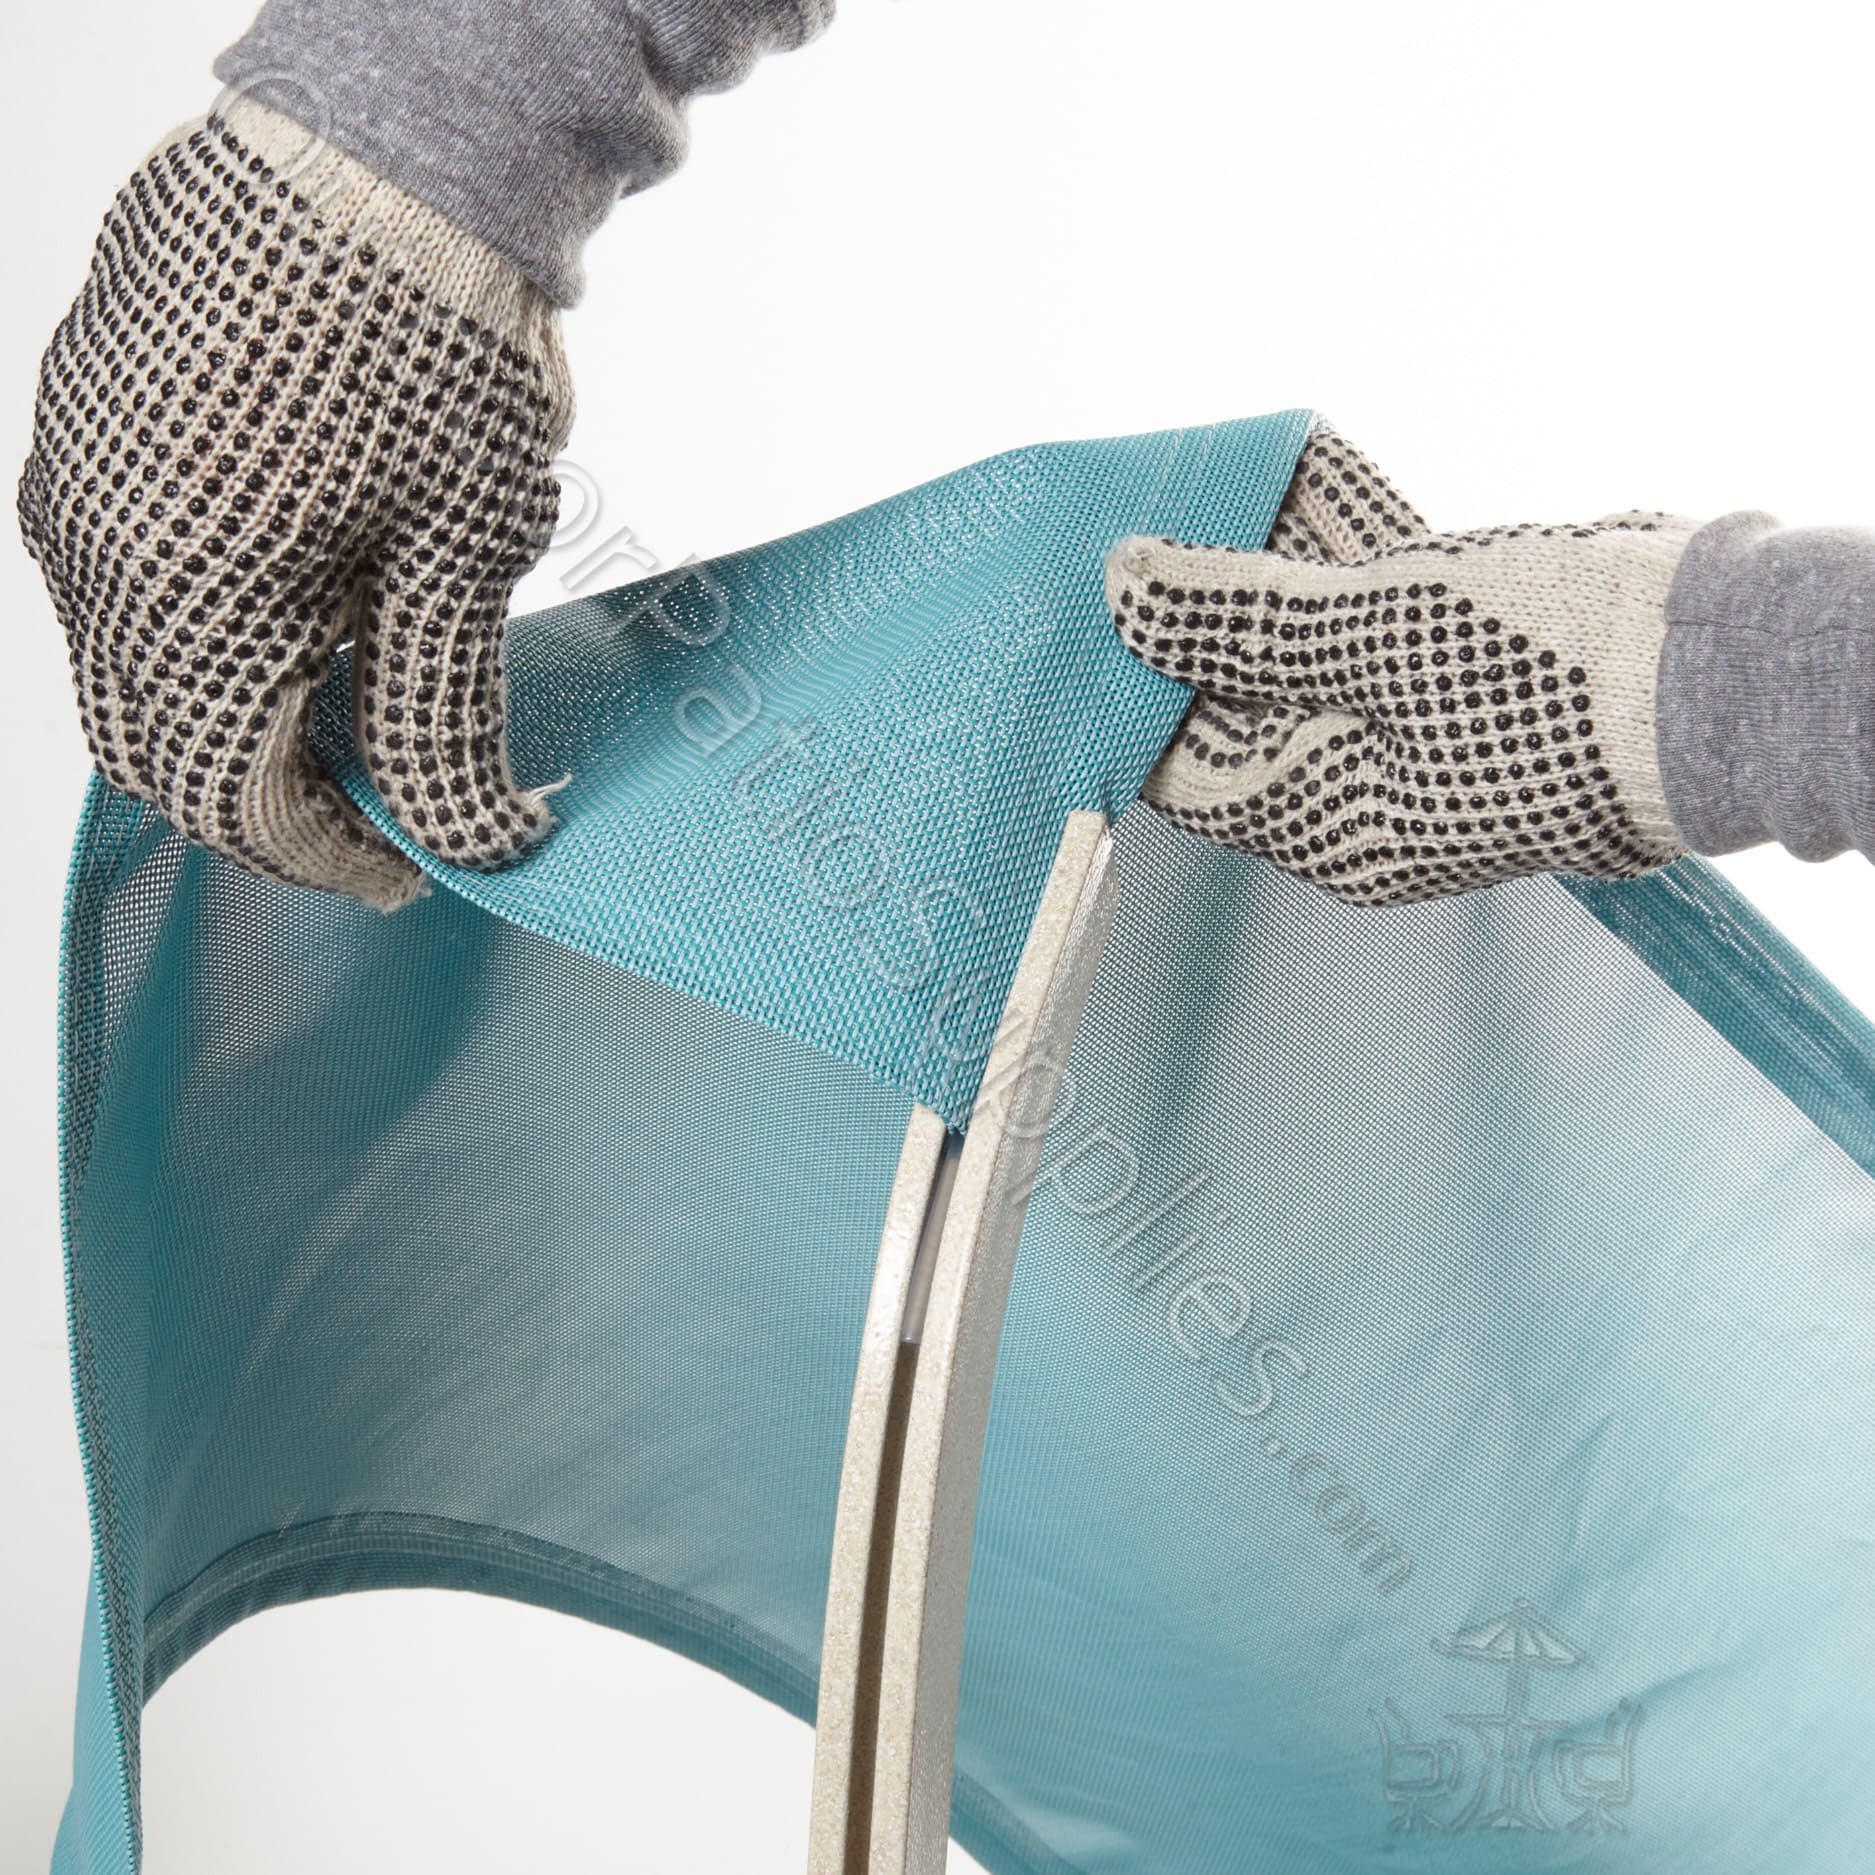
Ensure the sling tag remains at the top of the chair, as it distinguishes the top from the bottom dimensions of the sling. Refer to
Pic. 9, 10 and 11 for guidance.
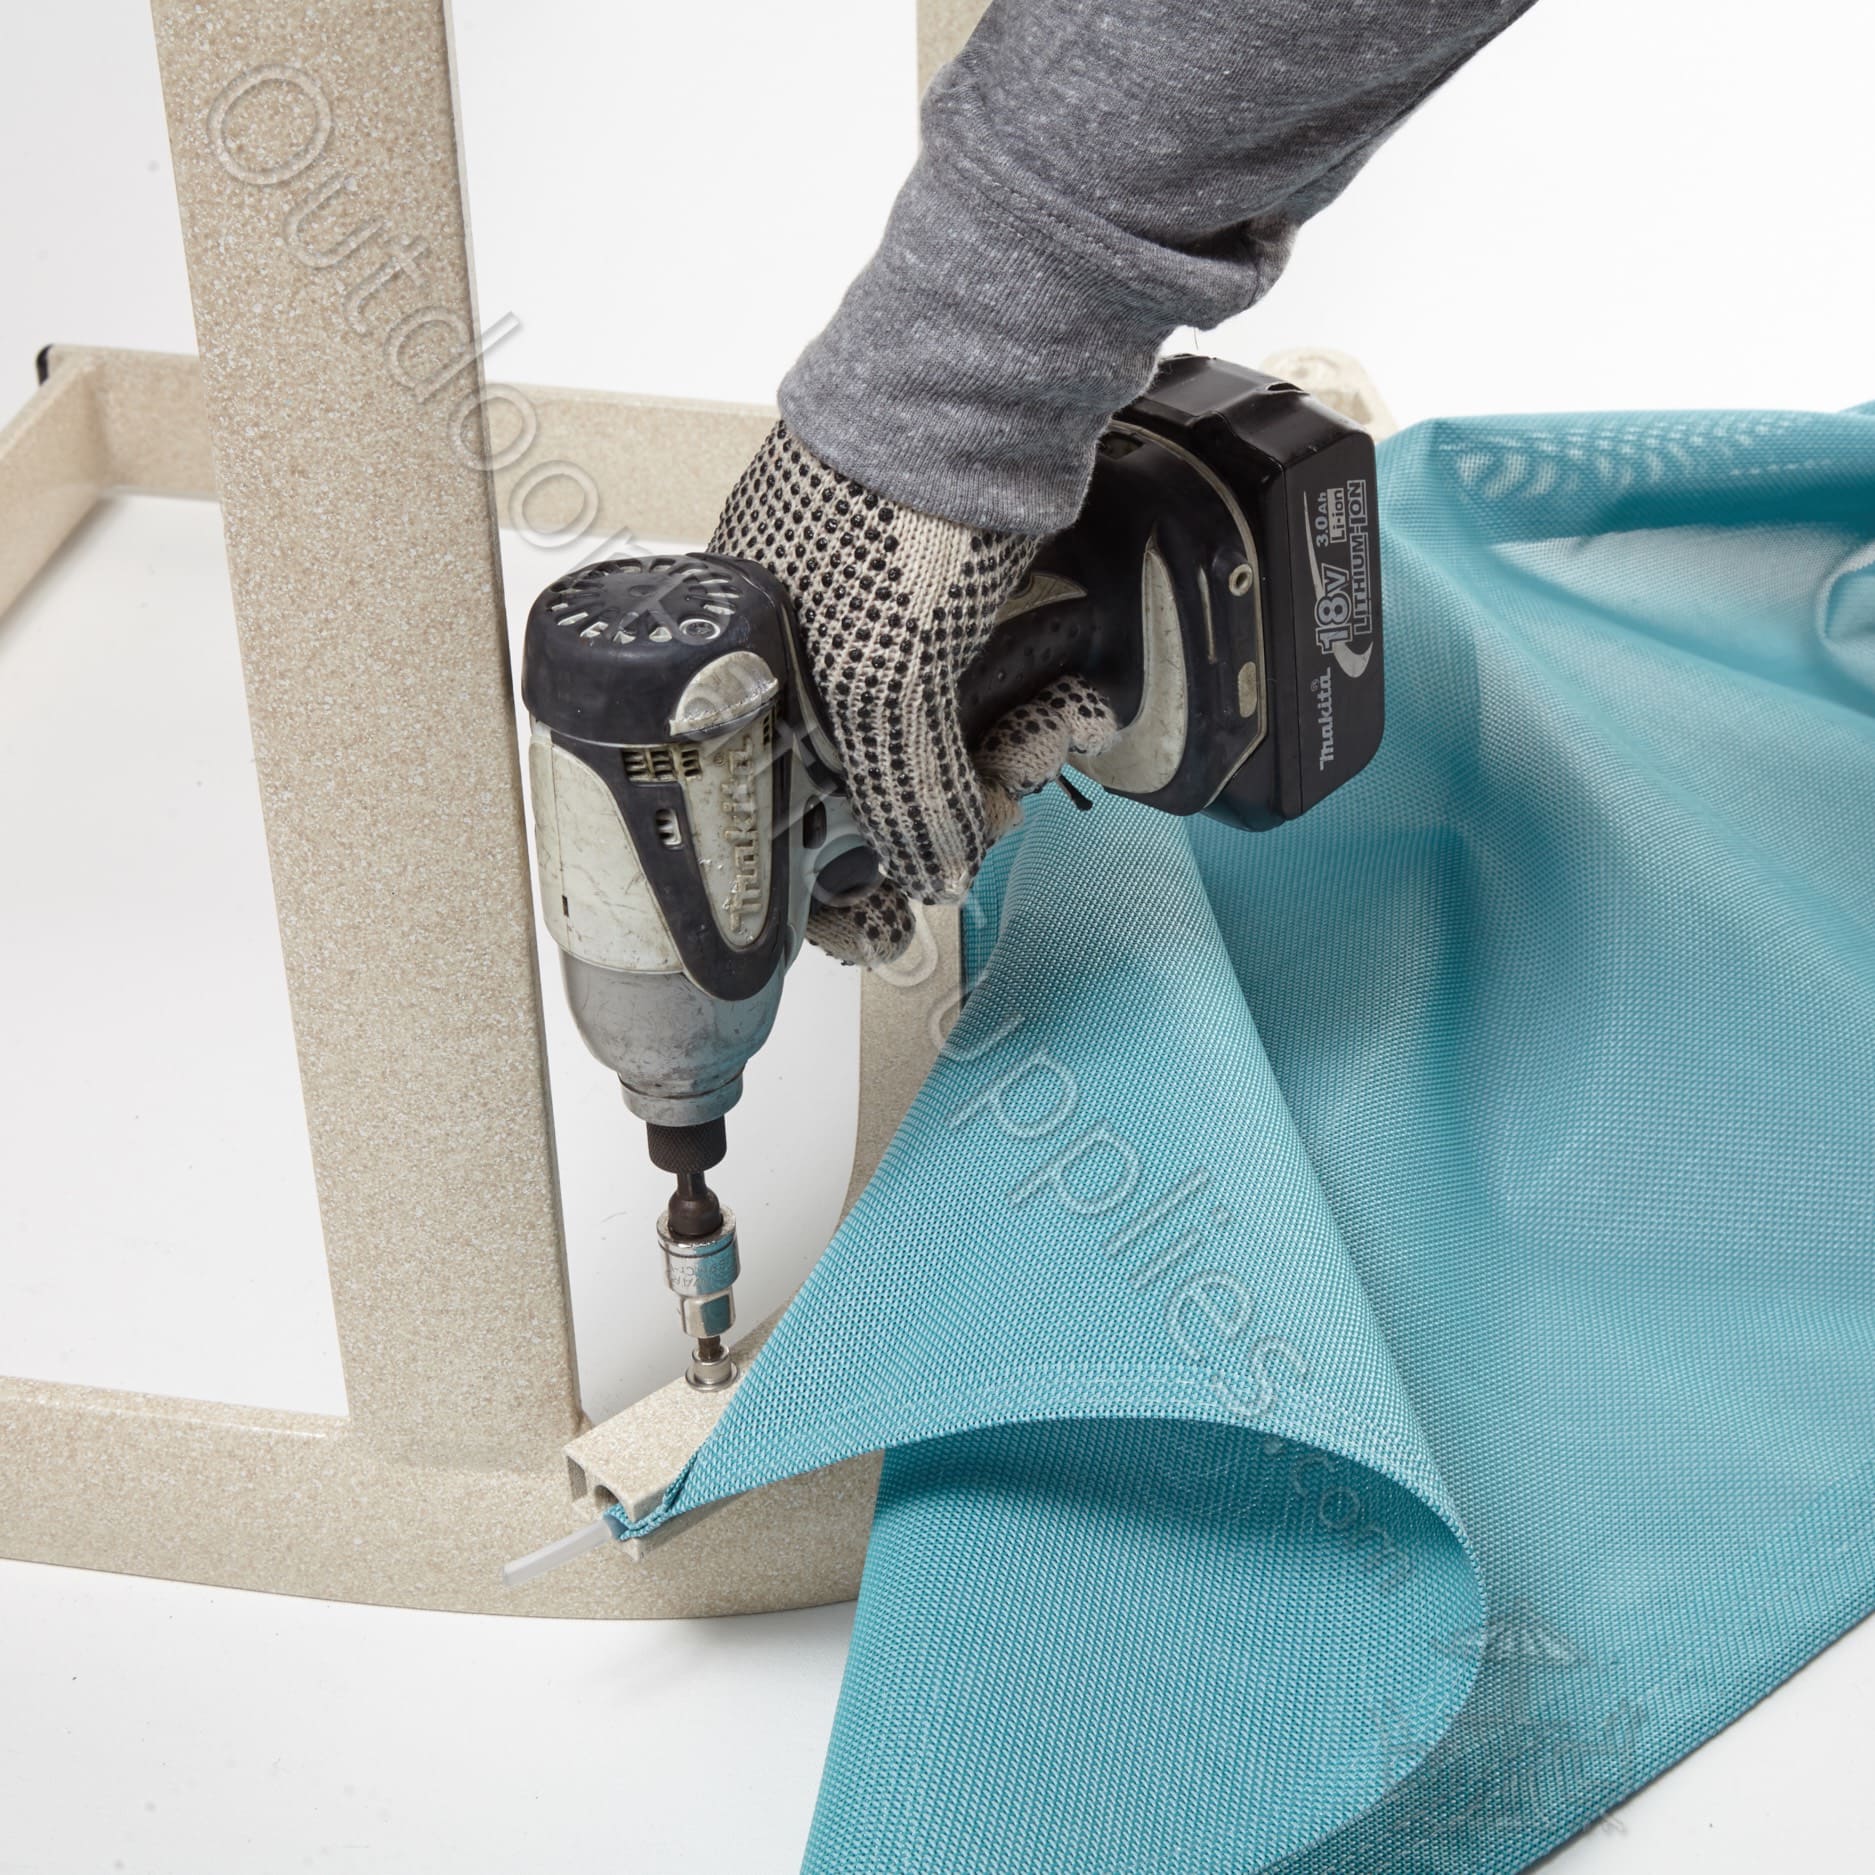
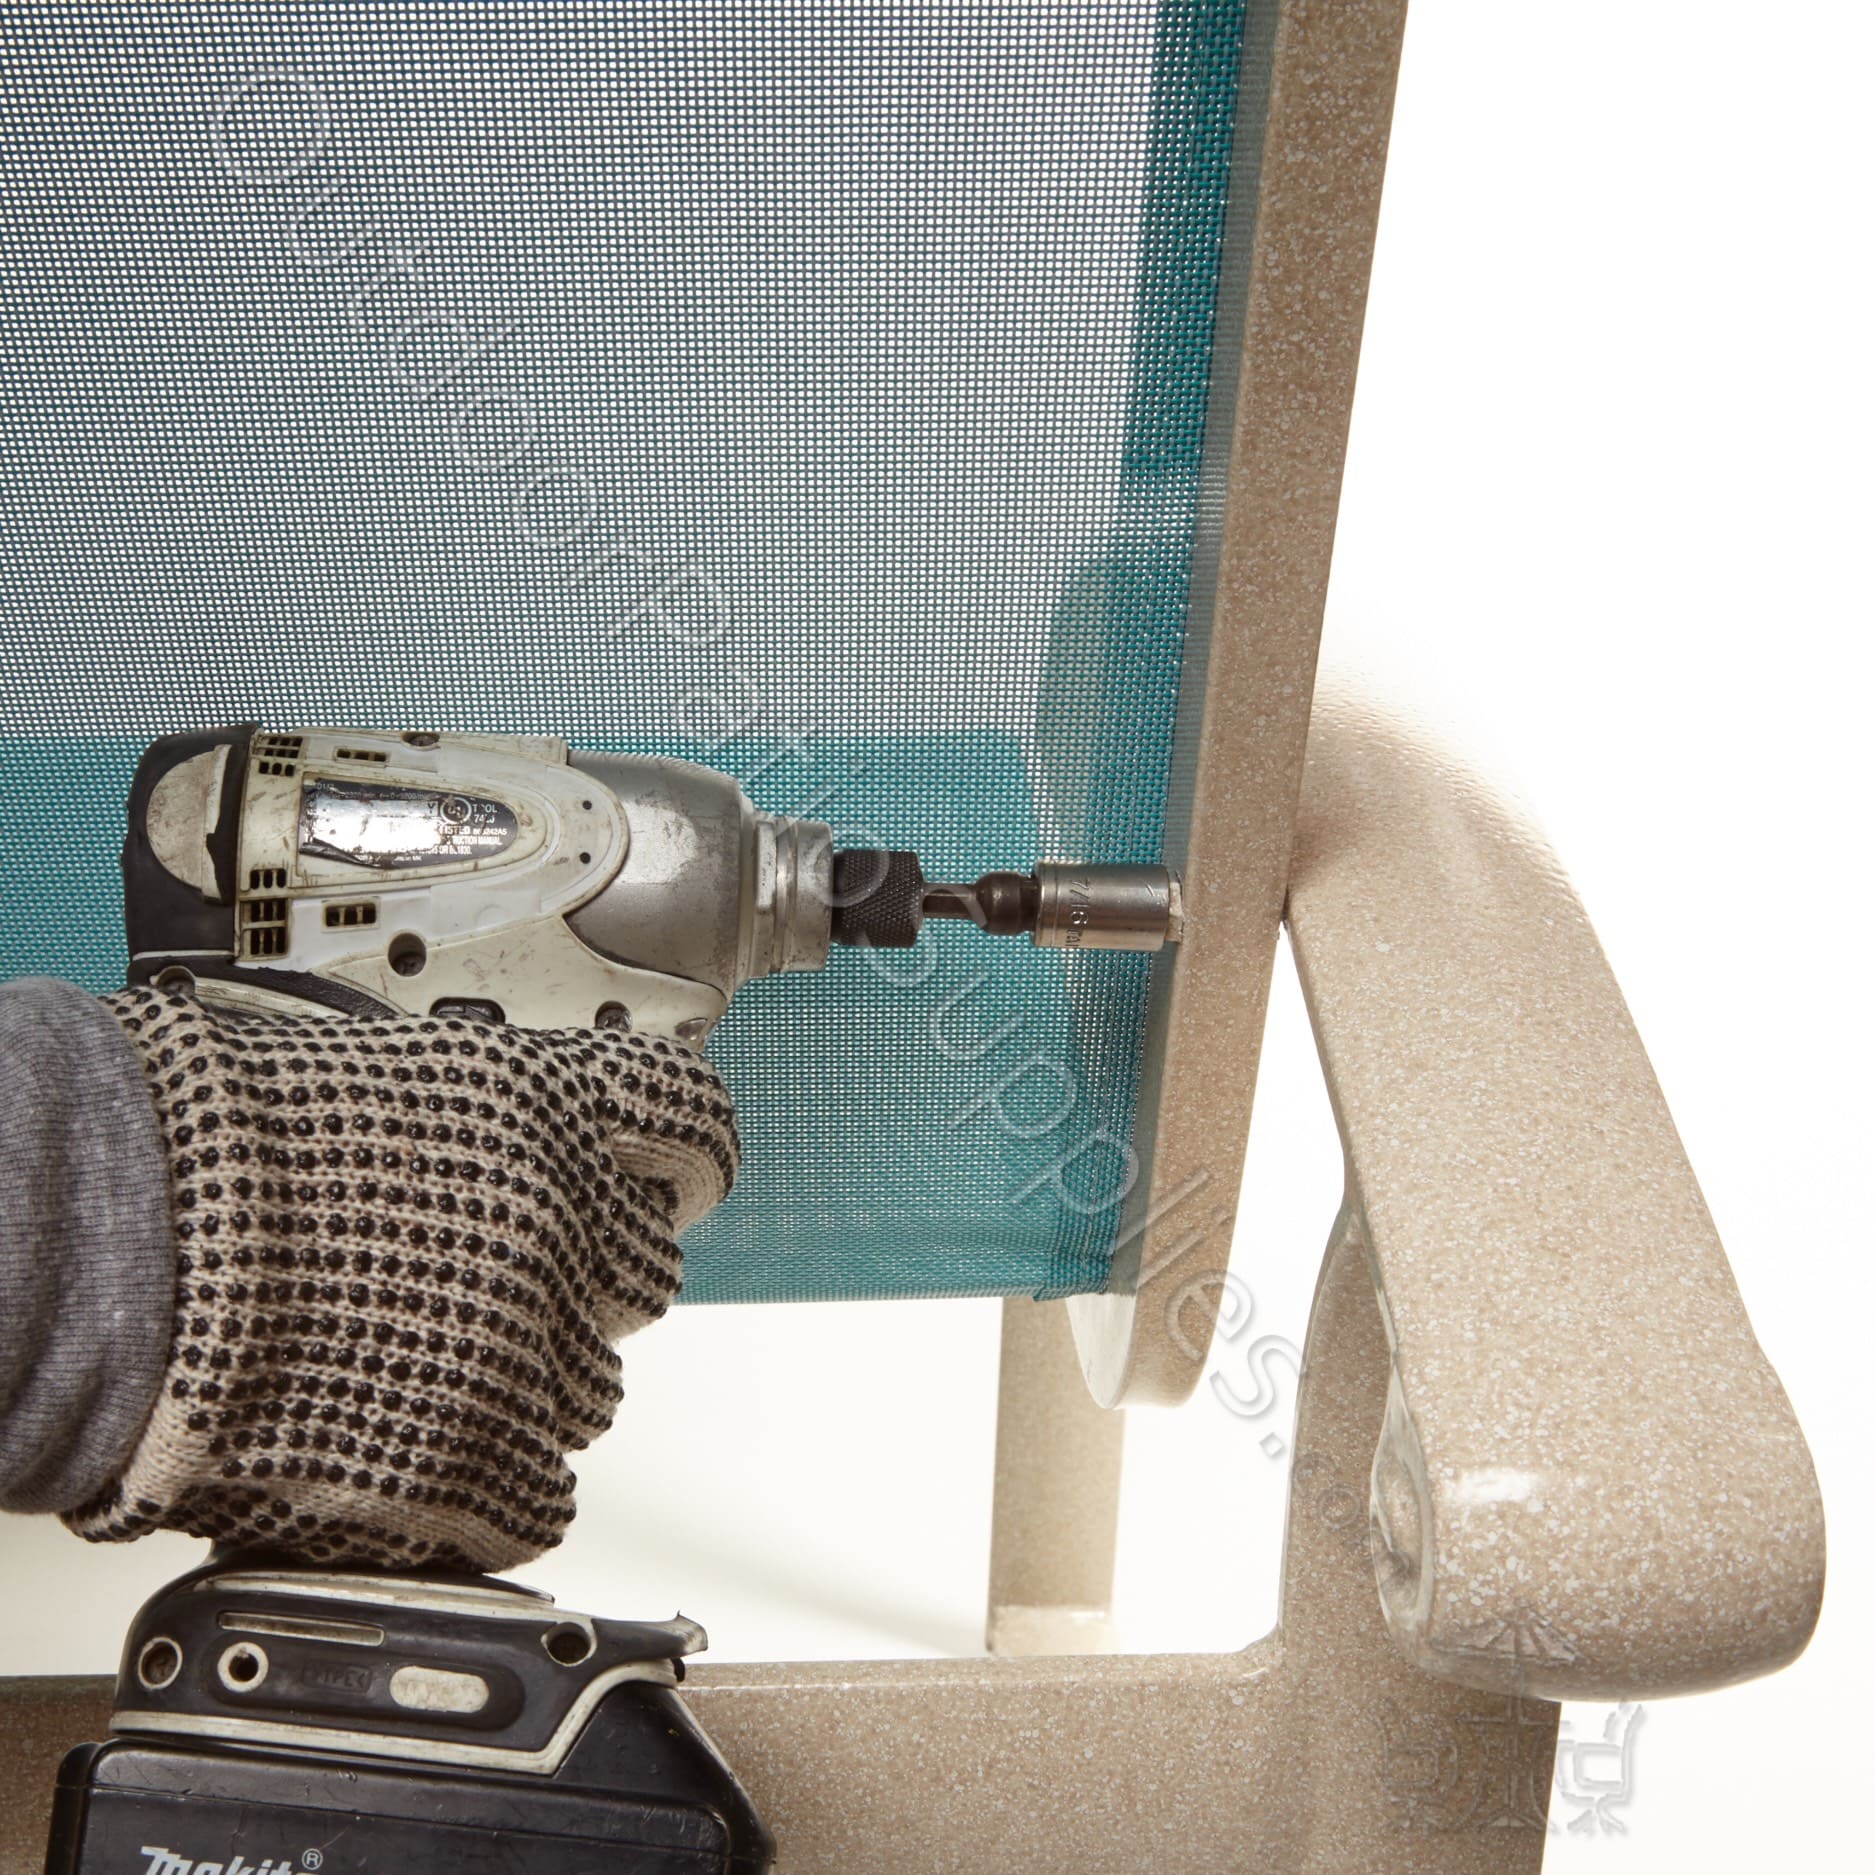
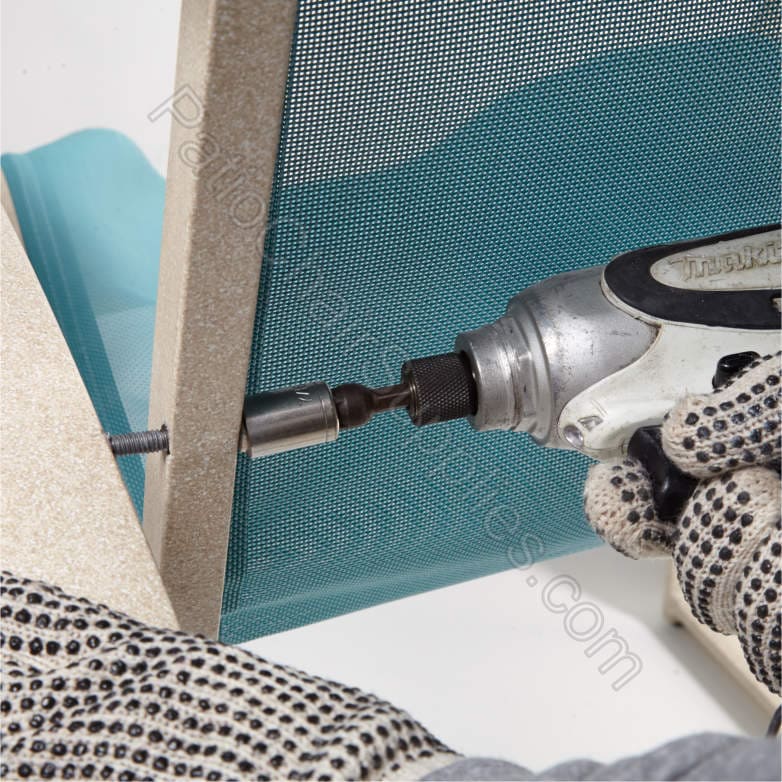
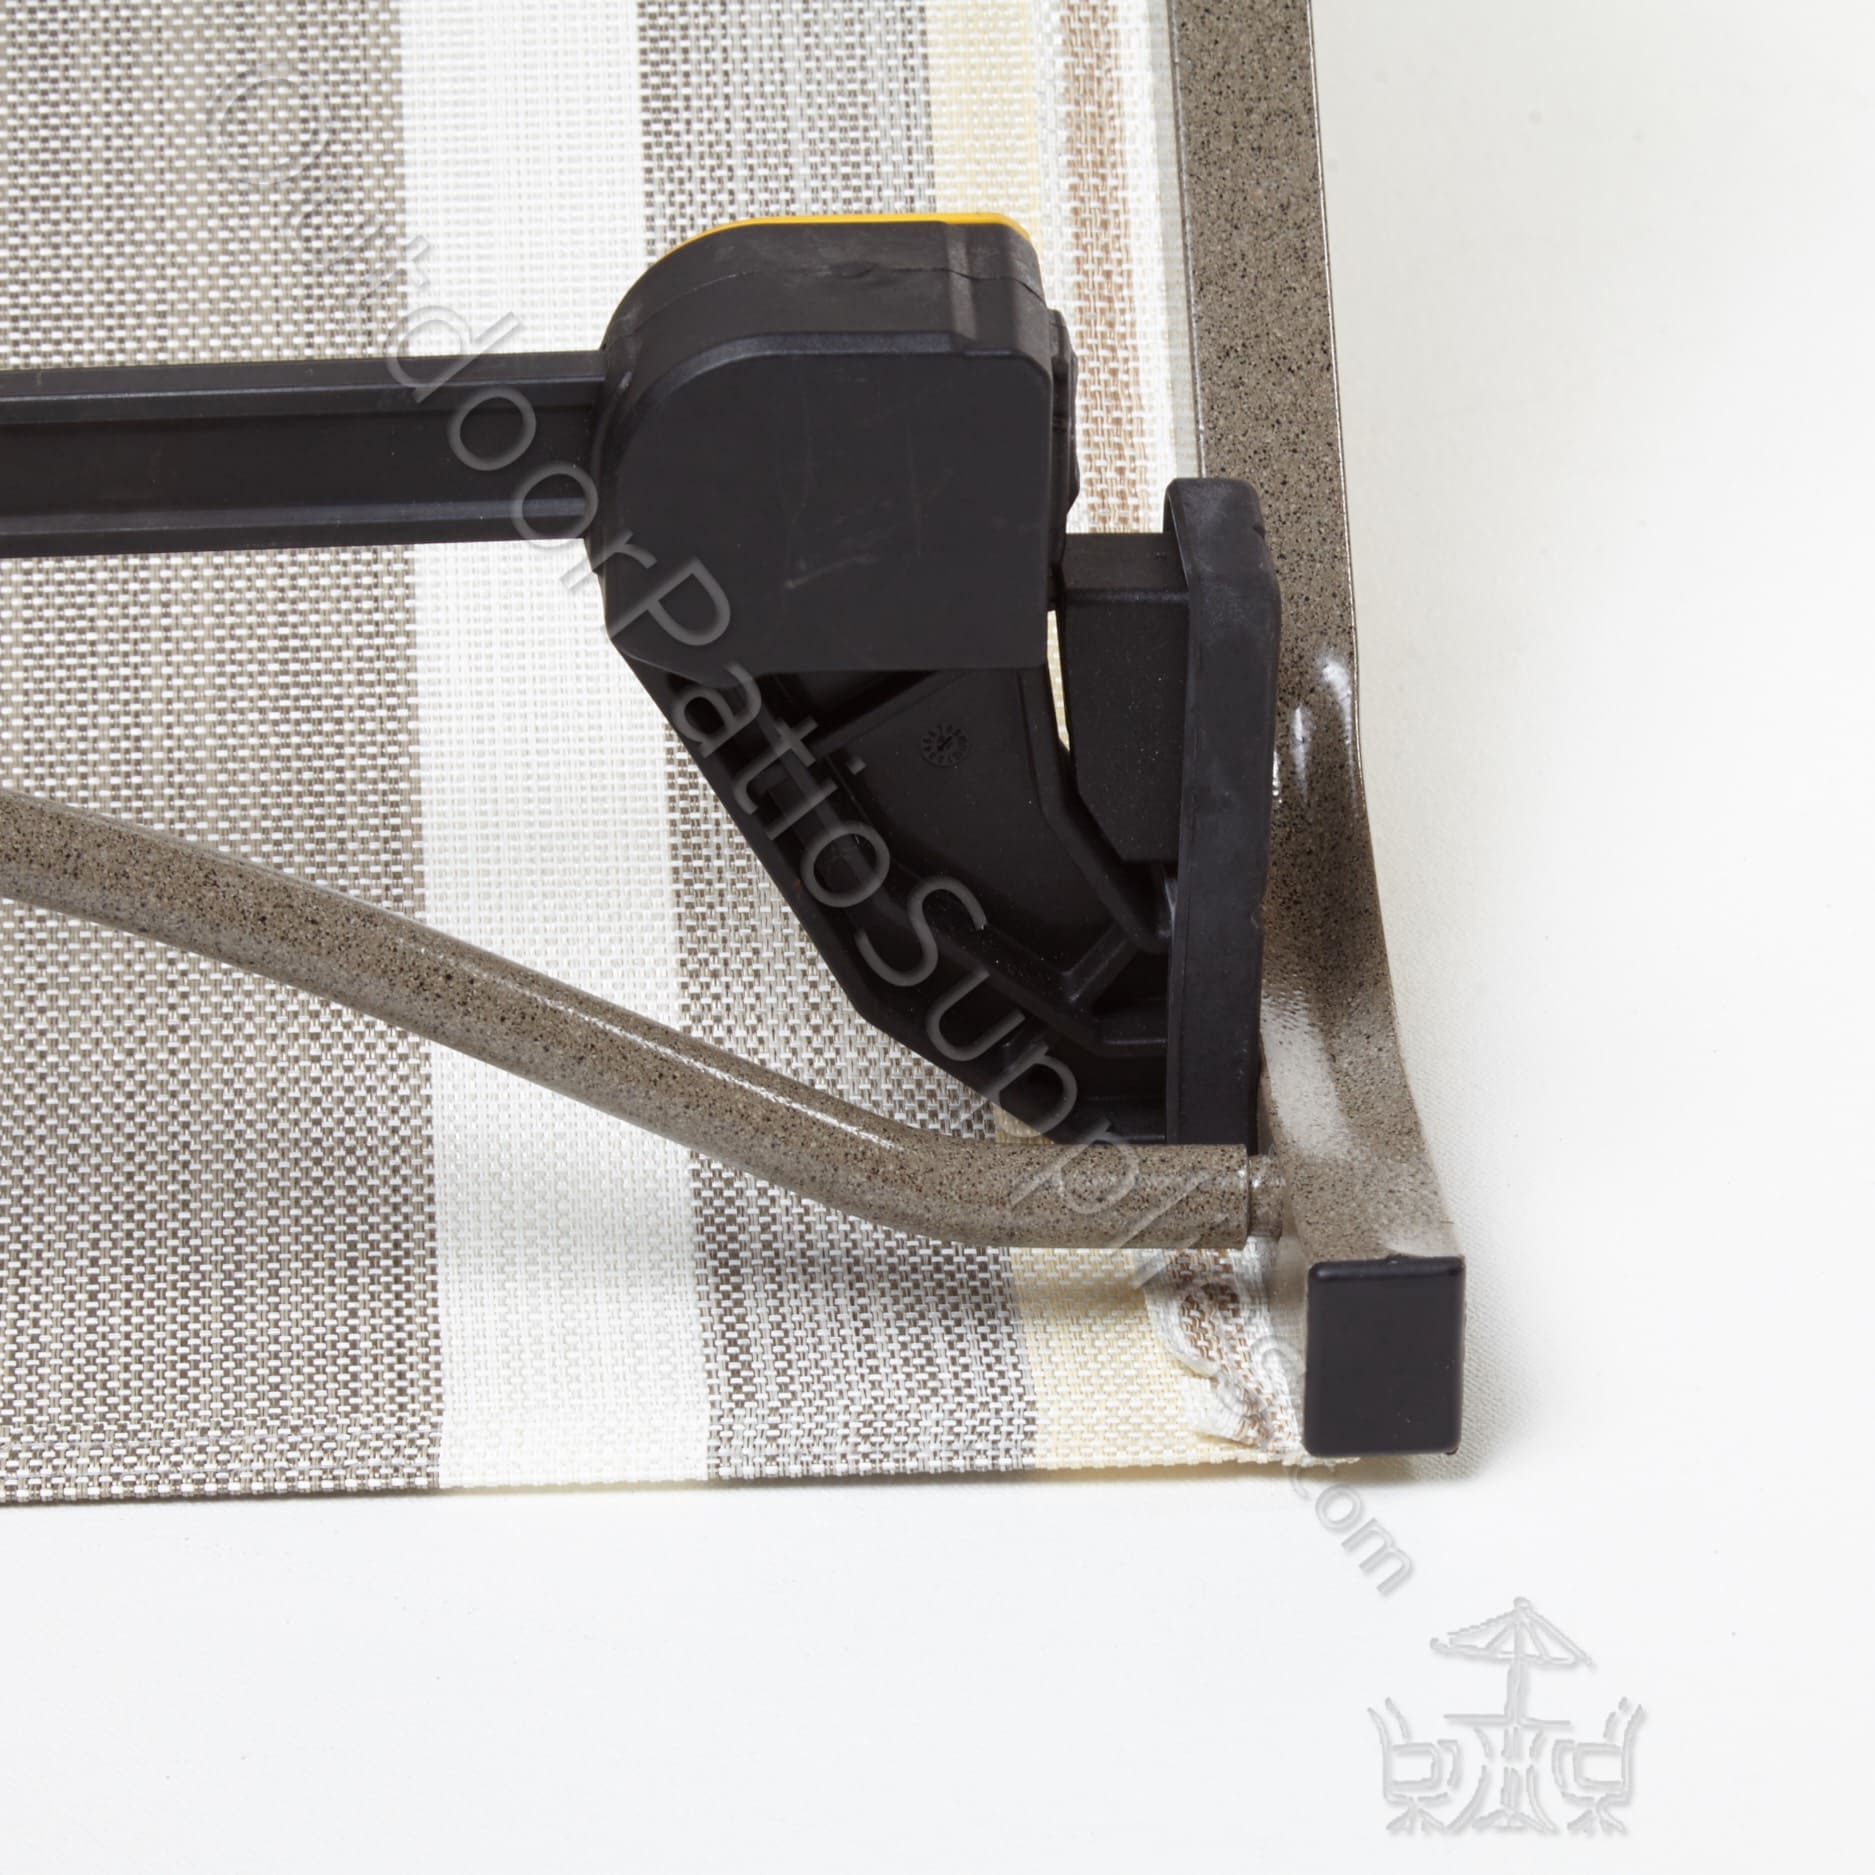
Use an impact drill to remove all bolts, including spacers or washers, that secure the rail on the side where you inserted the sling, as shown in Pic. 12
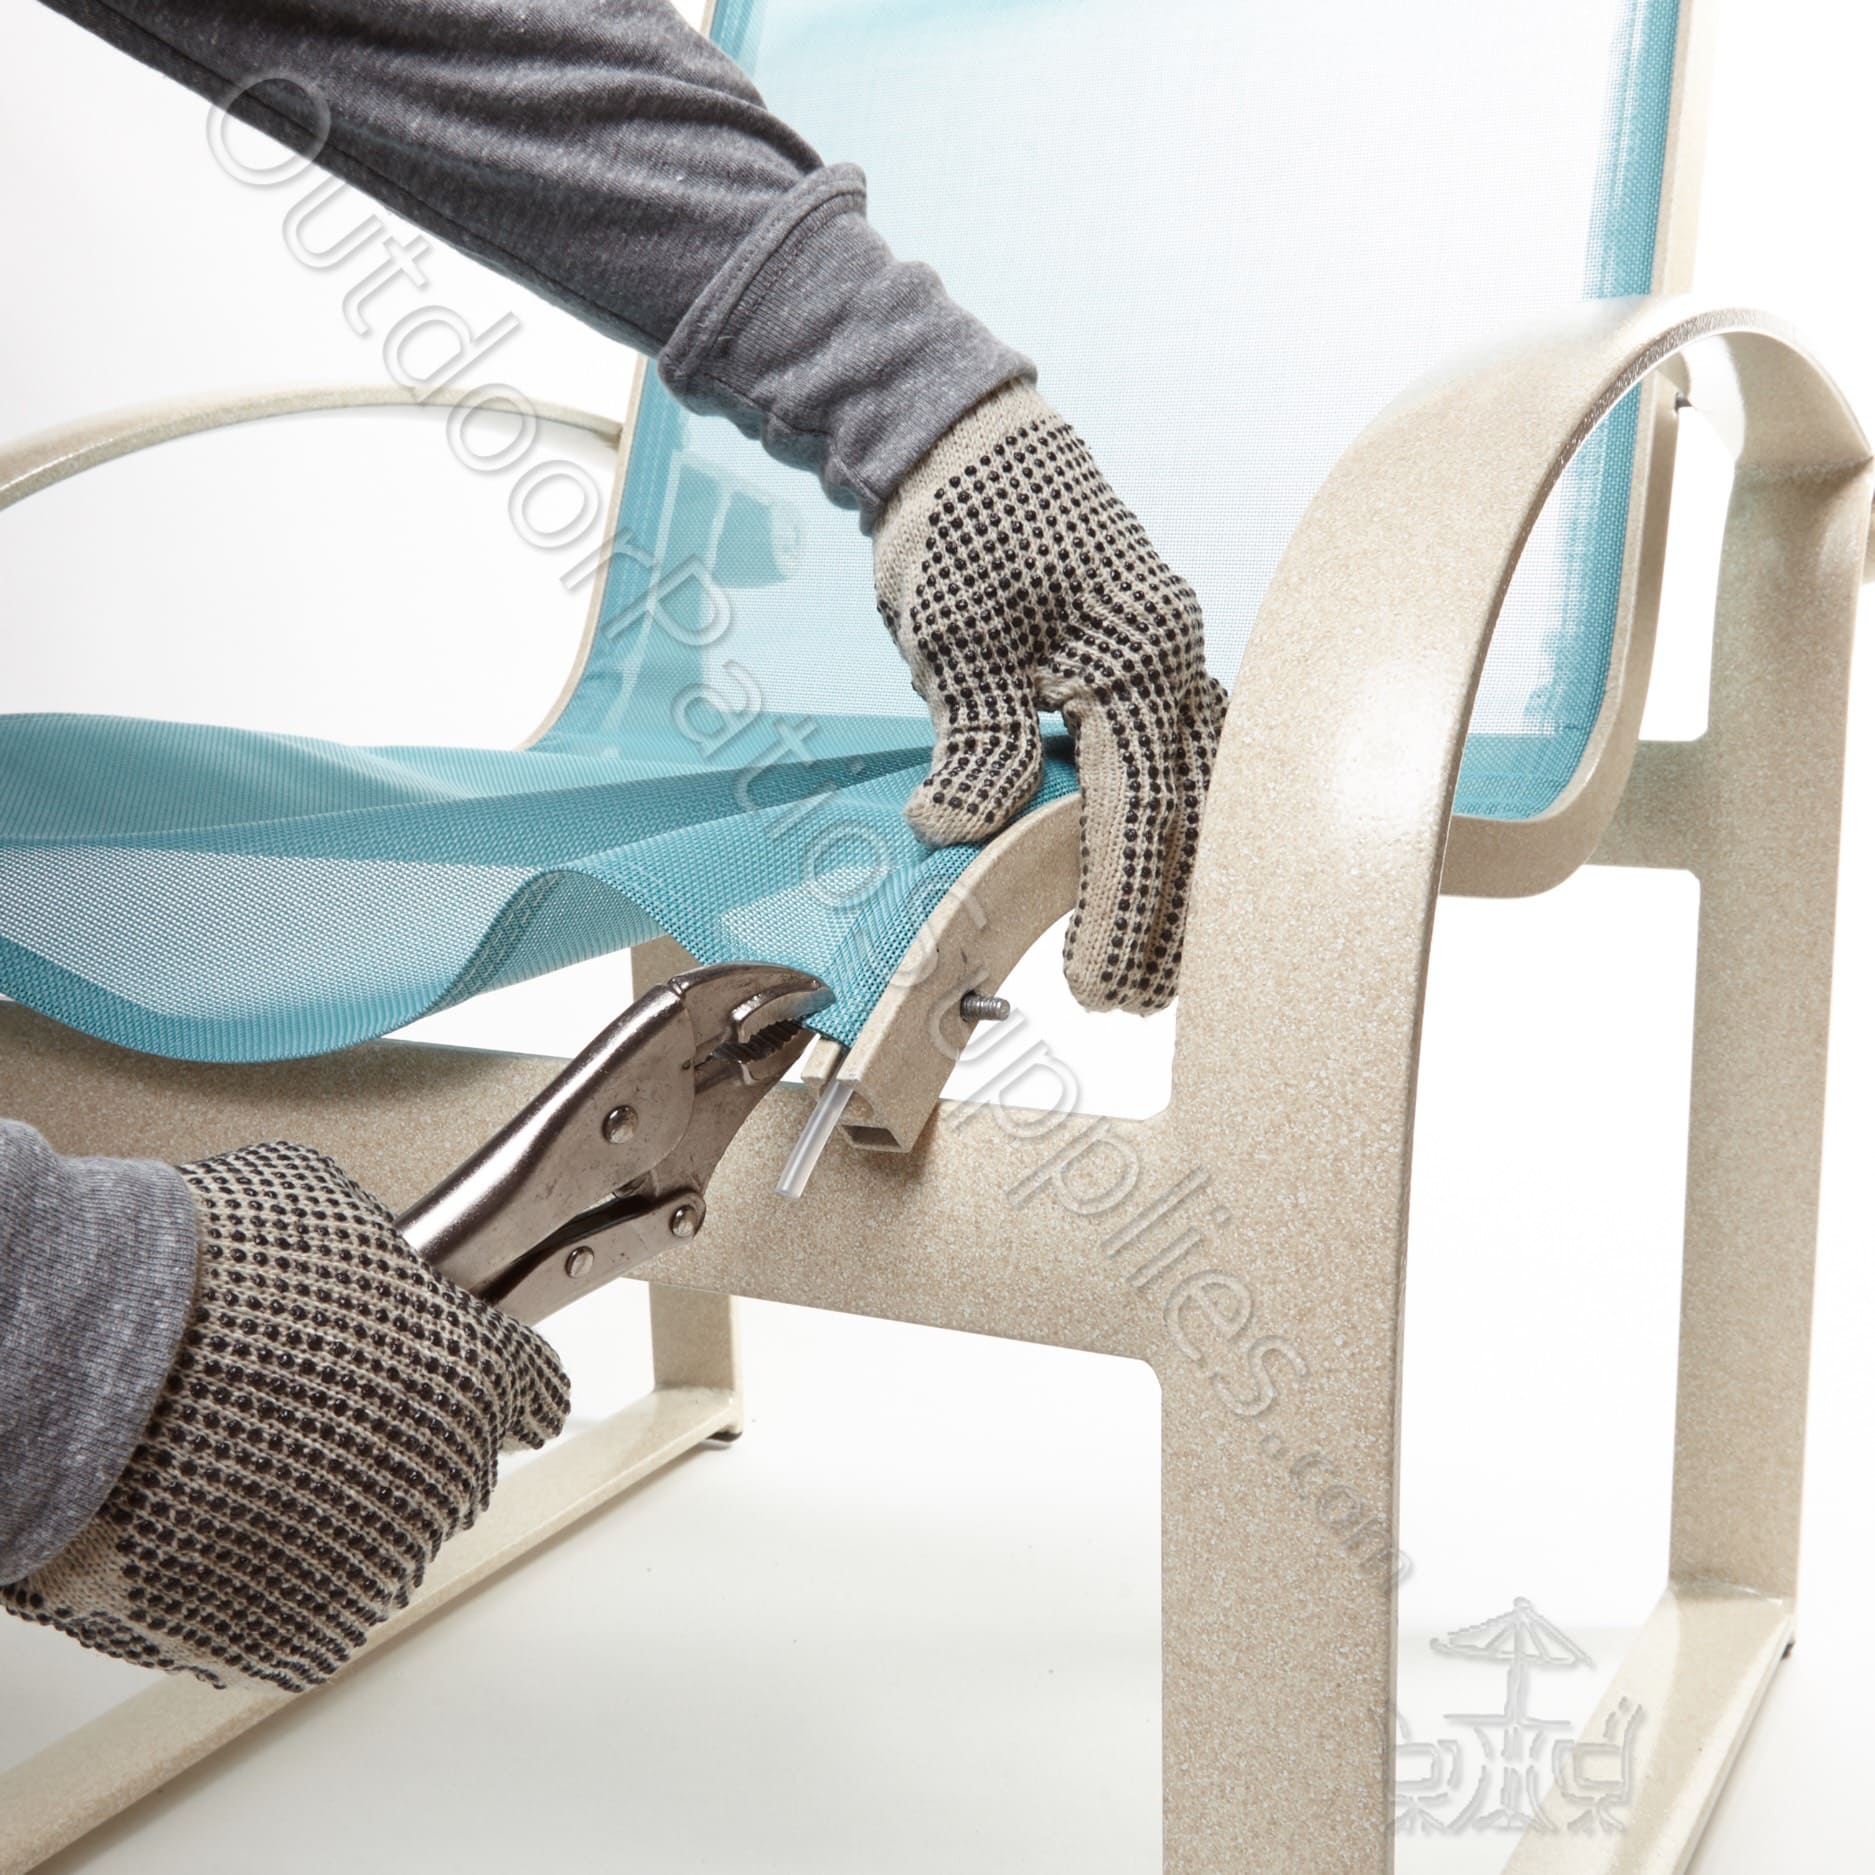
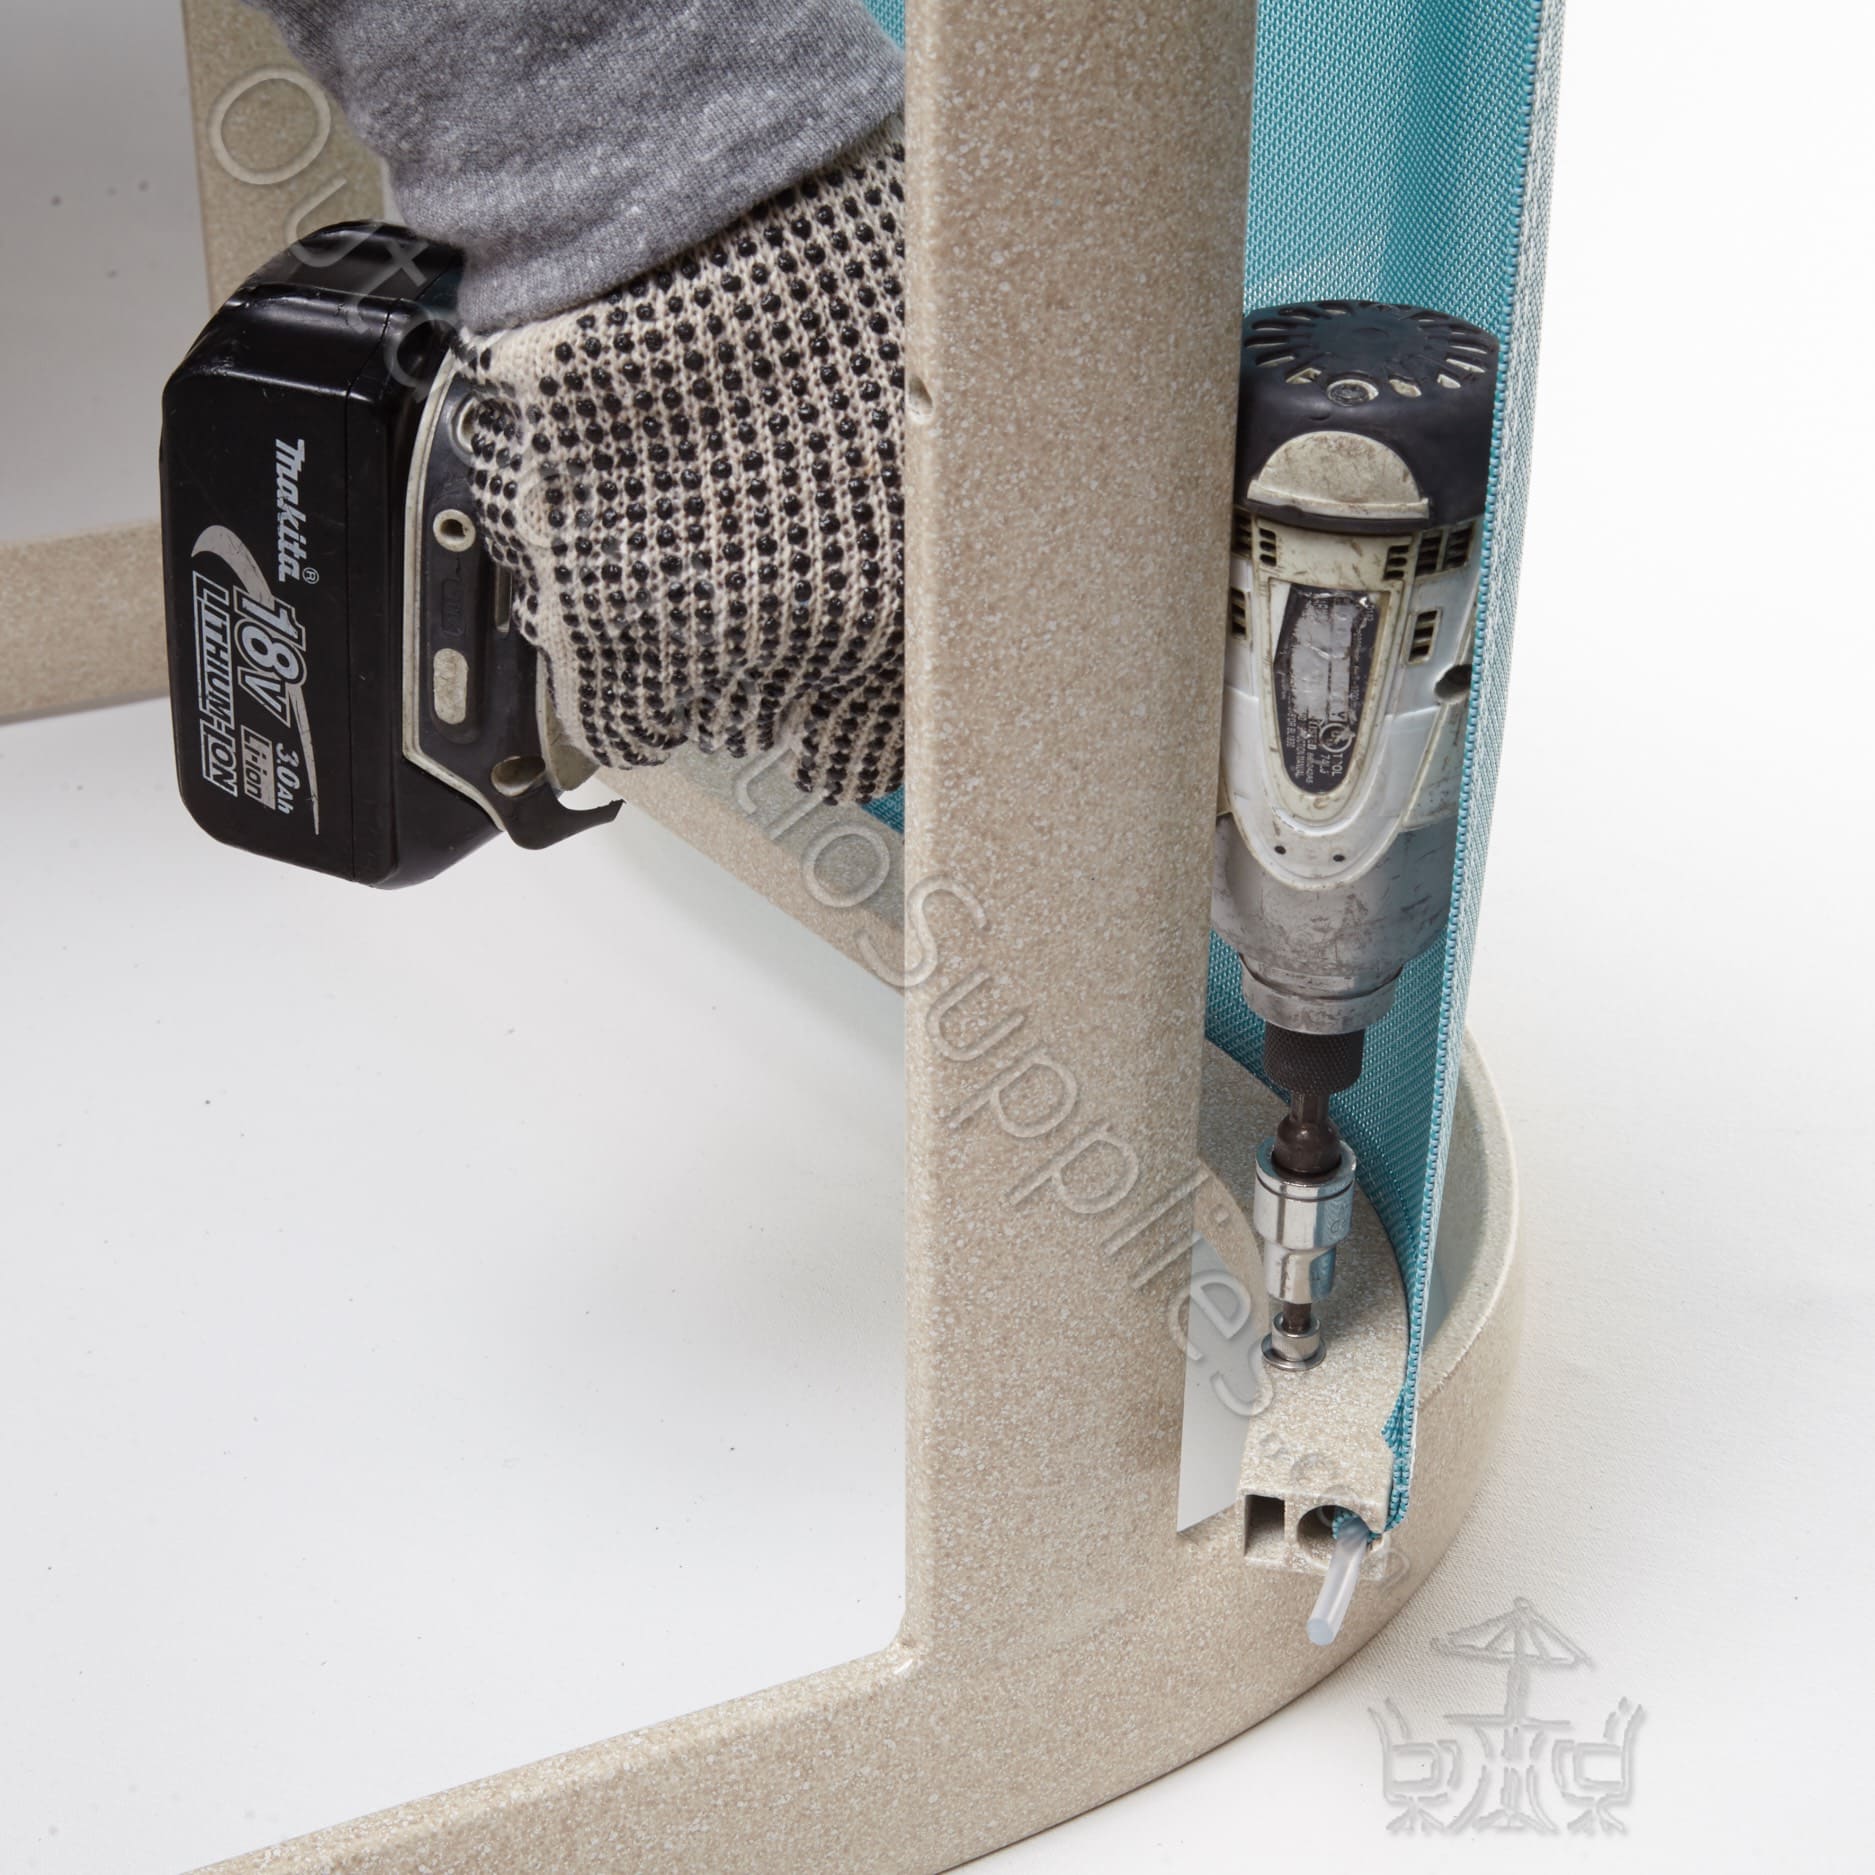
Align the holes of the loose rail with the holes on the frame, then insert the bolts, spacers, or washers. For now, tighten them by hand, as shown in Pic. 15
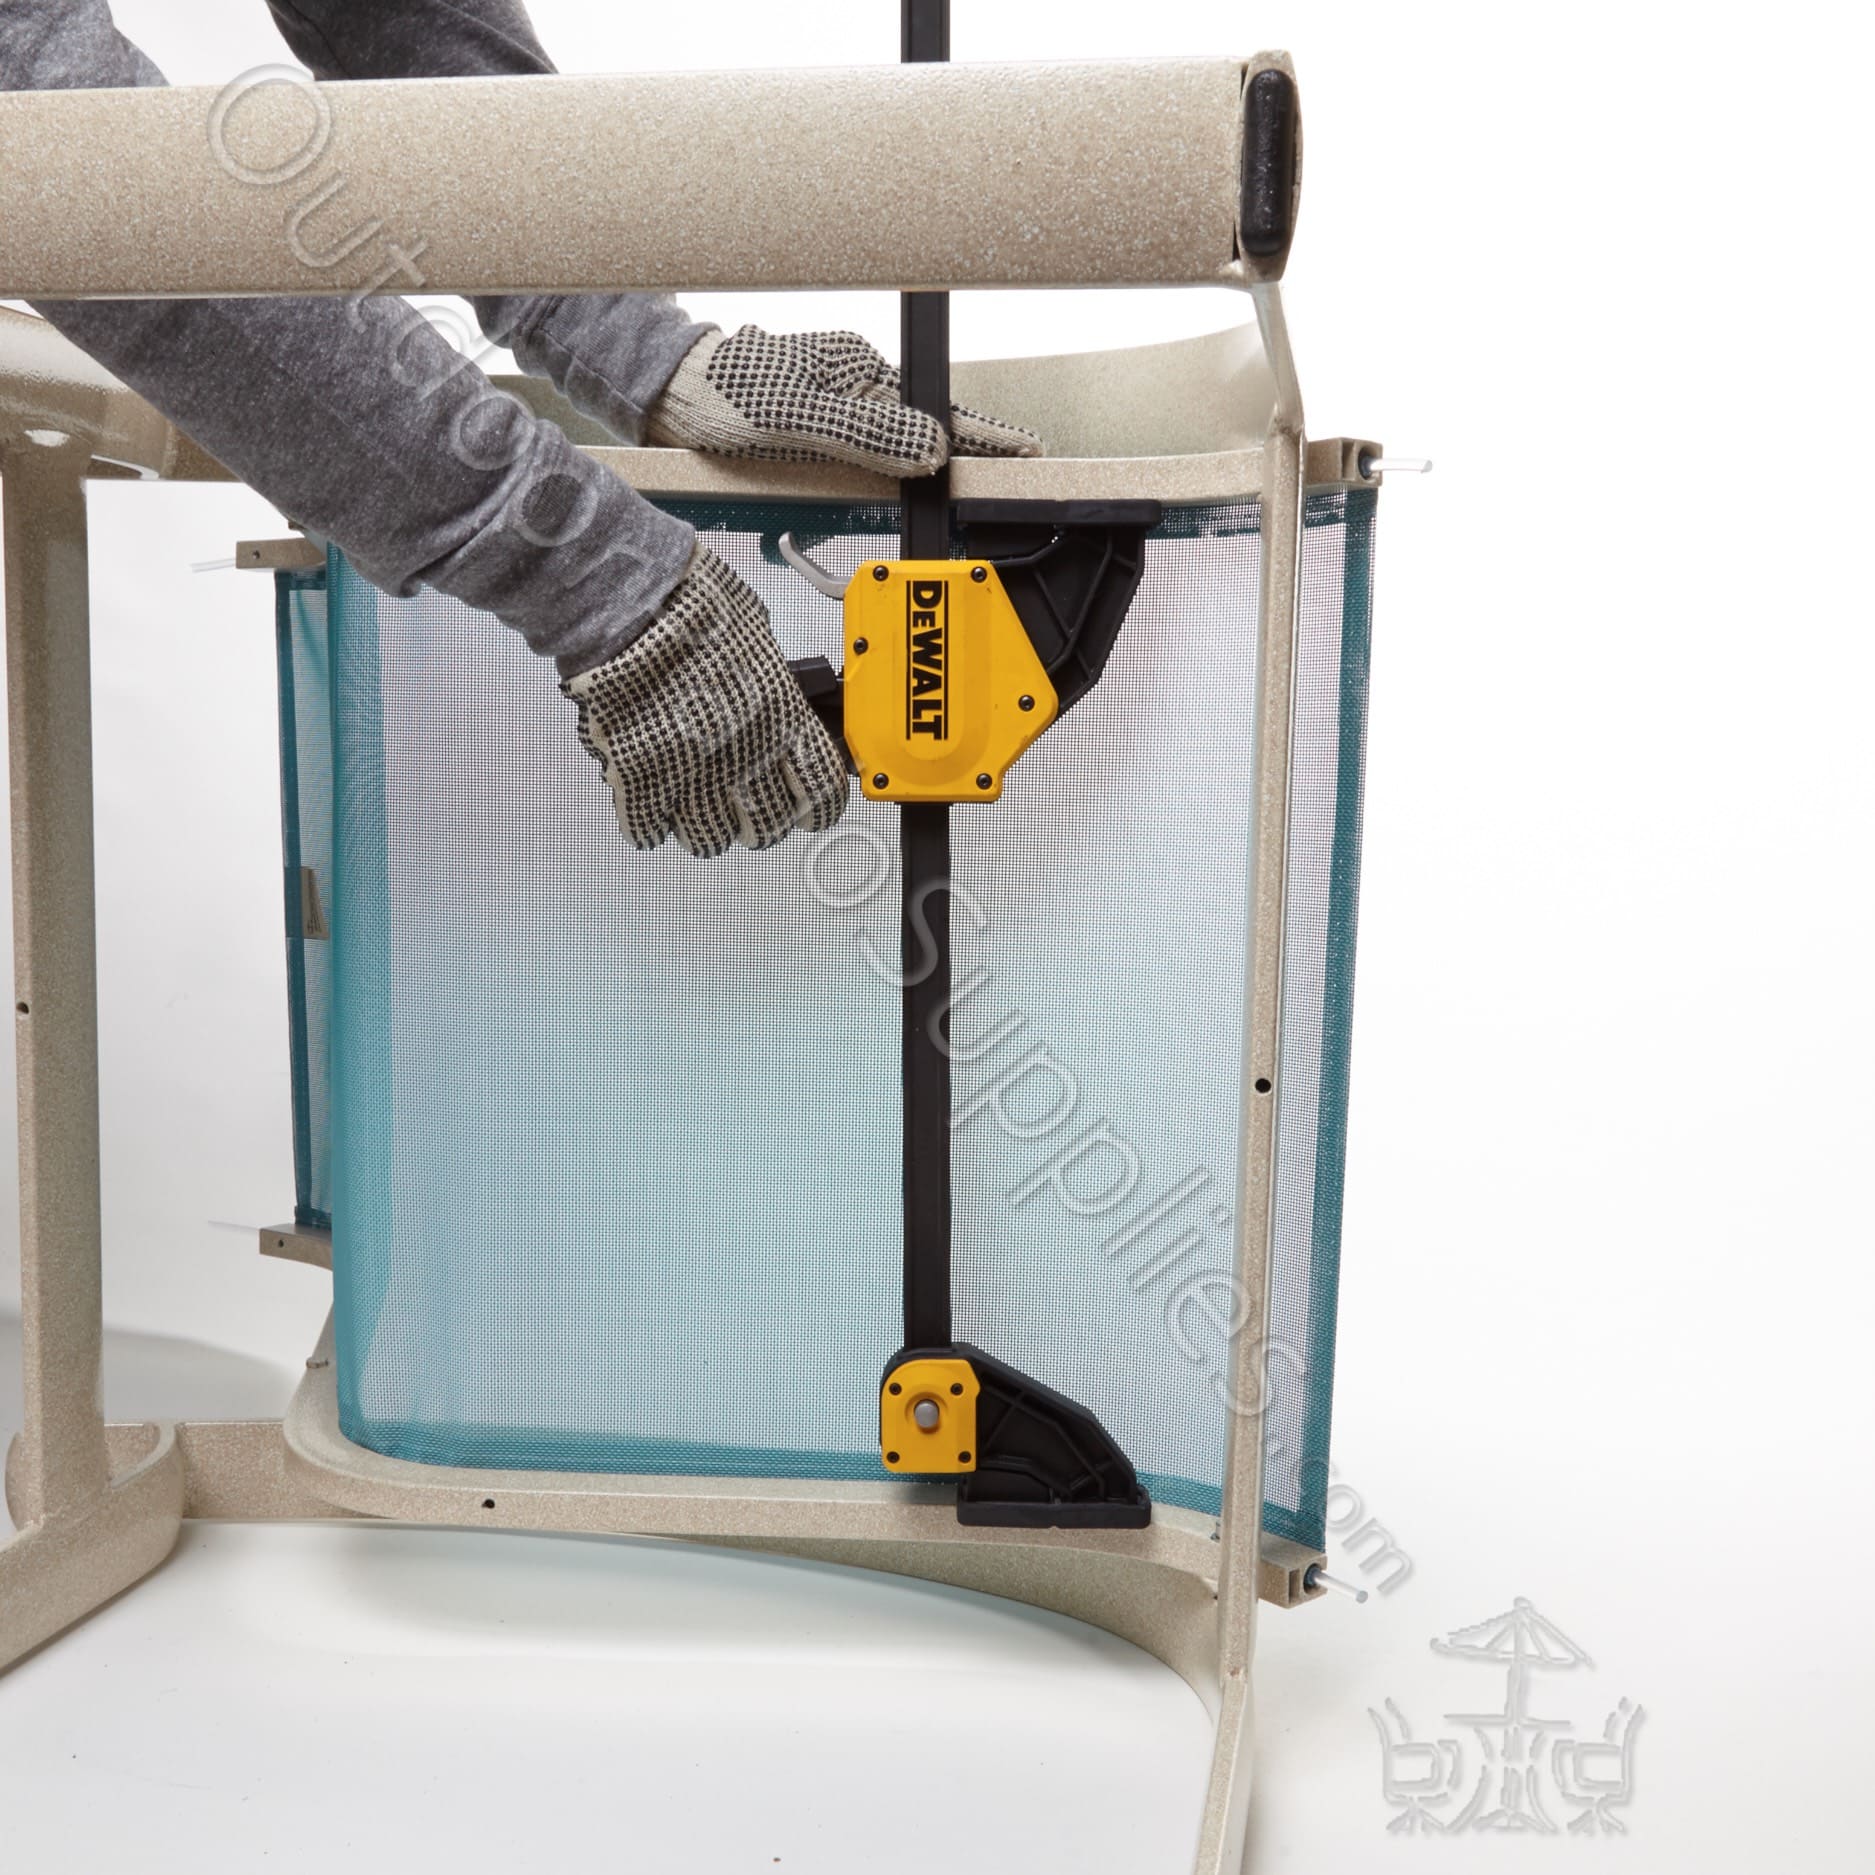
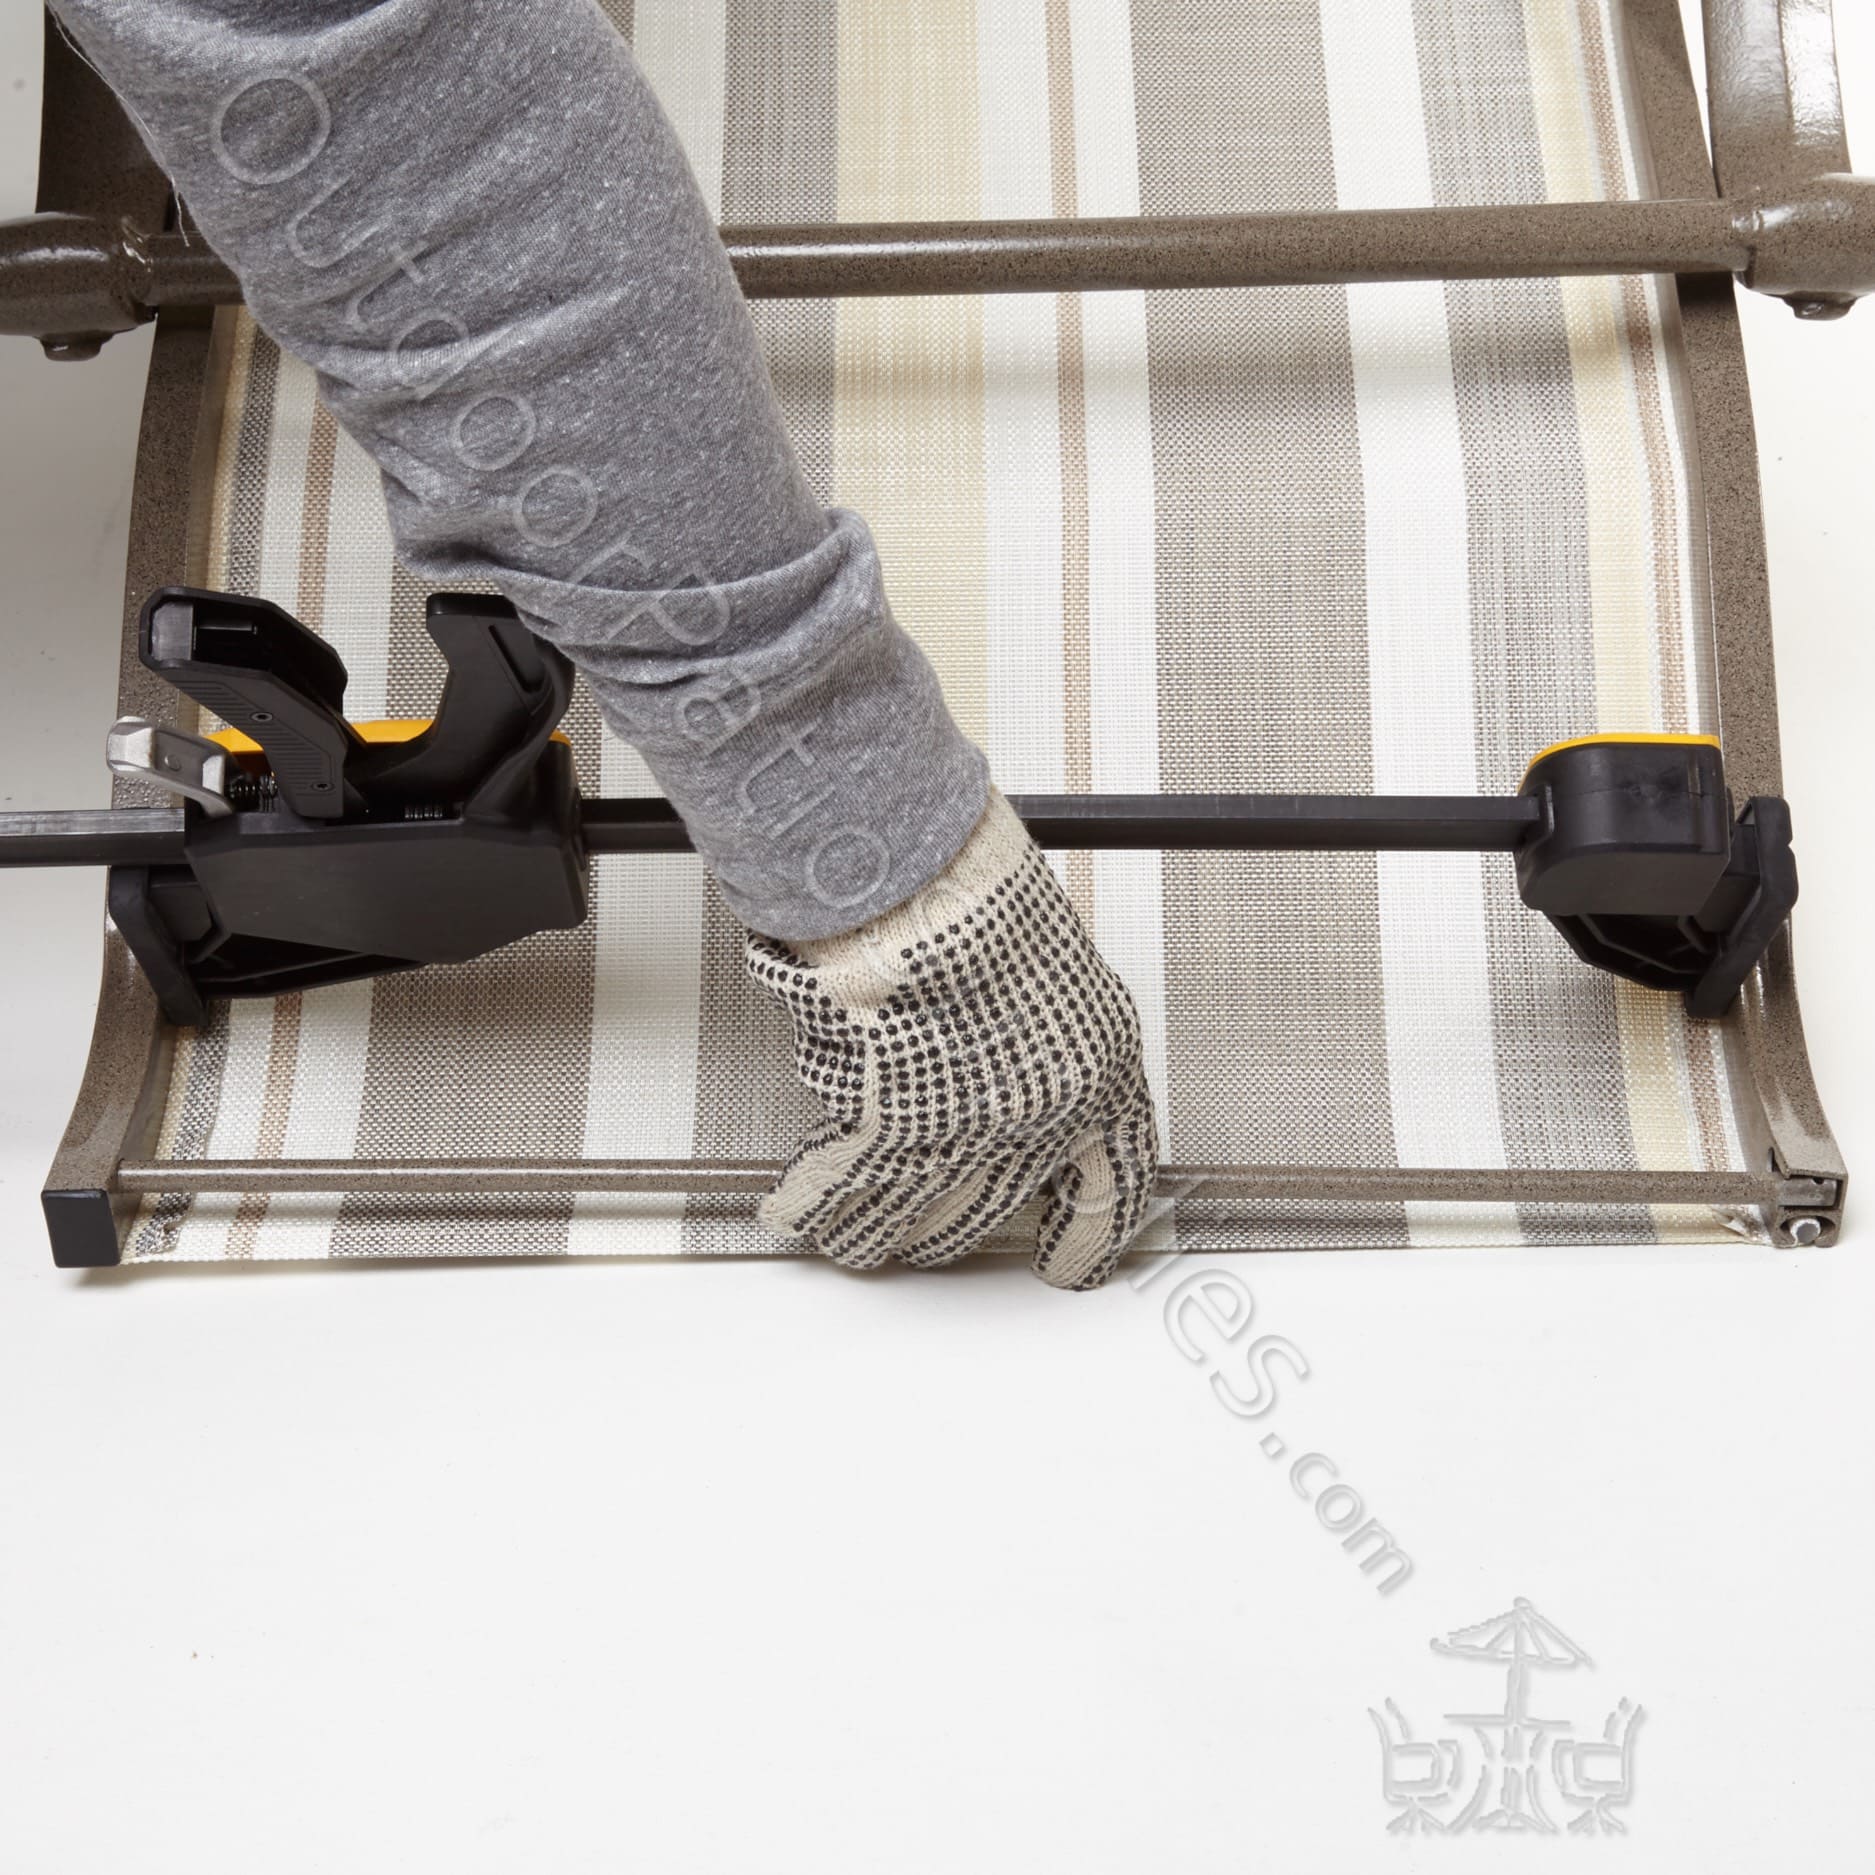
A spreader tool is required and can be found on our website under the tools section. Turn the chair upside down and position the spreader tool between the rails at the back of the chair. This will help stretch the fabric properly.
Note: The fabric is designed to stretch up to 1 3/8″. See Pic. 17
Disclaimer: Please note that OutdoorPatioSupplies.com is not liable for any damage to sling frames or fabric during installation. Use the information in this guide at your own discretion.
Divider Example
HOW TO INSTALL A BAR IN THE BACK OF THE CHAIR
If your chair has a back support bar, please follow the instructions below.
Bar type: Curved with flat ends or straight bar
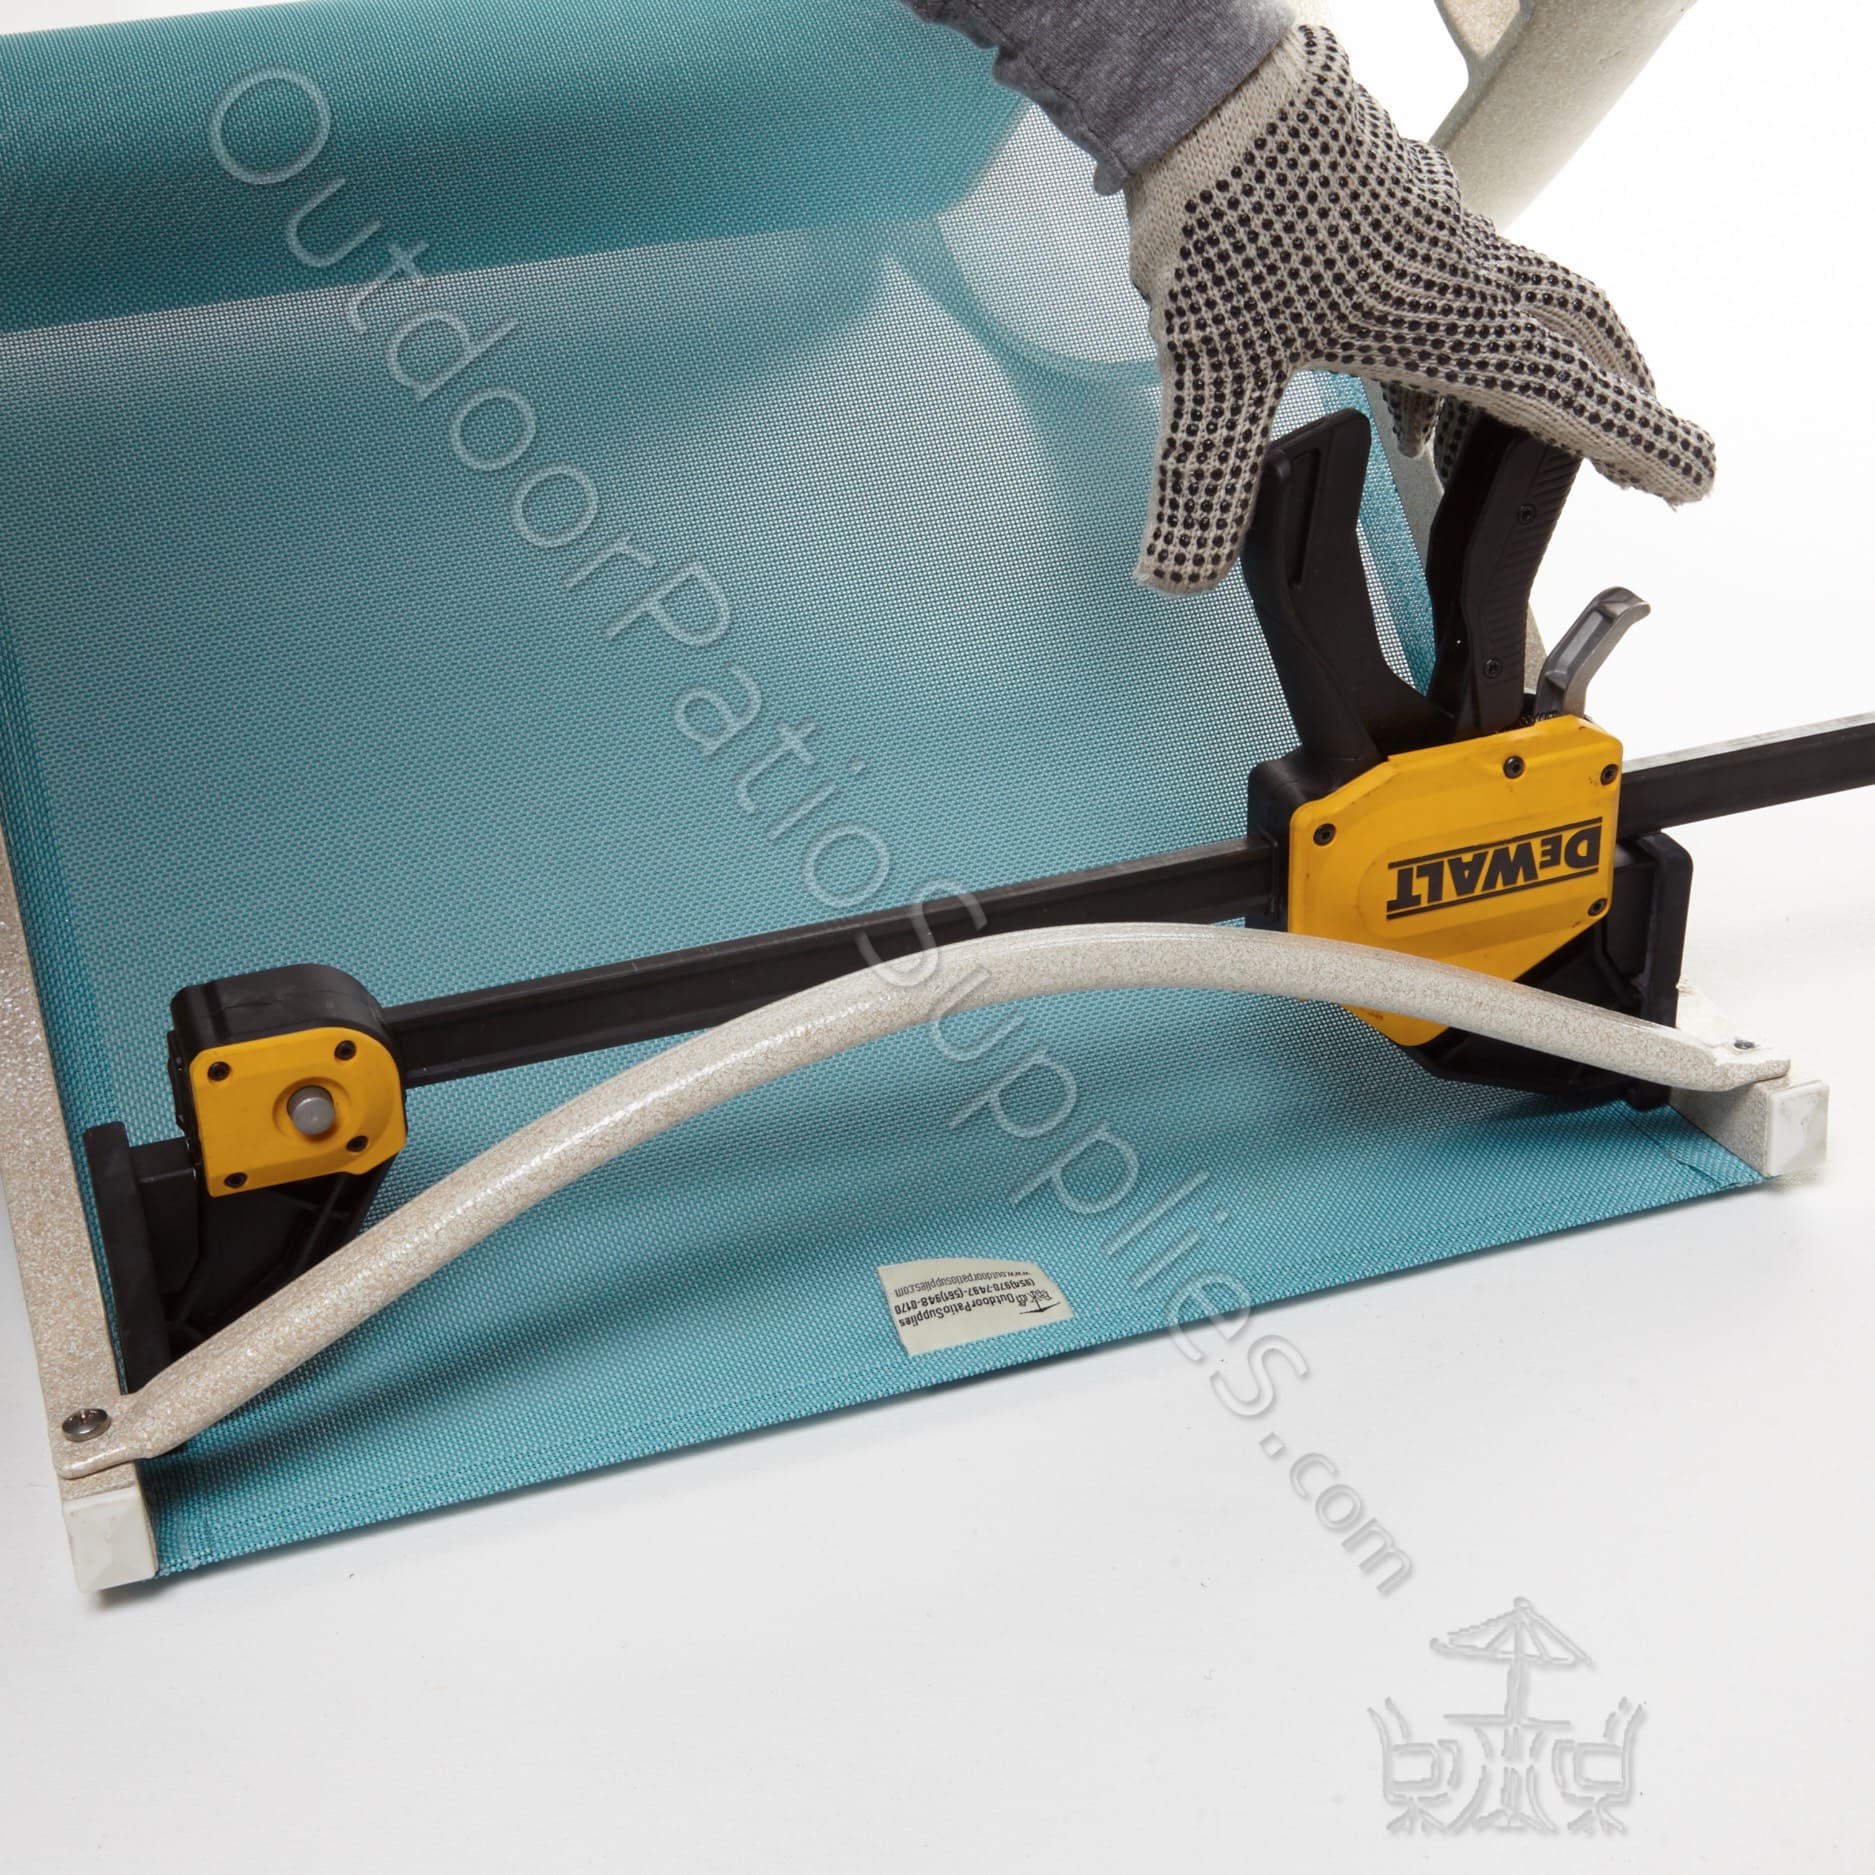
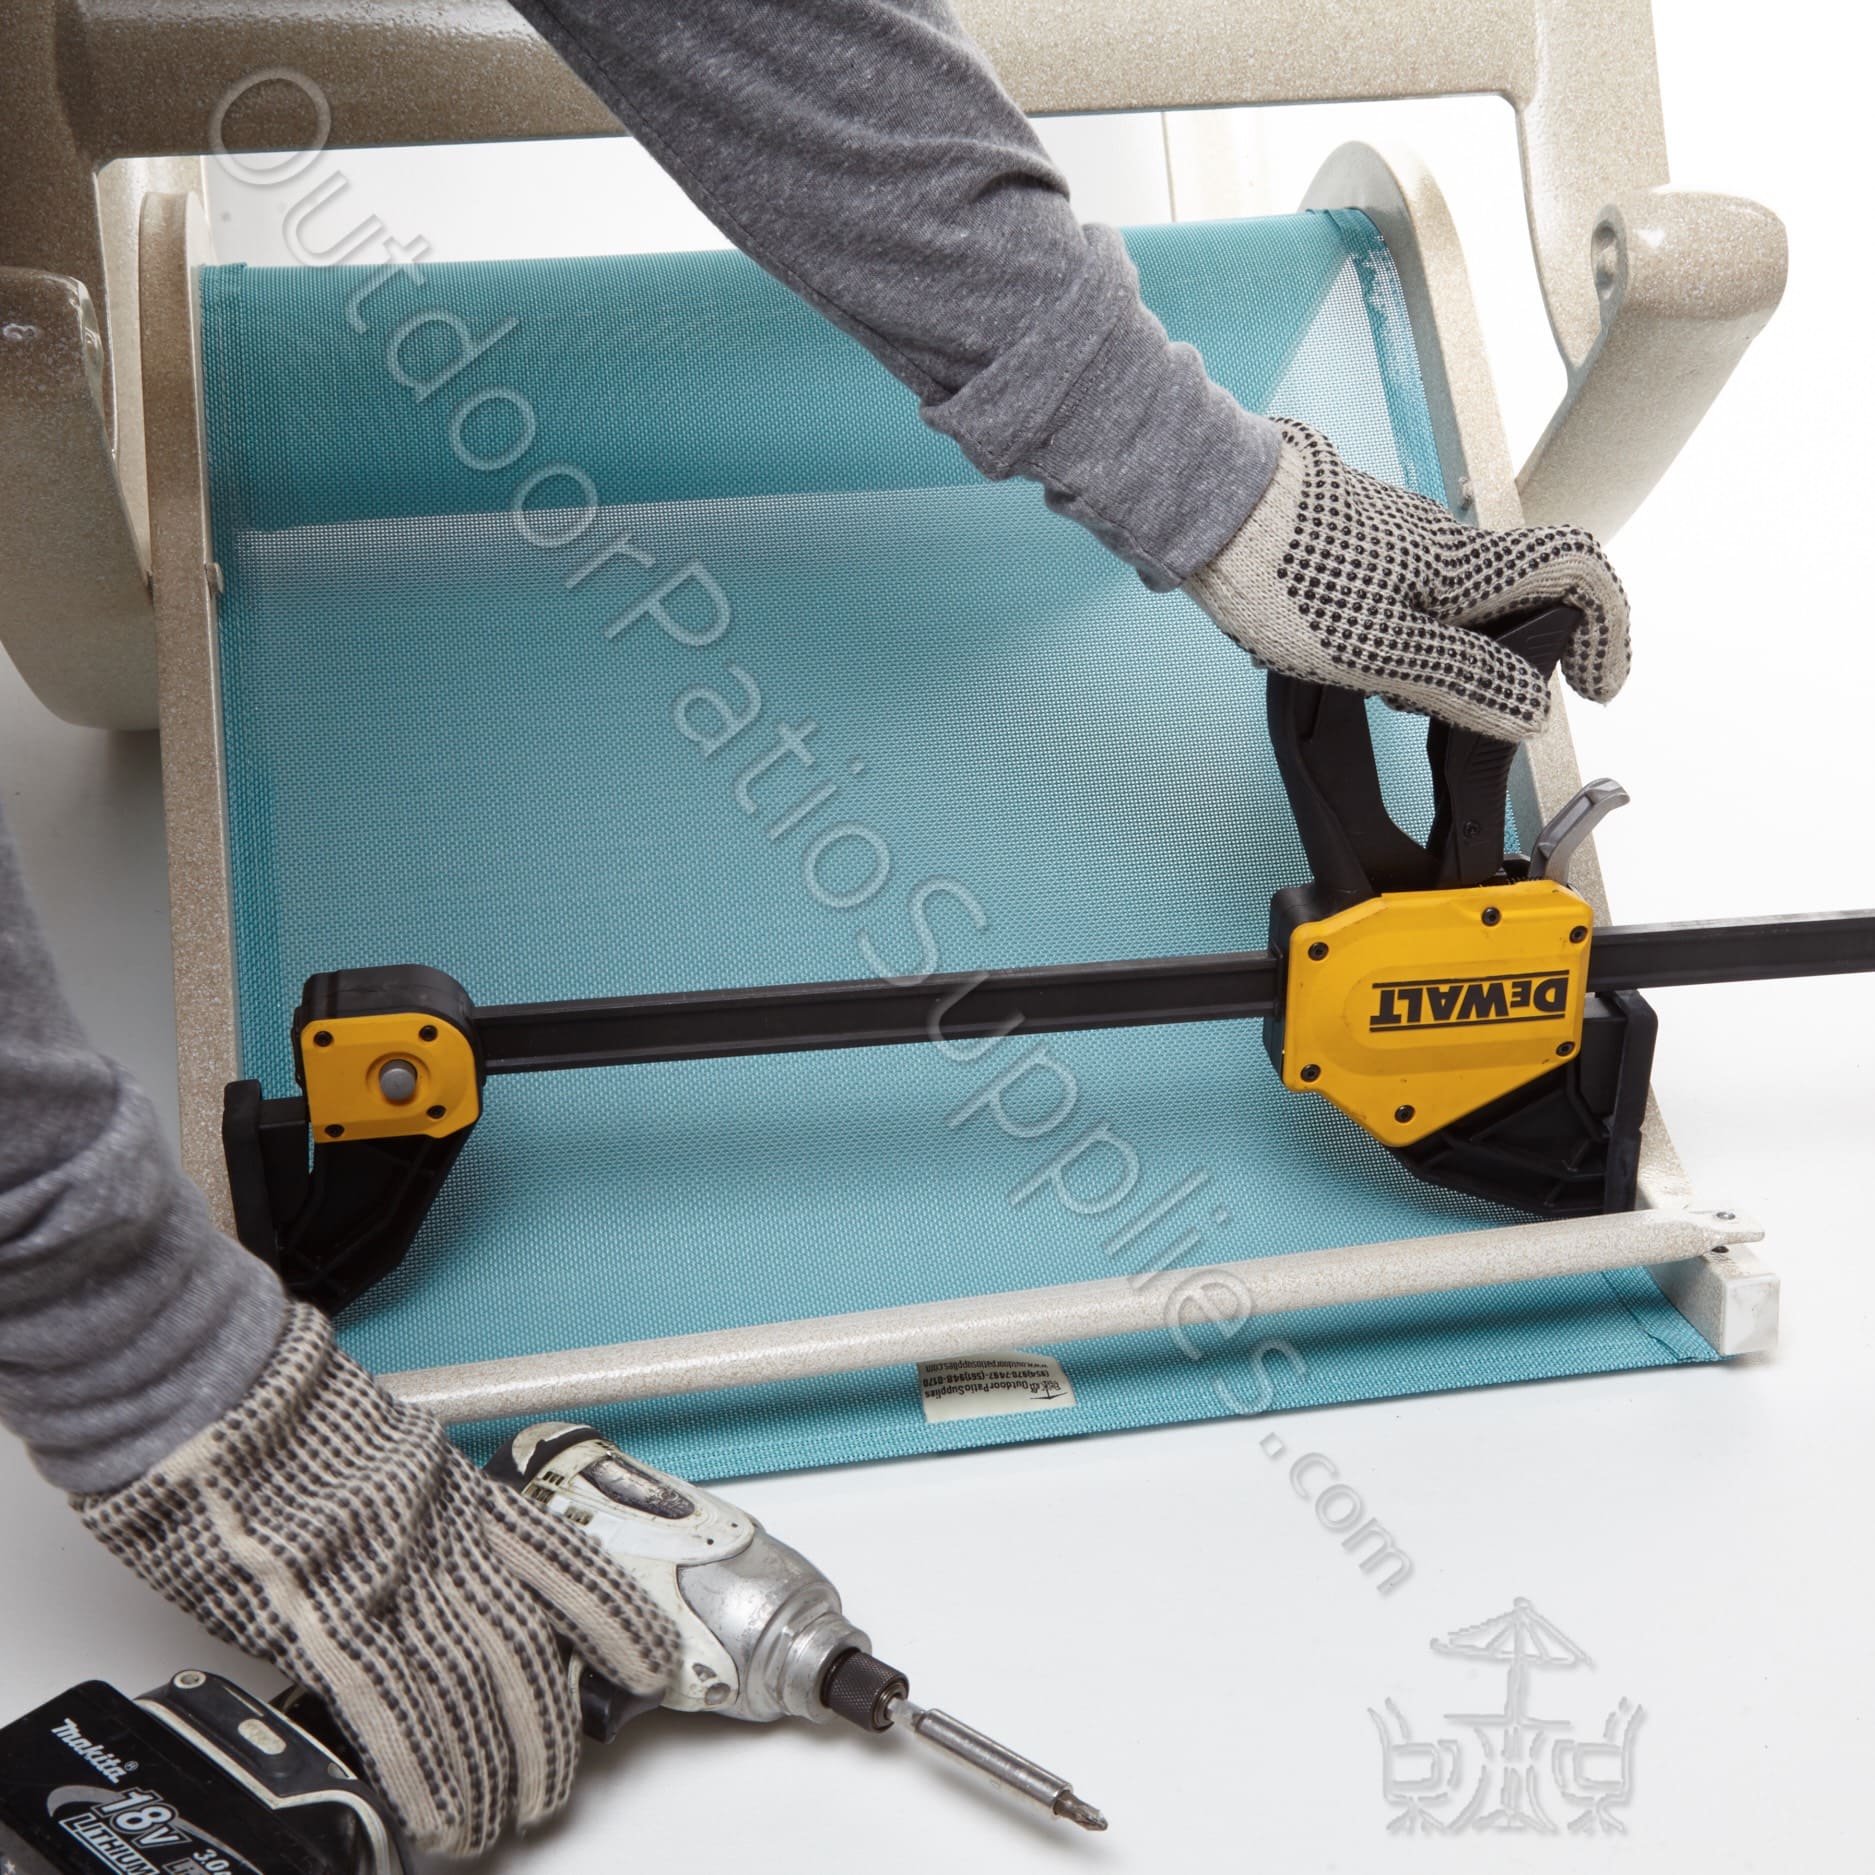
Flip the chair upside down and position the spreader tool at the top of the rails. Expand the rails until the bar’s holes align with the rail holes. Insert the bolts and secure them using an impact drill. Refer to
Pics. 1, 2 and 3 for guidance
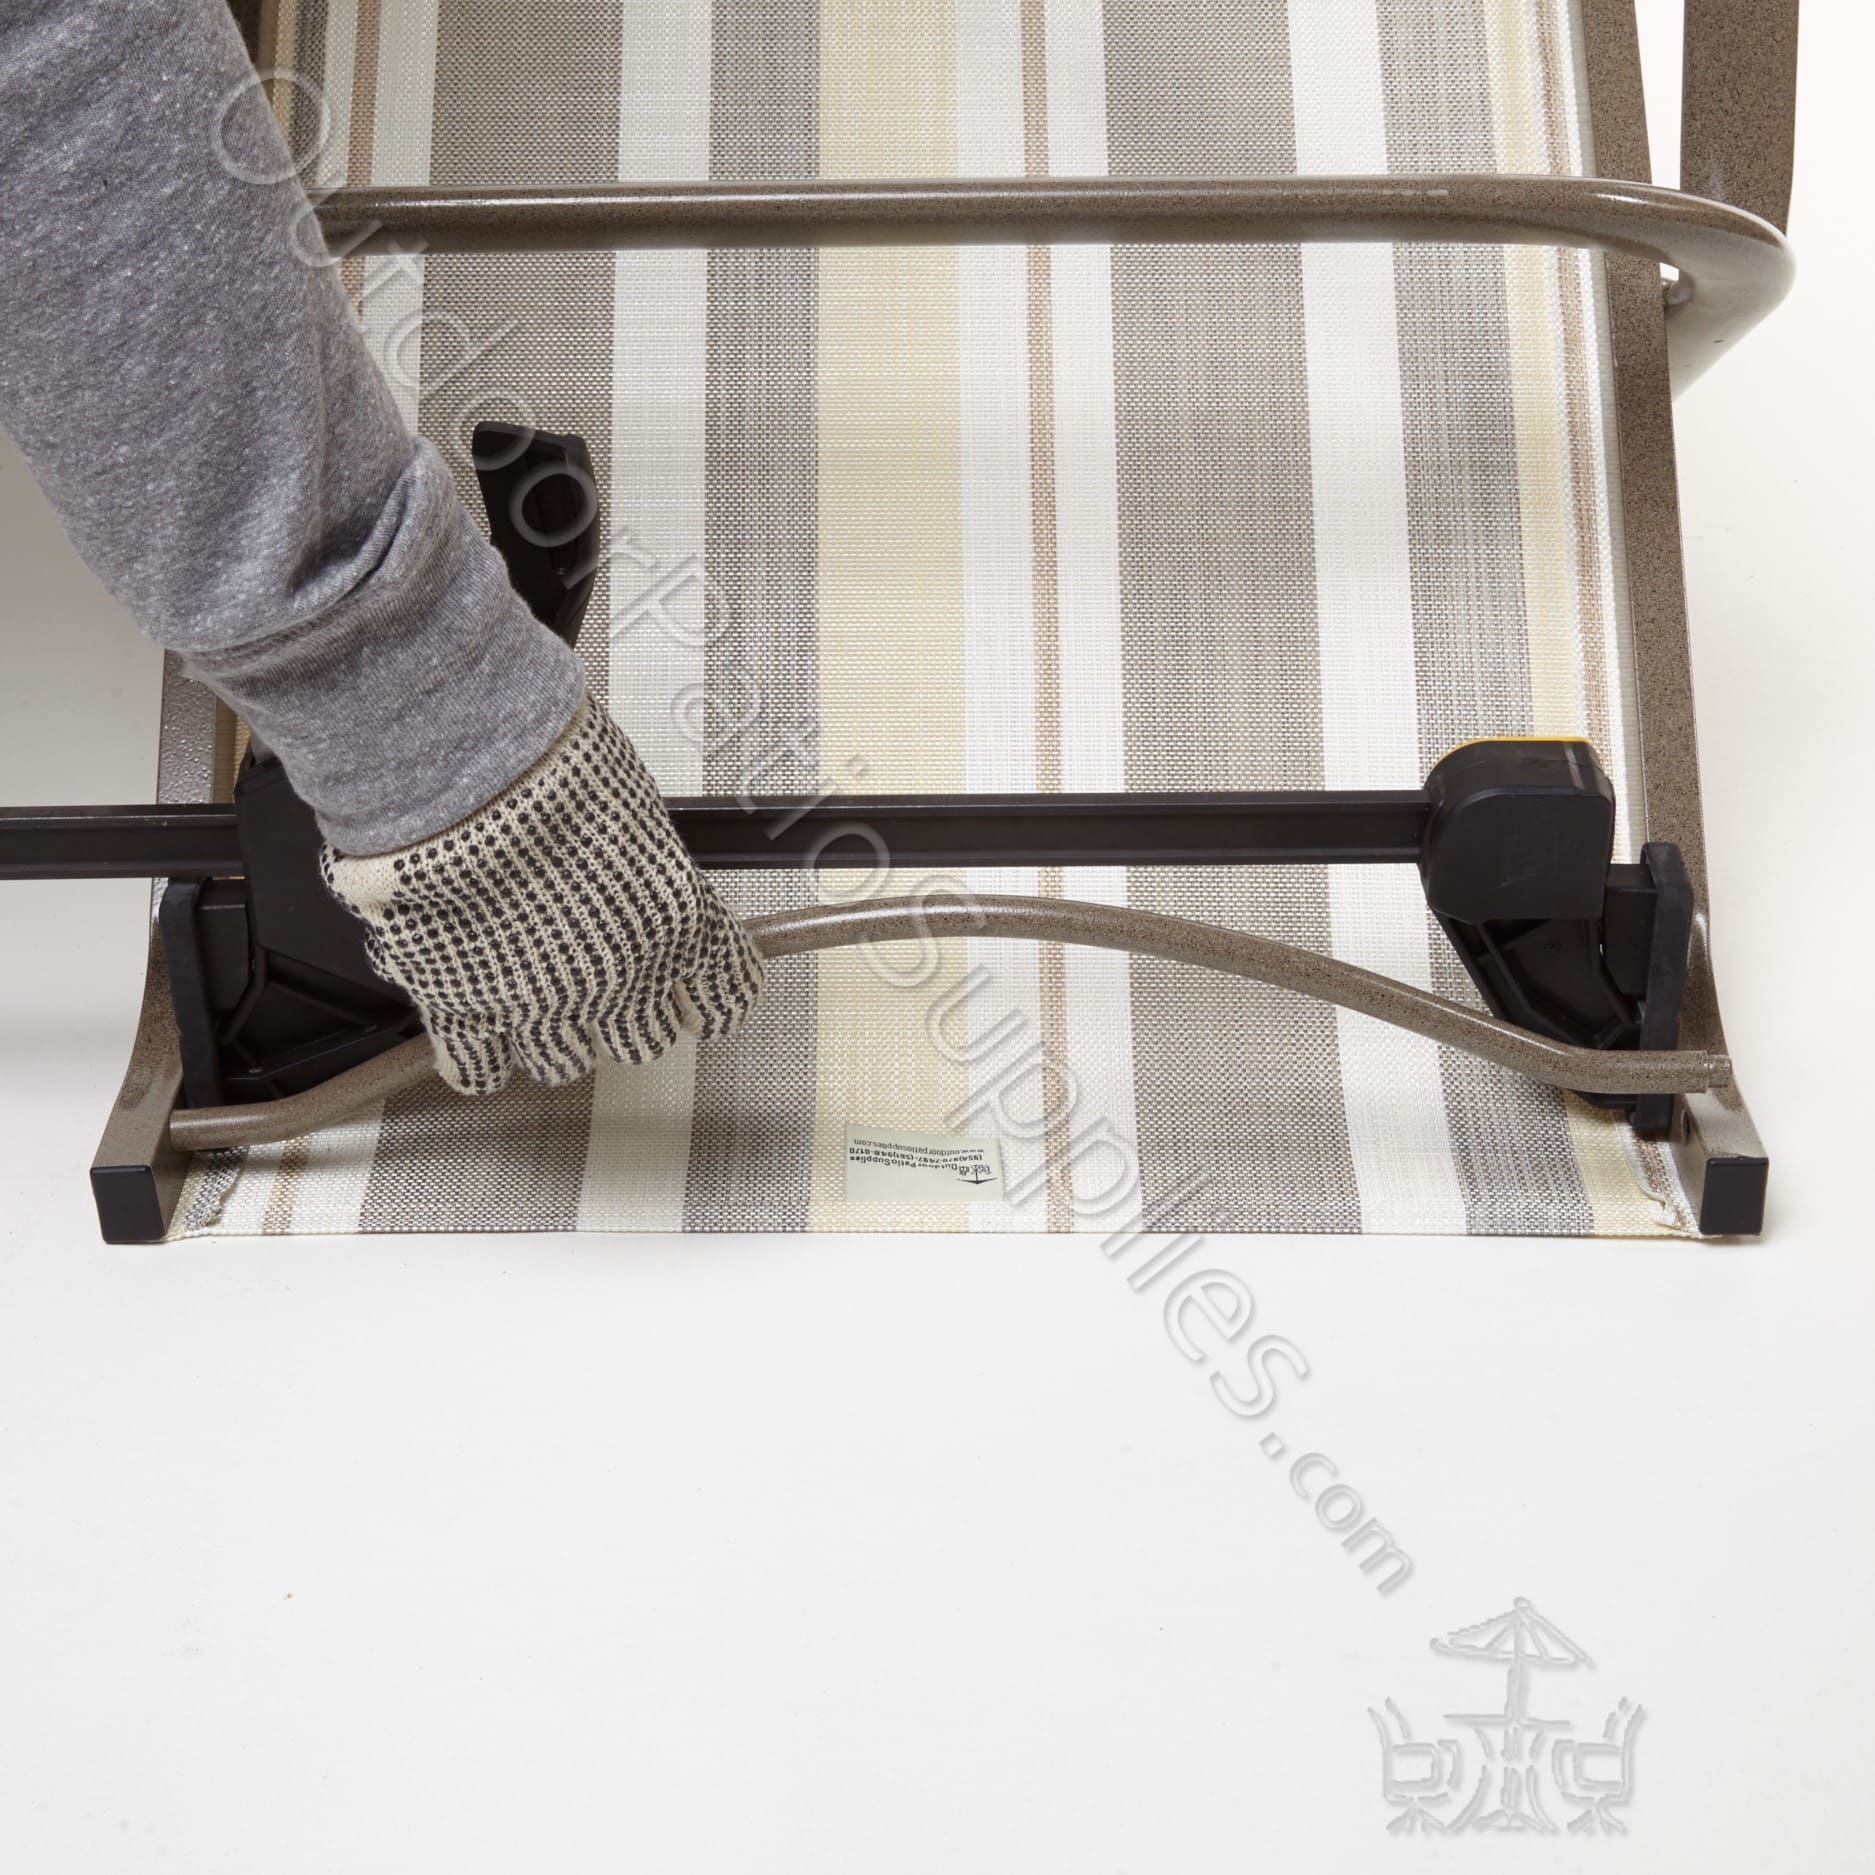
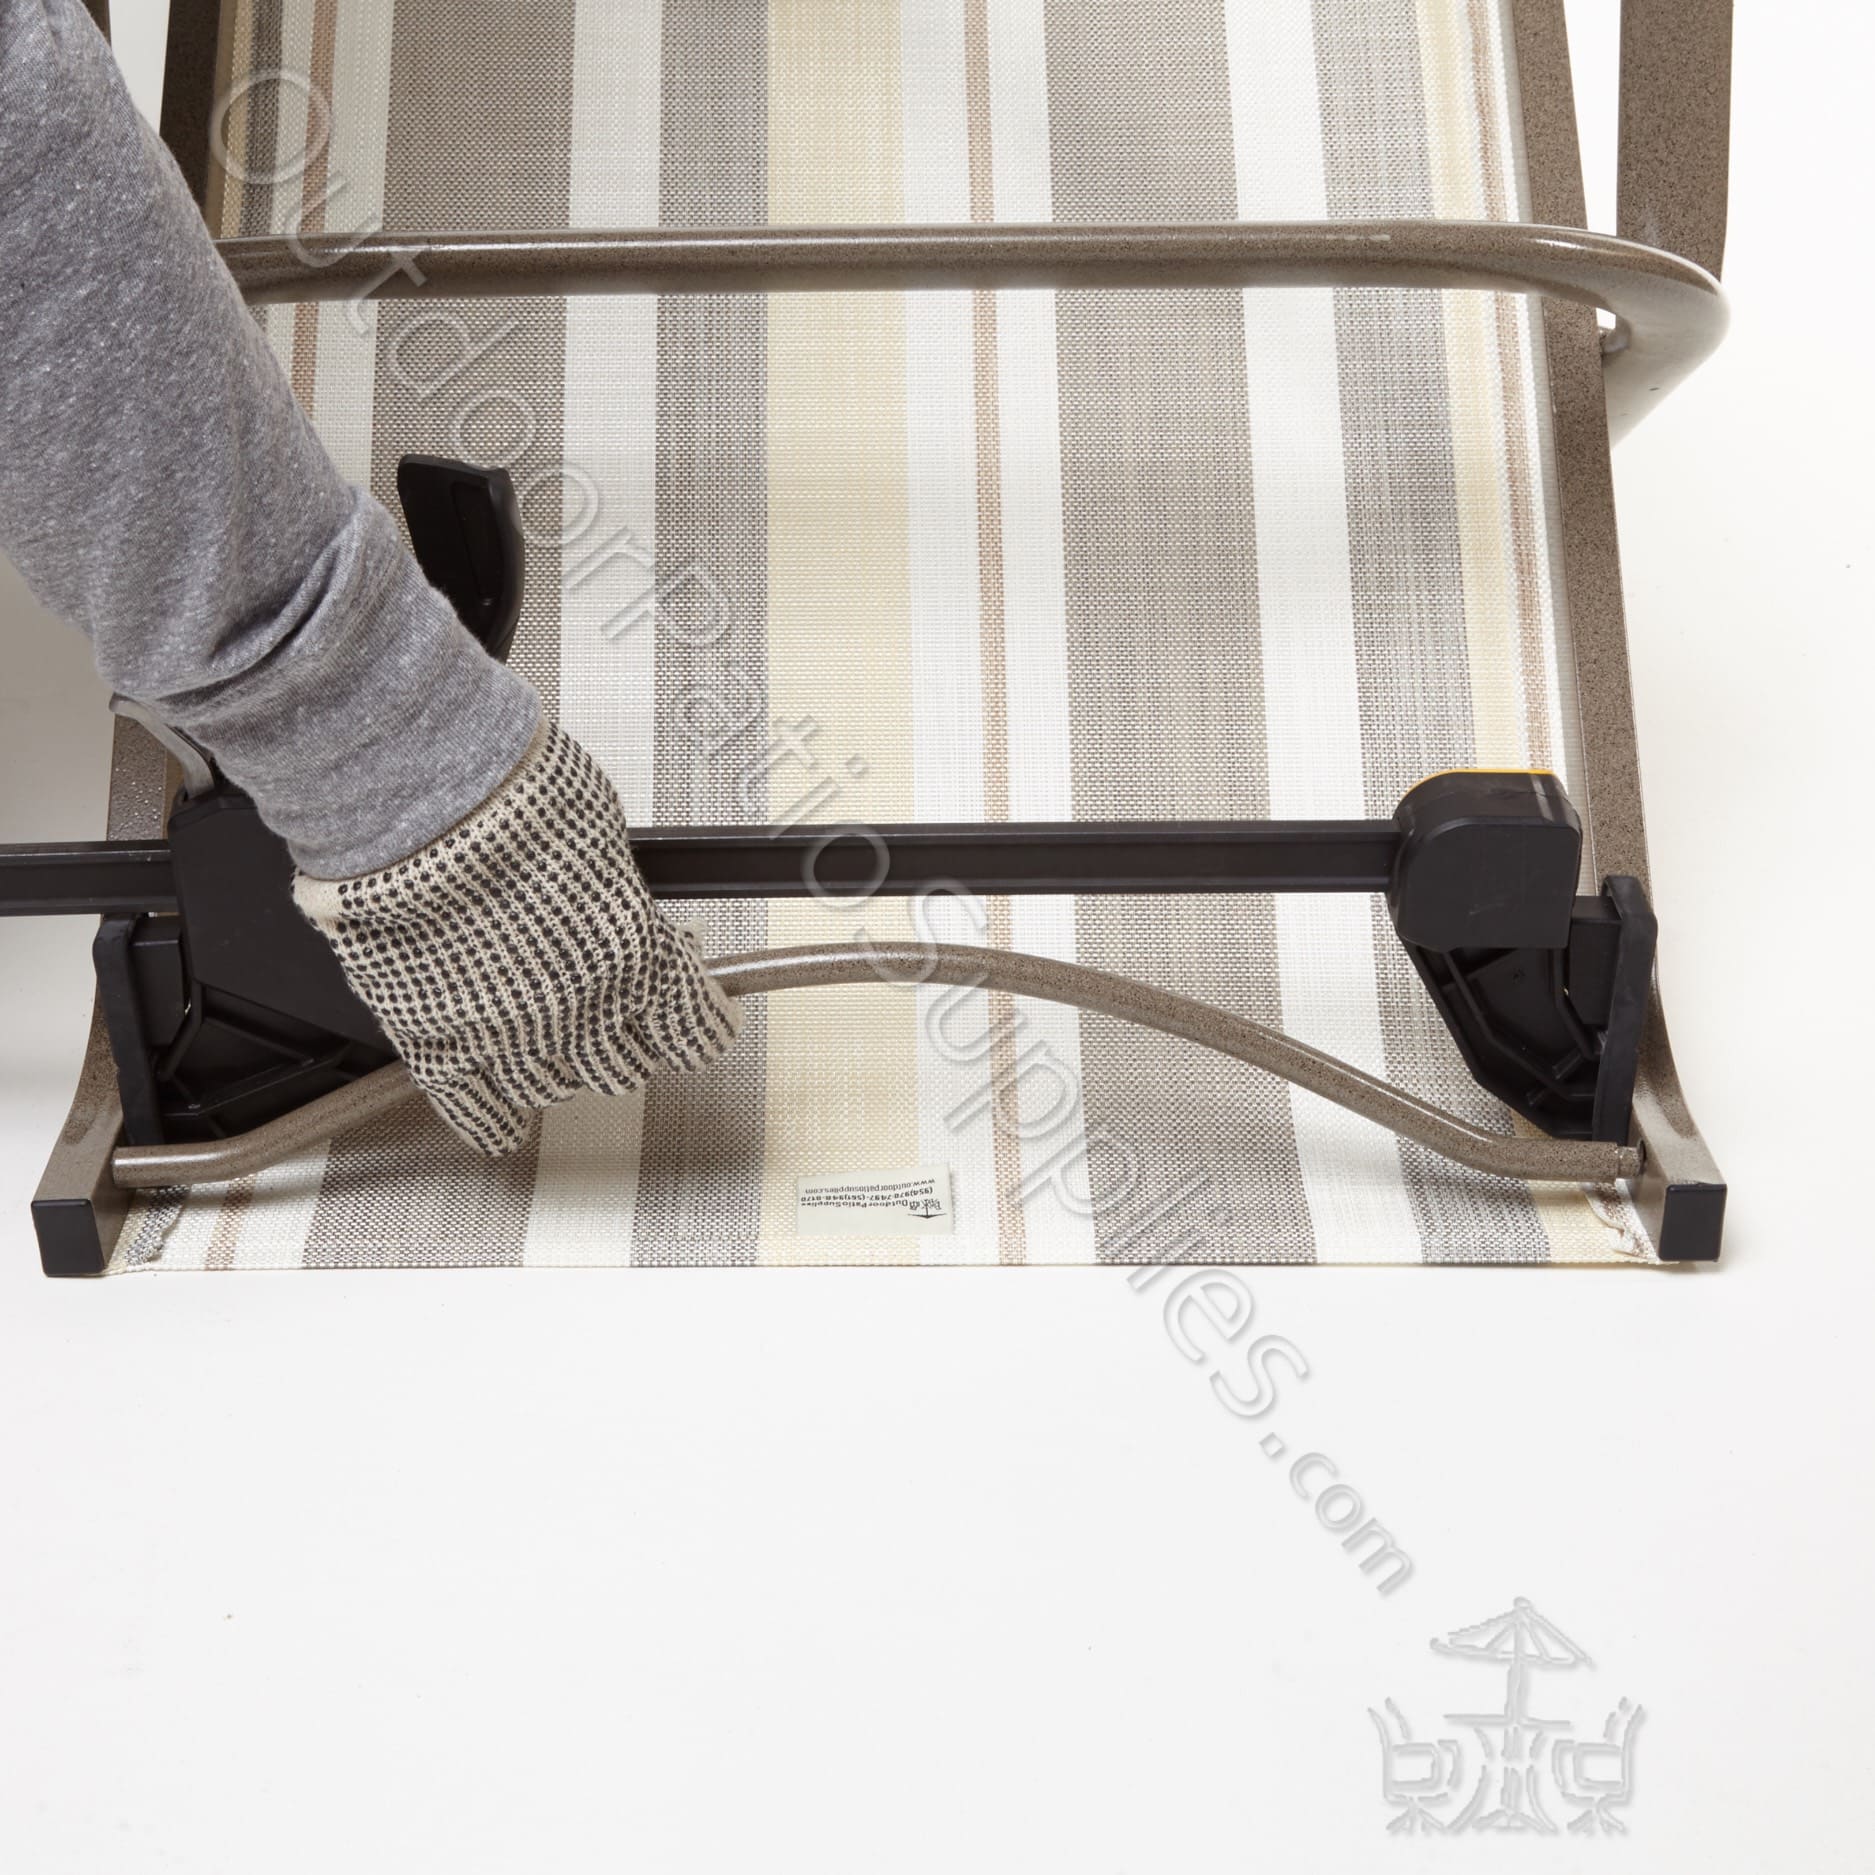
Flip the chair upside down and position the spreader tool at the top of the rails. Insert one end of the bar into a rail hole, then expand the rails until you can fit the other end into the opposite rail hole. Refer to
Pics. 4, 5 and 6 for guidance.
Flip the chair upside down and position the spreader tool on the top section of the rails. Remove the end cap and insert one end of the bar into the rail with the hole. Next, remove the end cap on the opposite side. Spread the rails, slide the bar into place, and reattach the end caps. As shown in Pics. 7, 8
Disclaimer: OutdoorPatioSupplies.com is not liable for any damage to sling frames or fabric resulting from the use of this installation guide. Users follow these instructions at their own risk and discretion.