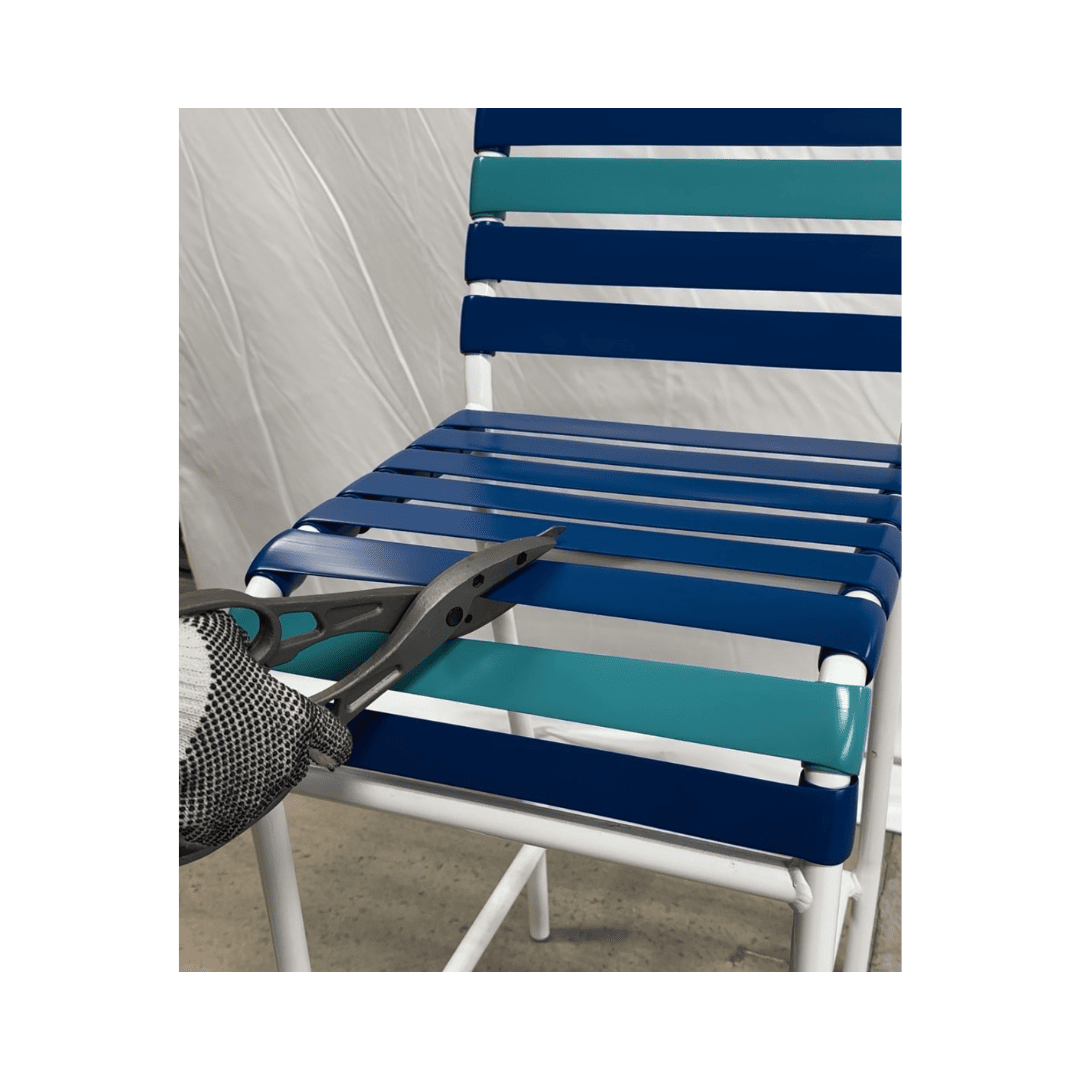
Use scissors or garden shears to cut off all old straps. Thoroughly clean the furniture to prepare for installation. If any structural repairs or painting are needed, this is the ideal time to address them. Refer to Pic. 1
Pic 1
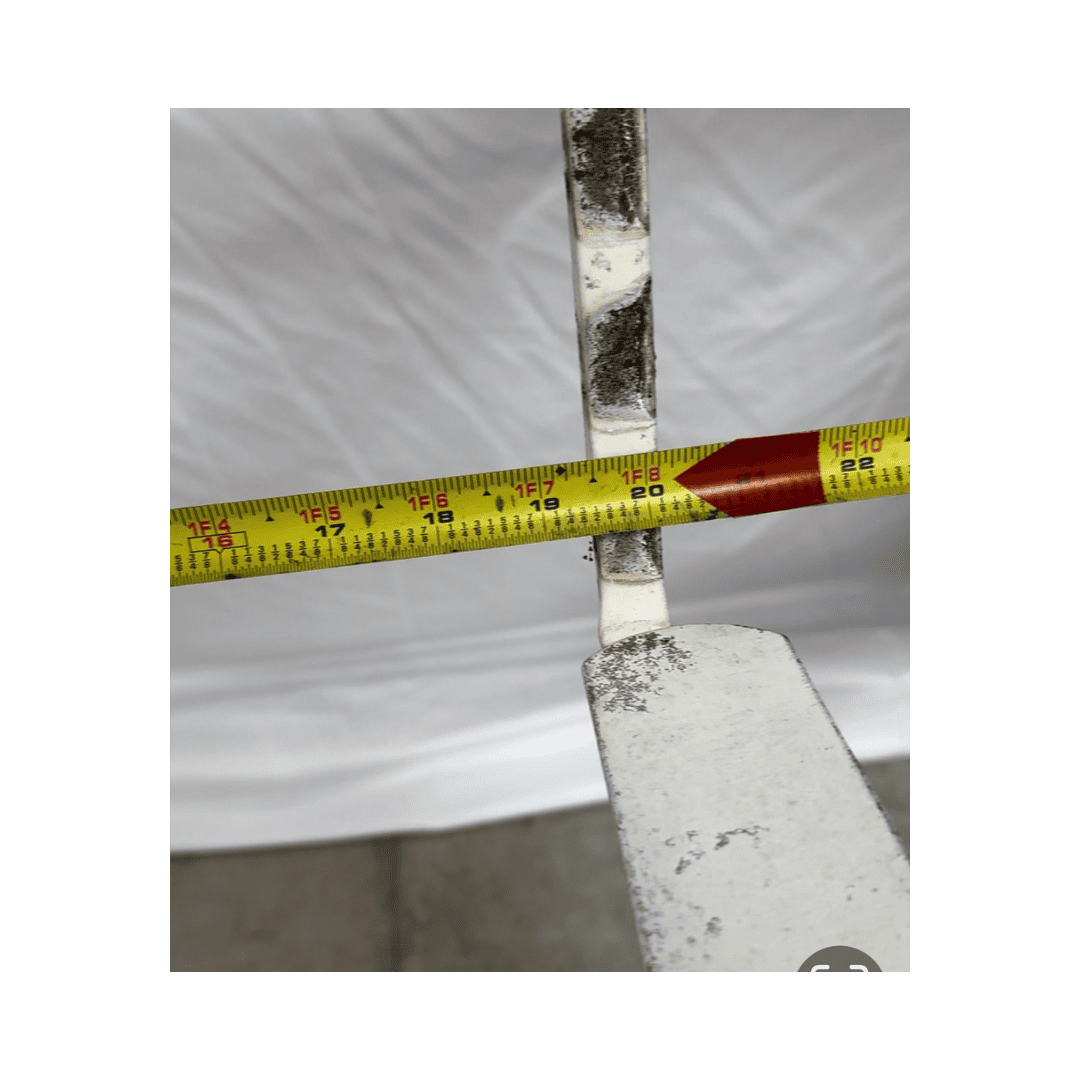
Step two: Measure strap width
Position the tape measure at the center of the strap. If the measurement falls between 1 1/4” and 1 1/2”, order a 1 1/2” strap. If it measures between 1 3/4” and 2”, order a 2” strap. As shown in Pic. 2
Pic 2
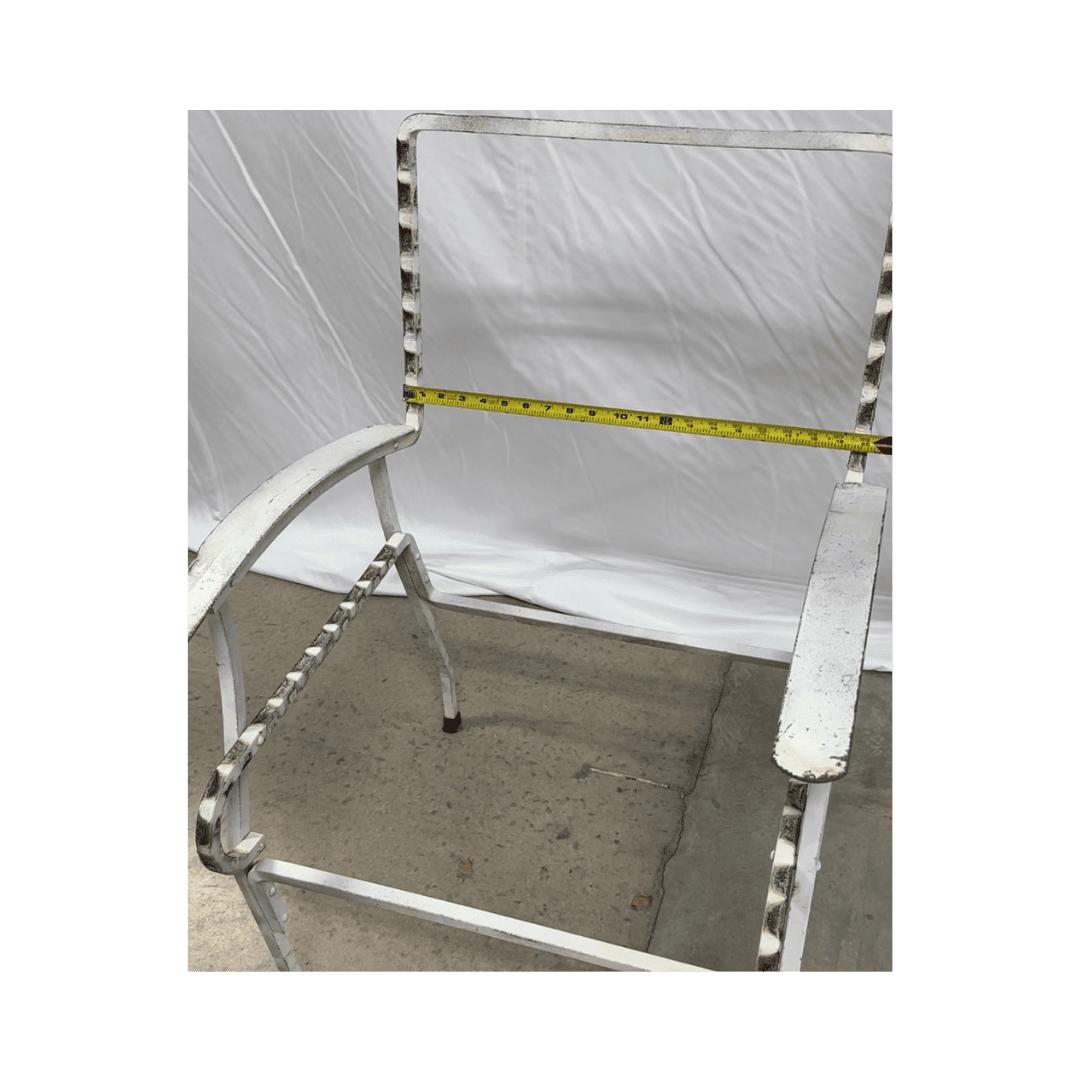
Step three: Measure strap length
Position the tape measure on the outer edge of the left side of the frame and extend it across to the outer edge of the right side of the frame, as shown in
Pics. 3, 4, 5
Pic 3
Pic 4
Pic 5
Installation instructions
Step one: Place straps in warm water
Submerge the straps in a pot of hot water for 5 minutes before installation. To protect your hands, we recommend wearing gloves. When ready, use tongs (optional) to handle the straps. Install each strap immediately after removing it from the water, as it will cool and harden quickly.
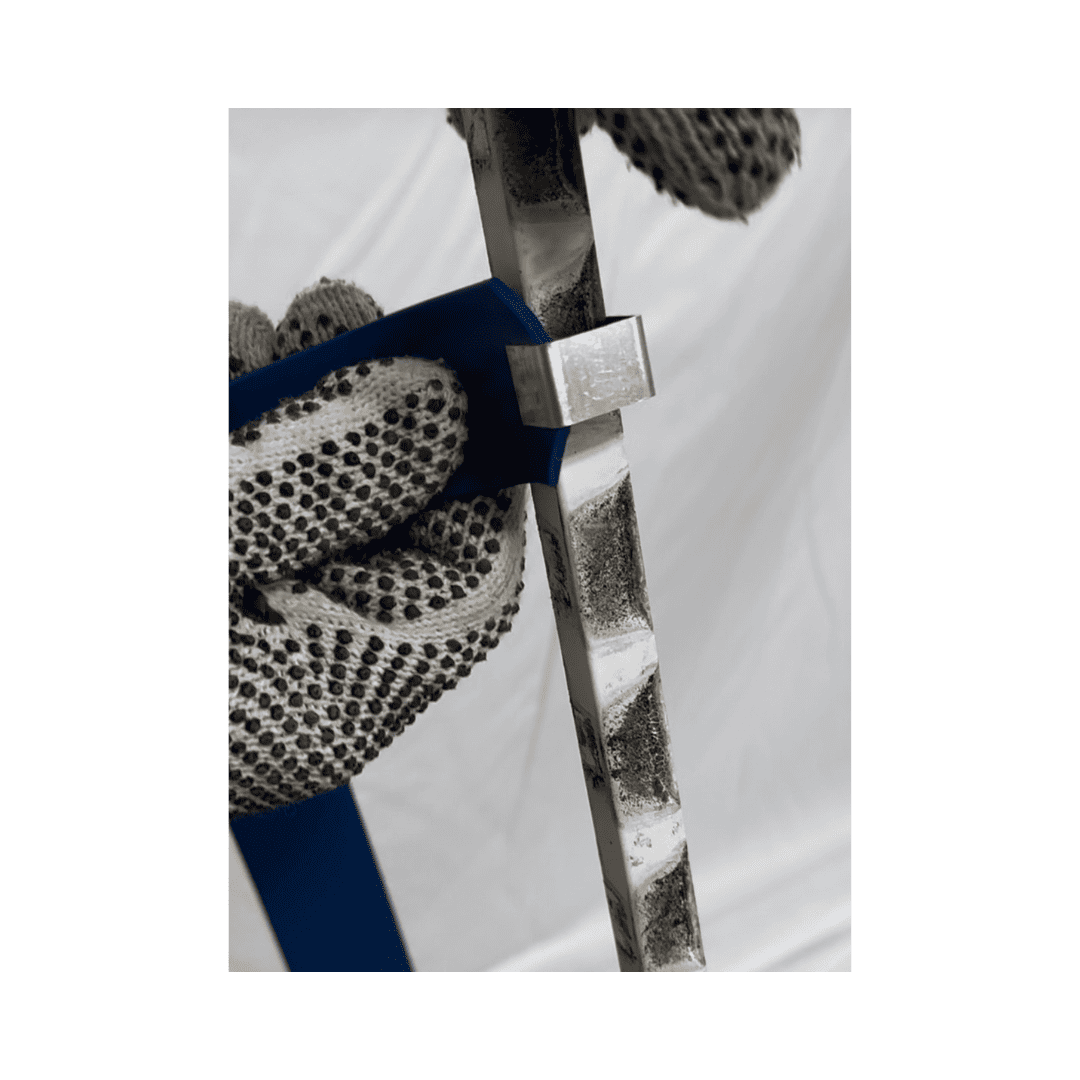
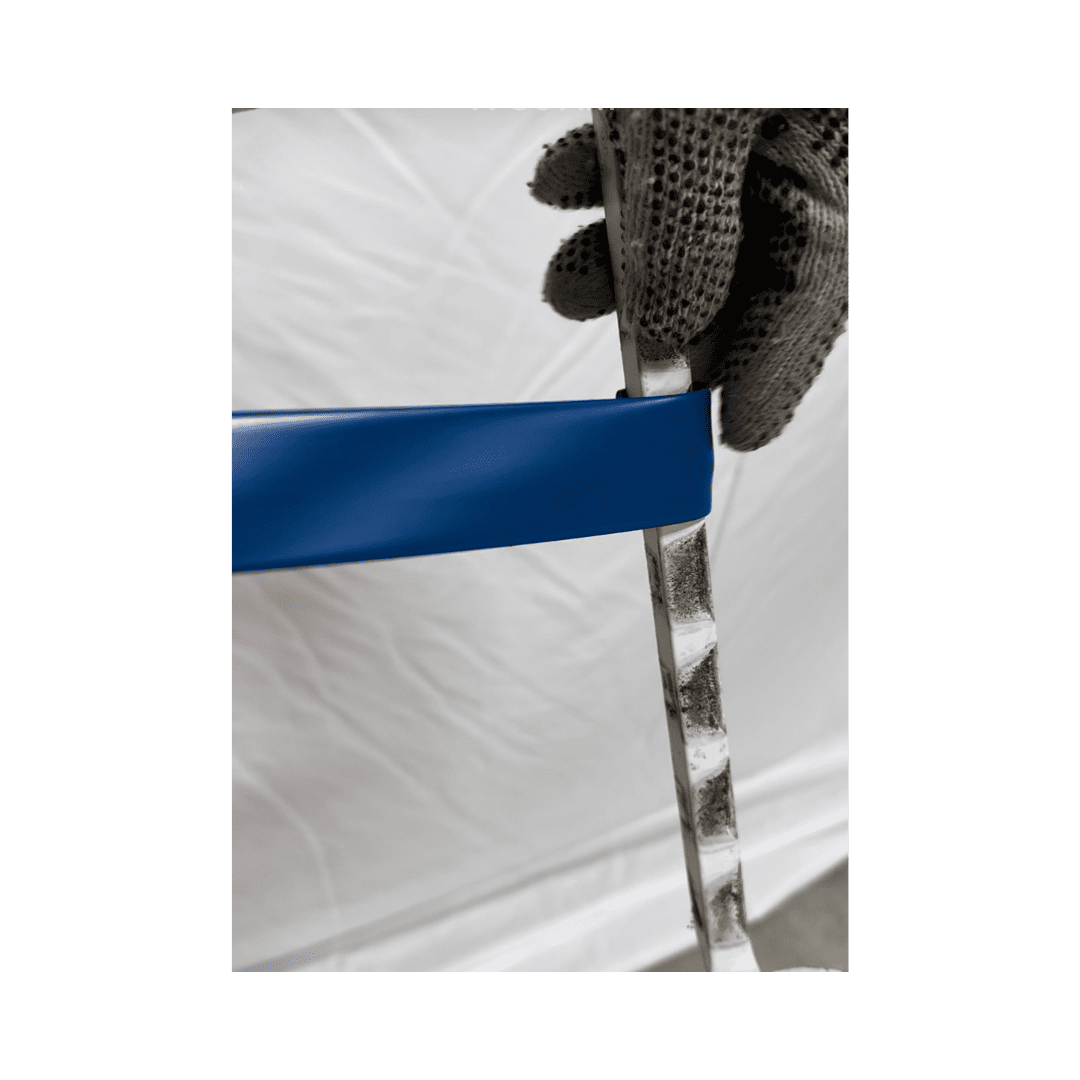
Step two: Attach clip on the frame
Secure the aluminum clip onto the frame as in Pic. 1
Pic 1
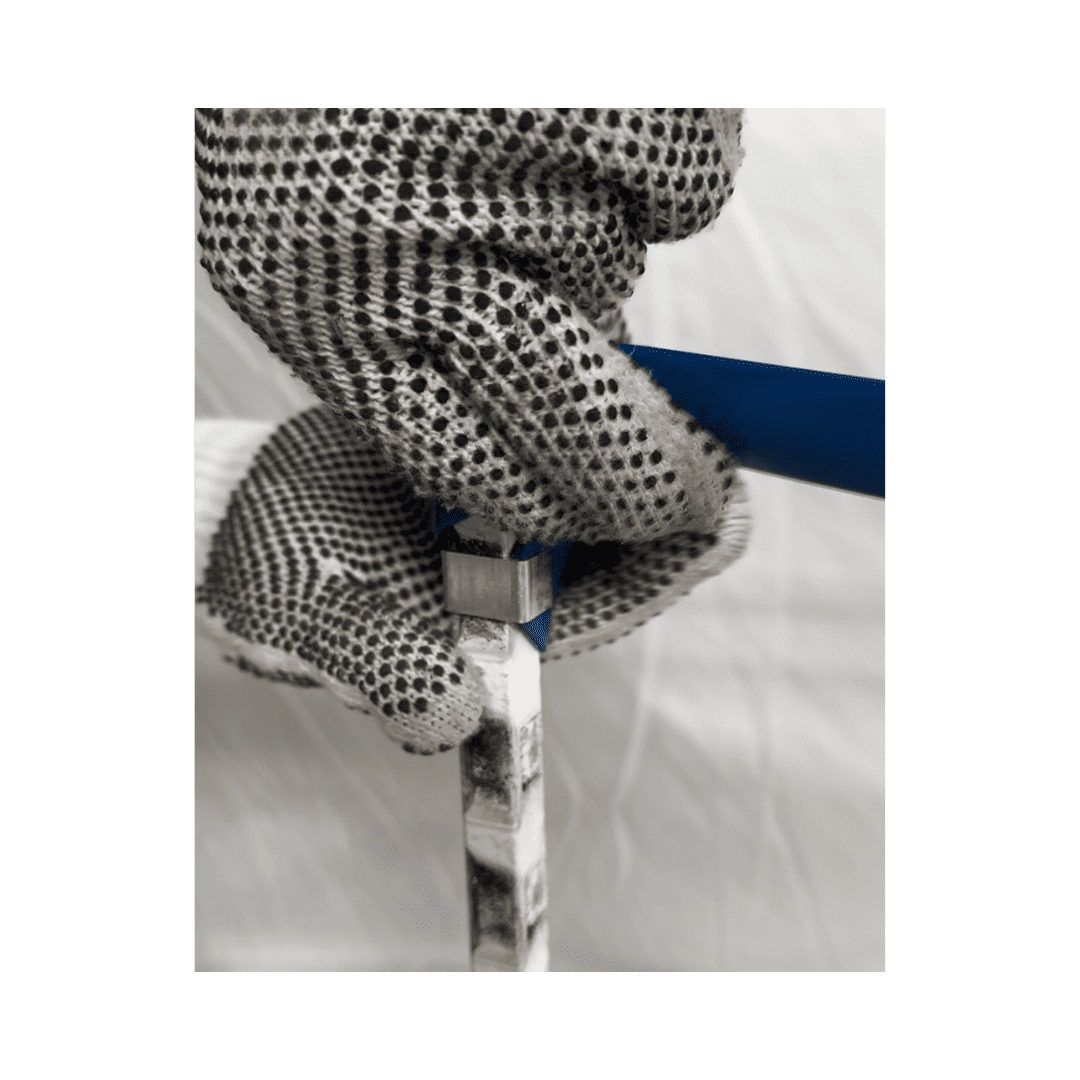
Step theer: Wrap strap
Tightly wrap the strap around itself, ensuring it covers the clip head, while guiding it around the outside of the frame. See Pic. 2
Pic 2
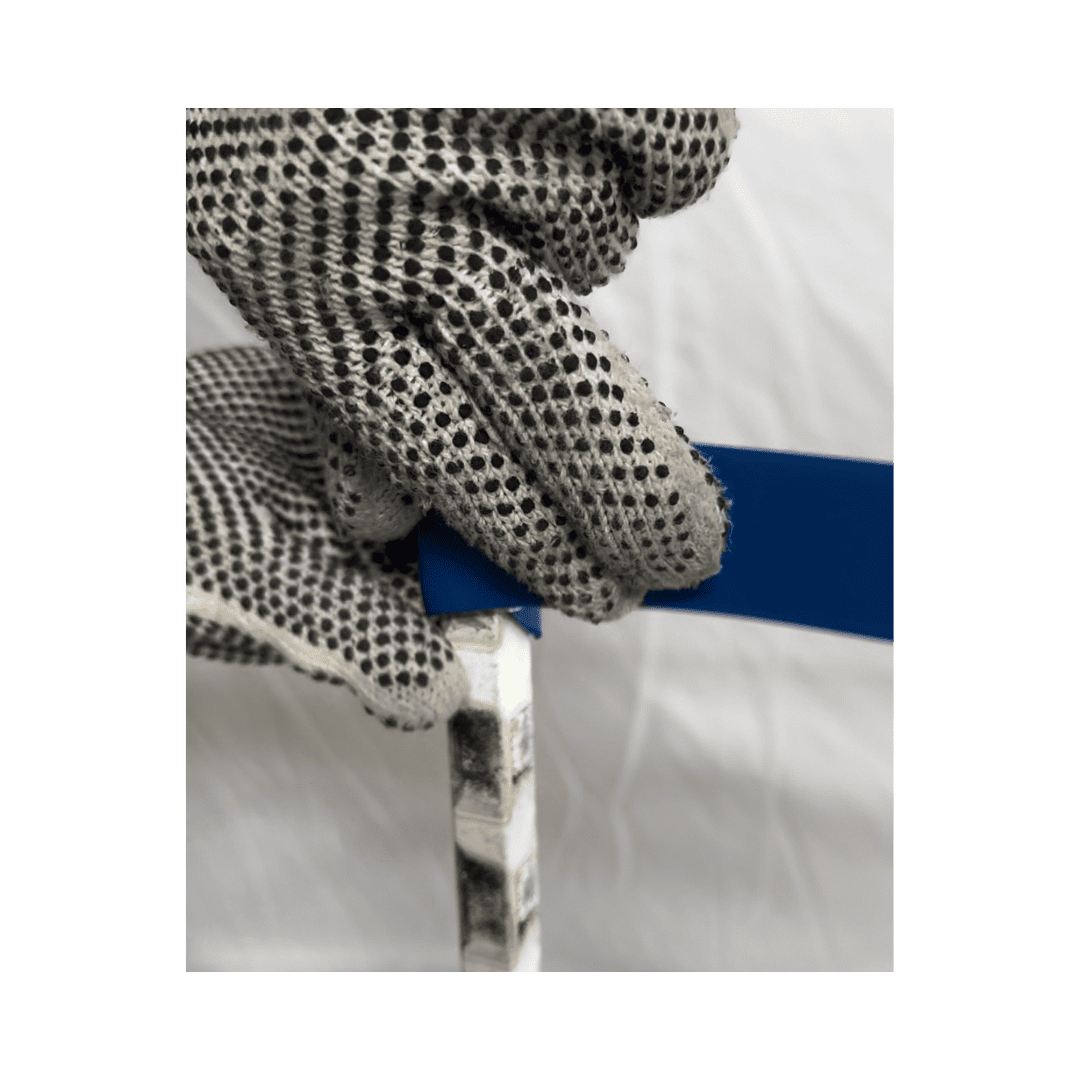
Step four: Wrap strap on opposite side
Firmly stretch the strap across the frame at a slight angle. Continue pulling until the strap extends four to five inches beyond the frame. With firm thumb pressure, hold the strap in place with one hand while using the other to wrap it around the frame. Then, slide the clip onto the frame as in Pic. 3
Pic 3
Step five: Adjust strap
Adjust the strap to position the top wrap securely over the bottom wrap as in Pic. 4